Liquid culture is one of the most useful tools in a mushroom grower's toolkit. It lets you multiply a small amount of mushroom mycelium into litres of inoculant that can be used to colonize grain spawn, agar plates, or substrate directly. And the recipe couldn't be simpler — the base is just honey and water.
If you've been buying liquid cultures for every grow, making your own is a natural next step. It's cheaper, it's fast, and once you have the process down, you'll never run out of inoculant again. This guide covers the complete process from mixing to inoculation to storage.
What Is Liquid Culture?
Liquid culture (often abbreviated LC) is a sterile, nutrient-rich liquid in which mushroom mycelium grows. Think of it as a broth that feeds the mycelium, allowing it to multiply rapidly in a suspended solution. When you draw some of that liquid into a syringe and inject it into a grain bag or agar plate, you're transferring millions of viable mycelium fragments that will quickly colonize the new substrate.
Compared to other inoculation methods, liquid culture has some real advantages:
- Speed. LC colonizes grain spawn faster than spore syringes because you're starting with actively growing mycelium, not dormant spores.
- Volume. A single jar of liquid culture can inoculate dozens of grain bags.
- Cost. Honey and water cost almost nothing. A single liquid culture syringe can be expanded into a practically unlimited supply.
- Consistency. LC from a known genetic source produces consistent results — unlike multi-spore syringes, which introduce genetic variability.
The main limitation is that liquid culture requires sterile technique. Contamination is the biggest risk, and maintaining sterility throughout the process is essential.
The Honey Liquid Culture Recipe
Honey is the most popular nutrient source for liquid culture because it's cheap, widely available, sterile (honey's low water activity inhibits microbial growth), and provides simple sugars that mycelium readily consumes. Light corn syrup and malt extract also work, but honey is the standard.
The Ratio
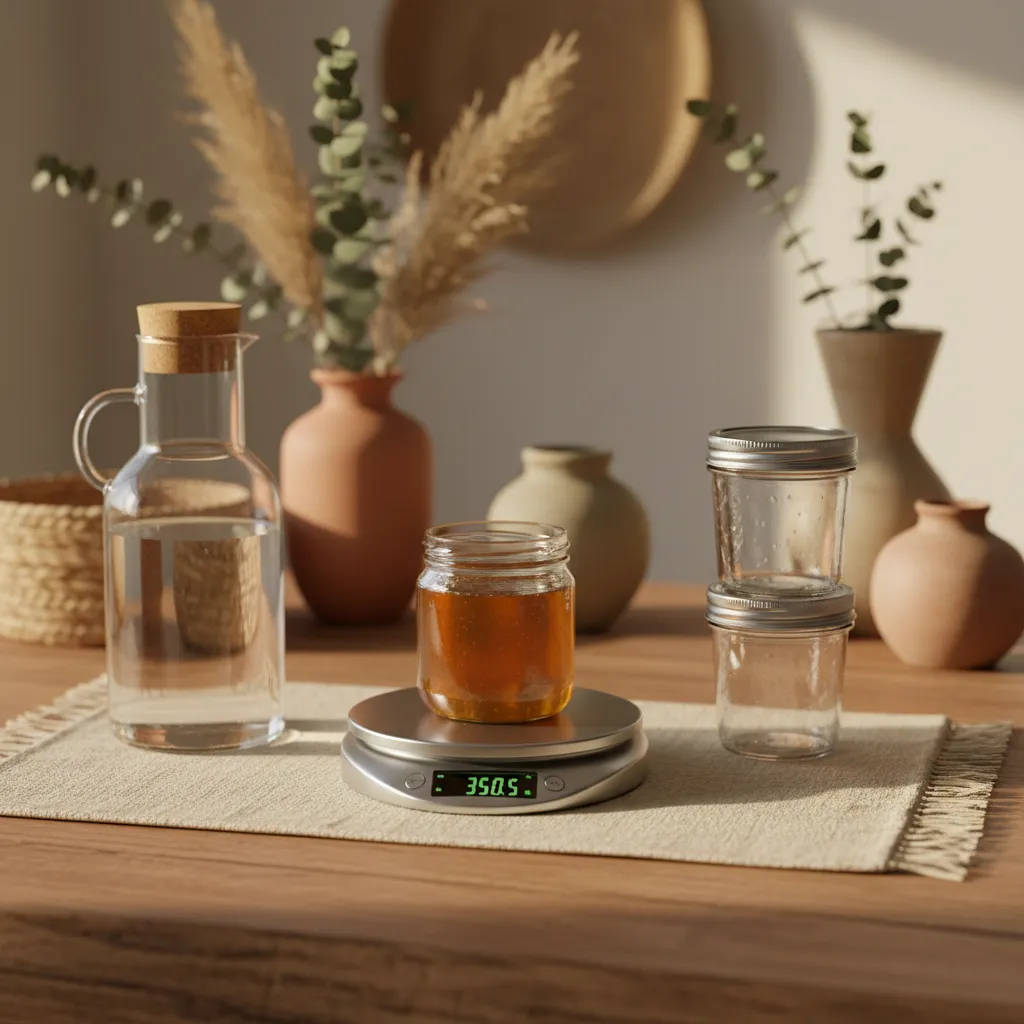
4-5% honey by weight. That's it. For a 1-litre batch:
- 950-960 ml water
- 40-50 ml honey (approximately 2-3 tablespoons)
Some growers go as low as 3% or as high as 6%, but 4-5% is the sweet spot. Too little honey and the mycelium grows slowly. Too much and you risk creating conditions that favour bacterial contamination.
Use regular liquid honey. Raw, unfiltered, organic — it doesn't matter for this application. The honey will be pressure cooked, which sterilizes it regardless of its original state. Avoid honey with added flavours or crystallized honey that won't dissolve easily.
Materials
- Mason jars. Wide-mouth quart (1 litre) or pint (500 ml) mason jars work perfectly. You'll need to modify the lids.
- Modified lids. Each lid needs two holes: one for a self-healing injection port (a glob of high-temperature RTV silicone) and one for a filter (a small piece of synthetic filter disc or polyfill stuffed into a hole and sealed with RTV). The injection port lets you inject and withdraw culture with a syringe without opening the jar. The filter allows gas exchange without allowing contaminants in.
- Pressure cooker. A stovetop pressure canner that reaches 15 PSI is essential. You cannot safely sterilize liquid culture in a regular pot, Instant Pot, or oven — the temperature isn't high enough to kill all potential contaminants.
- Syringes and needles. 10 ml or 20 ml syringes with 18-gauge needles for injecting and drawing culture.
- A magnetic stir bar (optional but recommended). A small stir bar dropped into the jar before sterilization lets you break up mycelium clumps by placing the jar on a magnetic stir plate. If you don't have a stir plate, you can swirl the jars by hand daily.
- Aluminium foil.
- A still air box or laminar flow hood. For inoculation.
Presto 23-Quart Pressure Canner
The standard pressure canner for mushroom cultivation. Fits multiple quart jars at once and reaches the 15 PSI needed for proper sterilization. Built to last for years of regular use.
View on Amazon.ca →When you buy through our links, it supports our mycology research at no extra cost to you.
Step-by-Step Instructions
Step 1: Mix the solution.
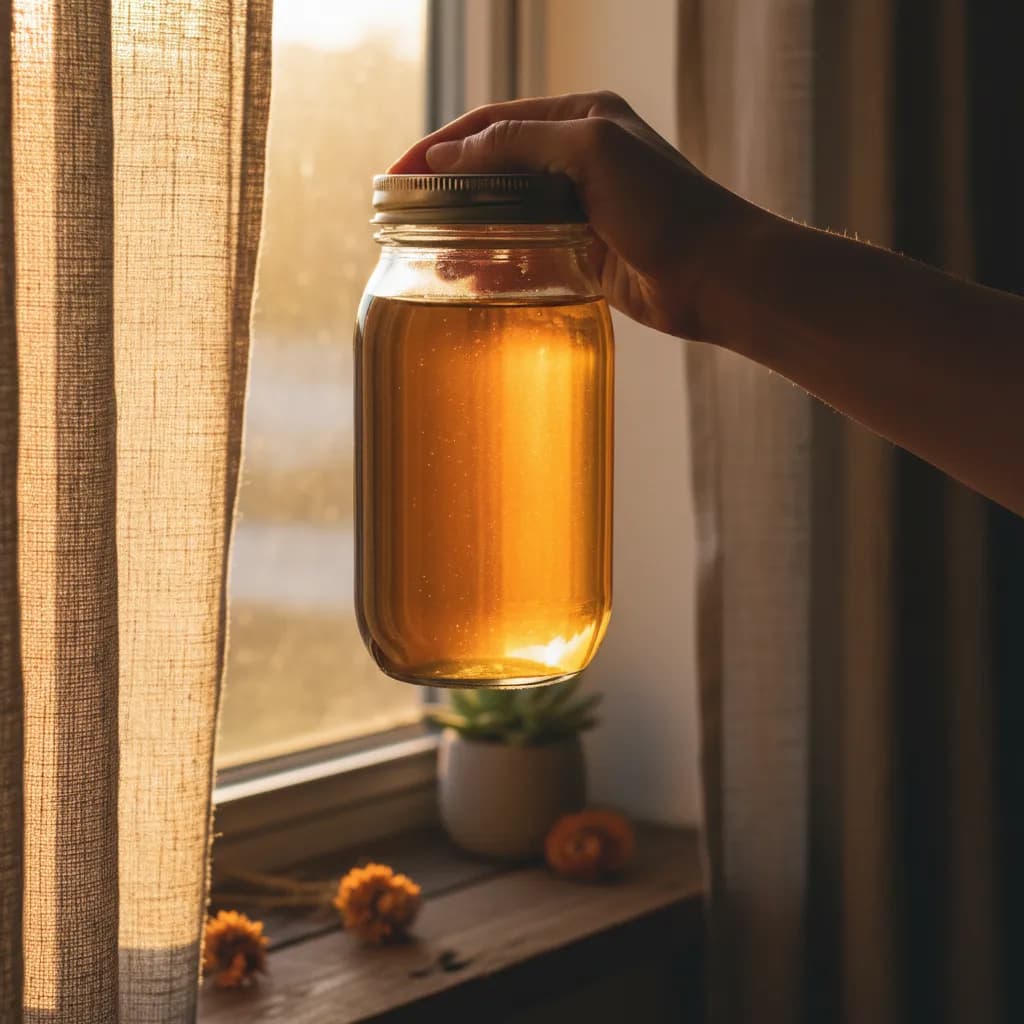
Measure your water and honey. Warm the water slightly (not hot — just enough to help the honey dissolve) and stir the honey in until fully dissolved. The solution should be clear and slightly golden. If you're using a magnetic stir bar, drop it into the jar now.
Pour the solution into your modified mason jars, filling each jar no more than two-thirds full. The headspace is important — it allows for expansion during pressure cooking and provides air space for gas exchange during incubation.
Step 2: Prepare the lids.
Screw on your modified lids (with injection port and filter already installed). Cover the top of each lid with a piece of aluminium foil, crimped down around the edges. The foil protects the injection port and filter from water during pressure cooking.
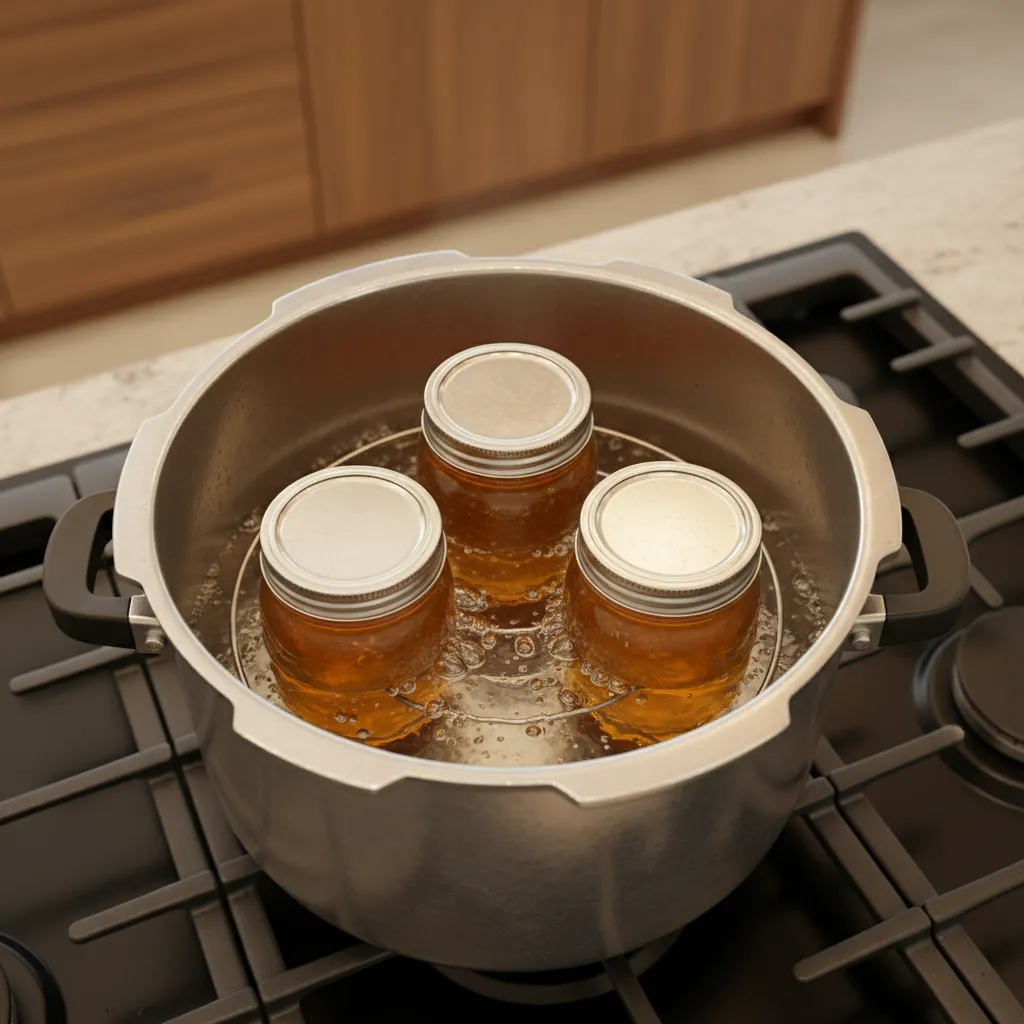
Step 3: Pressure cook.
Place the jars in your pressure cooker on a rack (never directly on the bottom — they can crack). Add water to the cooker according to your model's instructions.
Bring to 15 PSI and hold for 20-30 minutes. Quart jars need 30 minutes; pint jars need 20 minutes. The temperature at 15 PSI is approximately 121°C (250°F) — high enough to kill all bacteria, mould spores, and endospores.
Important: Let the pressure cooker depressurize naturally. Don't rush it by running cold water over the lid or releasing the pressure valve. Rapid depressurization can cause the liquid in the jars to boil over, potentially compromising the filter and injection port.
Step 4: Cool completely.
Let the jars cool to room temperature before inoculating. This usually takes 8-12 hours. Some growers pressure cook in the evening and inoculate the next morning.
Do not open the jars at any point during cooling. They are sterile inside — any exposure to room air introduces contaminants.
Step 5: Inoculate.
This is where sterile technique matters most.
Work inside a still air box (SAB) or in front of a laminar flow hood. Flame-sterilize your syringe needle until it glows red, let it cool for a few seconds, and inject your mycelium source through the injection port.
Inoculant sources:
- Liquid culture syringe. The most common starting point. Inject 1-2 ml of existing liquid culture from a purchased syringe into your honey water. This is the easiest method.
- Agar wedge. Flame-sterilize a scalpel, cut a small piece of colonized agar, open the jar briefly inside your SAB, drop the wedge in, and reseal. Fast and effective, but slightly higher contamination risk because you open the jar.
- Spore syringe. Inject 1-2 ml of spore solution. This works but produces genetically variable culture (multi-spore). For consistent genetics, start from a known monoculture on agar.
For more on working with agar, see our guide on how to use agar plates.
Step 6: Incubate.
Store the inoculated jars at 22-26°C (72-79°F) in a clean, dark location. Within 3-7 days, you should see wispy white mycelium beginning to grow in the solution. If you have a stir bar, place the jar on the stir plate for 30-60 seconds daily to break up clumps and distribute the mycelium evenly.
If you don't have a stir plate, swirl the jar vigorously by hand once daily. This serves the same purpose — it distributes nutrients, provides oxygen, and prevents the mycelium from forming a single dense mass.
Step 7: Full colonization (7-14 days).
The culture is ready when the liquid is cloudy with suspended mycelium fragments and you can see a visible "snowstorm" effect when you swirl the jar. The solution should be cloudy but not opaque. The colour should be off-white to pale yellow — never green, black, pink, or slimy.
Using Your Liquid Culture
Draw the culture into a sterile syringe through the injection port. Shake or swirl the jar first to distribute the mycelium evenly, then insert the needle and pull back the plunger.
Inoculation rates:
- Grain spawn: 5-10 ml per kg of grain. Inject at multiple points in the bag and shake to distribute.
- Agar plates: 1-2 drops per plate.
- Liquid culture expansion: 1-2 ml into a fresh jar of sterilized honey water to create a new generation of culture.
If you're interested in understanding the differences between liquid culture and grain spawn as inoculants, read our guide on grain spawn vs. liquid culture.
Storage
Liquid culture has a limited but useful shelf life.
Refrigerated: Store finished liquid culture in the fridge at 2-4°C (35-39°F). At fridge temperatures, the mycelium enters a dormant state and the culture remains viable for 2-6 months, depending on the species. Some species (oyster, shiitake) store better than others.
Room temperature: Liquid culture left at room temperature will continue to grow, eventually consuming all available nutrients and declining in viability. Use room-temperature culture within 2-4 weeks.
Frozen (advanced): Some growers add 10% glycerol to liquid culture and freeze it for long-term storage. This is a more advanced technique used for maintaining genetic libraries.
Syringes: If you've drawn culture into syringes for future use, store them in the fridge. Syringes maintain viability for 1-3 months refrigerated.
Troubleshooting
The culture turned cloudy overnight
If the culture becomes cloudy within 24-48 hours of inoculation, it's almost certainly contaminated with bacteria. Mycelium doesn't grow that fast. Bacterial contamination produces a uniform, milky cloudiness — very different from the wispy, web-like appearance of mycelium growth.
Cause: Most commonly a failure in sterile technique during inoculation, or an improperly sealed injection port or filter.
Fix: Discard the jar (the liquid, not the jar — re-sterilize and reuse the jar). Check your injection port and filter seals. Review your SAB or flow hood technique.
Green, black, or pink discolouration
Any colour other than white or pale yellow means contamination. Green is typically Trichoderma, black may be Aspergillus, and pink is often a bacterial species.
Cause: Non-sterile conditions. Either the pressure cook cycle was insufficient, the jar seal failed, or contaminants were introduced during inoculation.
Fix: Discard. Do not attempt to salvage contaminated liquid culture — the contaminants have already distributed throughout the solution.
No growth after 10+ days
Causes:
- The inoculant was not viable (dead culture, old spore syringe).
- Temperature too low — mycelium grows slowly below 18°C (64°F).
- Honey concentration too low — not enough nutrients.
Fix: Check temperature. If conditions are right and there's still no growth after two weeks, the inoculant was likely not viable. Try again with a fresh culture source.
The mycelium formed one big blob instead of distributing
Cause: No agitation. Without stirring or swirling, mycelium tends to grow as a single mass rather than dispersing.
Fix: Swirl vigorously by hand once daily, or use a magnetic stir plate. If the blob is already formed, you can still use the culture — just shake the jar hard before drawing from it with a syringe, or break the mass apart by swirling.
Culture smells sour or off
Healthy liquid culture should have a mild, slightly mushroom-y smell — or almost no smell at all. A sour, yeasty, or unpleasant odour indicates bacterial or yeast contamination.
Fix: Discard. Never use culture that smells wrong.
Scaling Up
Once you've mastered the basic quart jar technique, scaling up is straightforward.
Half-gallon or gallon jars: Same ratio (4-5% honey), same pressure cook parameters, just longer sterilization times (45 minutes for half-gallon, 60 minutes for gallon at 15 PSI).
Continuous culture: Some growers maintain a "mother" jar of liquid culture, drawing from it regularly and topping up with fresh sterilized honey water. This works for a few generations but eventually the genetics can drift or the culture can weaken. We recommend starting fresh from a known source every 3-4 generations.
Multiple species: If you're growing several mushroom species, maintain separate clearly labelled liquid cultures for each. Cross-contamination between species produces unpredictable results.
What Species Work Best in Liquid Culture?
Almost all gourmet and functional mushroom species grow well in honey liquid culture. Here's how the most popular species perform:
| Species | Growth Speed in LC | Notes |
|---|---|---|
| Oyster (all varieties) | Very fast (5-7 days) | Aggressive grower, easy to work with |
| Shiitake | Moderate (7-14 days) | Reliable, good shelf life in fridge |
| Lion's Mane | Moderate (7-14 days) | Tends to form clumps — stir regularly |
| Reishi | Moderate (10-14 days) | Produces thick, ropey mycelium |
| Turkey Tail | Moderate (7-14 days) | Reliable in LC |
| King Oyster | Moderate (7-10 days) | Good LC performer |
| Chestnut | Moderate (7-14 days) | Reliable, consistent |
Making your own liquid culture is one of those skills that pays for itself almost immediately. A single jar of honey water — costing maybe twenty cents in materials — can inoculate dozens of grain bags that would cost significantly more if you bought individual syringes each time. And there's something satisfying about maintaining your own culture library, knowing that every grow starts from genetics you've selected and expanded yourself.
Start with a single jar and a liquid culture syringe of your favourite species. Once you see how simple the process is, you'll wonder why you didn't start sooner.
Browse our liquid cultures, grain spawn, and growing supplies to get started.