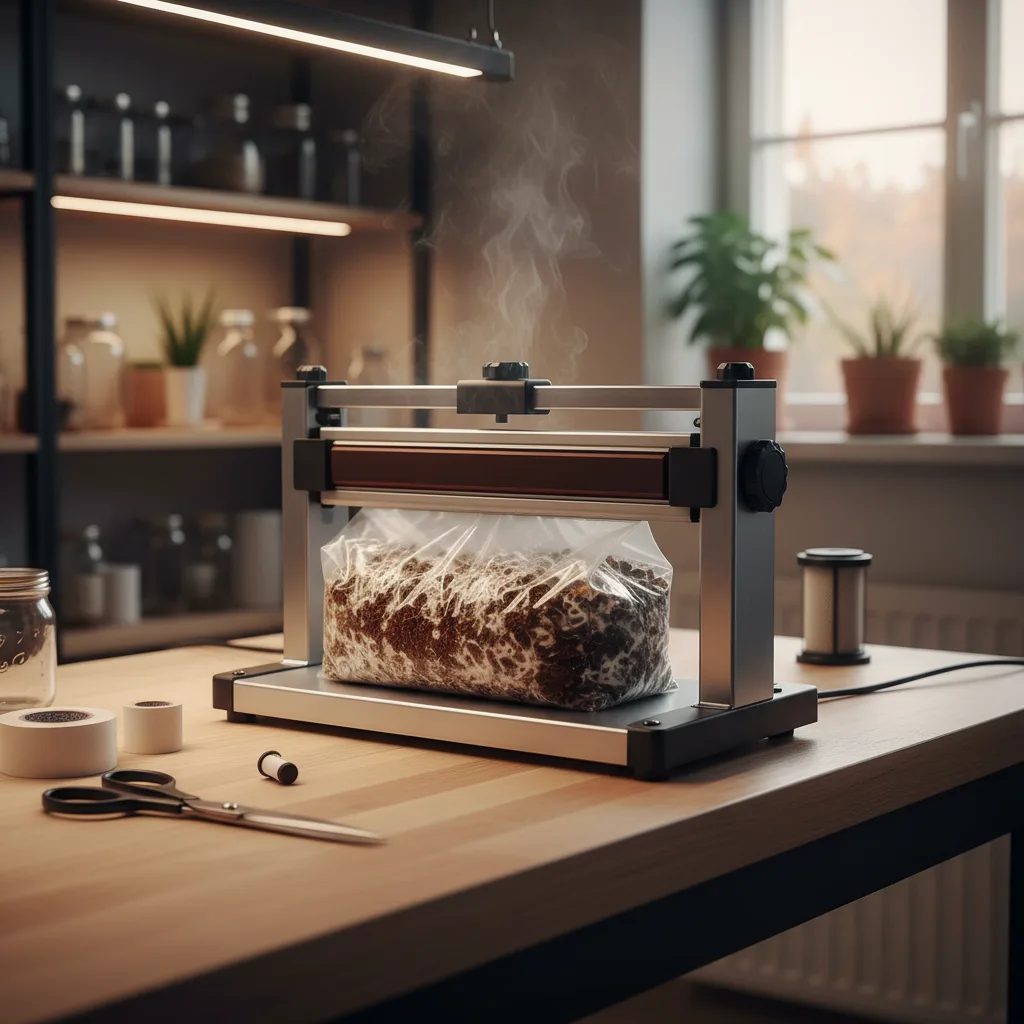
If you're working with mushroom grow bags, you need a way to seal them. A proper seal keeps your sterilized substrate or grain contamination-free during colonization while still allowing gas exchange through the filter patch. An impulse sealer creates that seal in seconds, and once you've used one, you'll wonder how you ever managed with rubber bands and zip ties.
An impulse sealer works differently from a constant-heat sealer. Instead of maintaining a hot element that could burn you or your bags, it sends a quick pulse of heat through the sealing wire only when you press the handle. The wire heats up, melts the polypropylene bag, and cools down within seconds. It's safe, fast, and produces a clean, reliable seal every time.
The main decision is size. And that decision is simpler than most people make it.
This post contains affiliate links. When you buy through our links, it supports our mycology work at no extra cost to you.
Quick Verdict
For most mushroom growers, a 12-inch (30 cm) impulse sealer is the right choice. It handles standard grow bags with room to spare, and it's the size we use in our own lab. If you're on a tight budget and only working with smaller bags, an 8-inch (20 cm) works for basic spawn jars and smaller bags. And if you're running a commercial operation with large bags, a 16-inch (40 cm) sealer handles everything without compromise.
Comparison at a Glance
| Feature | METRONIC 8" | METRONIC 12" | METRONIC 16" |
|---|---|---|---|
| Seal Length | 20 cm (8") | 30 cm (12") | 40 cm (16") |
| Seal Width | 2mm | 2mm | 2mm |
| Wattage | 300W | 400W | 500W |
| Best For | Small bags, budget | Most growers | Commercial |
| Bag Compatibility | Small spawn bags | Standard grow bags | All bag sizes |
Why METRONIC?
We've tried a few brands of impulse sealer, and the METRONIC line has been our go-to for one simple reason: they work reliably and replacement parts are easy to find. Impulse sealers are inherently simple devices, but cheap ones fail in annoying ways. The heating element burns out, the Teflon tape wears through, or the spring mechanism gets weak. The METRONIC units come with replacement heating elements and Teflon tape in the box, and additional replacement kits are widely available on Amazon. When your heating element eventually wears out (and it will, after hundreds of seals), you swap it in 10 minutes and keep going.
Our Pick: METRONIC 12-Inch Impulse Sealer
This is the size that fits most mushroom growers' workflow. A 12-inch sealing length handles standard mushroom grow bags (which are typically 20-25 cm / 8-10 inches wide when laid flat) with comfortable clearance on each side. You're not fighting to position the bag perfectly; there's room for the fold.
What We Like
Right size for the job. Standard mushroom grow bags, whether you're using them for grain spawn or hardwood sawdust substrate, fit comfortably in the 12-inch sealing area. You seal the bag above the filter patch, leaving room for gas exchange below the seal. The extra width beyond the bag means you get a clean seal edge-to-edge without the bag slipping.
Adjustable heat settings. The dial lets you increase or decrease the heat pulse duration, which matters because different bag materials have different melting points. Standard polypropylene grow bags seal well at a mid-range setting (around 3-4 on the dial). Thicker bags may need more heat. Having that adjustability prevents burn-through on thin bags and incomplete seals on thick ones.
Heavy-duty construction. The iron base and copper transformer make this sealer feel substantial. It's not going to slide around on your workbench when you're pressing down on the handle. The spring mechanism has good tension, and the handle locks down firmly.
Replacement parts included. Every METRONIC sealer ships with spare heating elements and Teflon tape covers. When the element eventually wears out (typically after 500-1000+ seals), the replacement takes about 10 minutes with a screwdriver.
What Could Be Better
Learning curve on heat settings. Your first few seals may be too strong (melting through the bag) or too weak (seal that peels apart). Spend 5 minutes practicing on scrap bag material before sealing anything that matters. Once you find the right setting for your bags, mark it or write it down.
Not self-adjusting. Unlike commercial heat sealers with automatic temperature control, the METRONIC relies on a simple timer dial. Ambient temperature, bag thickness, and how quickly you press the handle all affect seal quality slightly. With practice, this becomes second nature, but it's worth noting for anyone coming from a commercial sealer.
METRONIC 12-Inch Impulse Sealer
The right size for most mushroom grow bags. Heavy-duty iron construction, adjustable heat settings, and replacement parts included in the box. This is the sealer we use in our own lab, and it handles everything from spawn bags to substrate bags without complaint.
When you buy through our links, it supports our mycology research at no extra cost to you.
Budget Pick: METRONIC 8-Inch Impulse Sealer
If you're working with smaller bags or just getting started and want to keep costs down, the 8-inch version is a perfectly functional sealer. It's the same build quality as the 12-inch, just narrower.
What We Like
Compact and affordable. The 8-inch is the most budget-friendly option and takes up minimal counter space. If you're working in a small lab or kitchen, this footprint is easy to accommodate.
Same build quality. It's the same METRONIC construction as the larger models: iron base, copper transformer, adjustable heat settings, included replacement parts. You're not sacrificing quality for size.
Works for smaller bags. If you're primarily making spawn in bags that are 15 cm (6 inches) wide or narrower, the 8-inch sealer handles them fine.
What Could Be Better
Tight fit for standard grow bags. Most standard mushroom grow bags are 20-25 cm wide when folded flat. An 8-inch (20 cm) sealer is cutting it close. You can make it work if you fold the bag carefully, but you lose the comfortable margin that the 12-inch provides. For bags wider than 20 cm, you'll struggle.
You'll probably upgrade. Most growers who start with the 8-inch eventually buy a 12-inch because they start using larger bags. If you can see yourself scaling up, consider starting with the 12-inch and saving yourself the double purchase.
METRONIC 8-Inch Impulse Sealer
Same METRONIC build quality in a compact, budget-friendly package. Great for smaller spawn bags and getting started. You might outgrow it, but it's a solid entry point.
When you buy through our links, it supports our mycology research at no extra cost to you.
Commercial Pick: METRONIC 16-Inch Impulse Sealer
When you're running a mushroom farm or producing spawn at scale, the 16-inch sealer gives you total flexibility. Every bag fits. Period.
What We Like
Handles everything. From small spawn bags to the largest commercial substrate bags, the 16-inch sealer accommodates them all without any positioning fuss. You lay the bag across the sealer, press down, done.
Higher wattage. The 500W heating element produces a stronger heat pulse, which can create more reliable seals on thicker bag materials and multi-layer folds. When you're sealing bags that have been folded over multiple times at the top, the extra heat matters.
Commercial volume capability. If you're sealing 50-100+ bags in a session, the larger handle and wider sealing bar make the repetitive motion more comfortable. It's an ergonomic advantage that adds up over a long production day.
What Could Be Better
Takes up more space. A 16-inch sealer needs a decent amount of bench space. If your lab is tight, this might be too much footprint for a tool that's used periodically rather than constantly.
More than most need. For a hobby grower doing 5-10 bags a week, the 16-inch is overkill. The 12-inch handles standard bags just fine, and you're paying more for width you may not use.
METRONIC 16-Inch Impulse Sealer
For commercial operations and anyone who wants to seal any bag size without thinking about it. The extra width and higher wattage handle thick multi-layer folds and wide bags effortlessly.
When you buy through our links, it supports our mycology research at no extra cost to you.
How to Seal Mushroom Grow Bags Properly
Having the right sealer is only half the equation. Proper technique ensures a contamination-free seal every time.
Step 1: Position the Bag
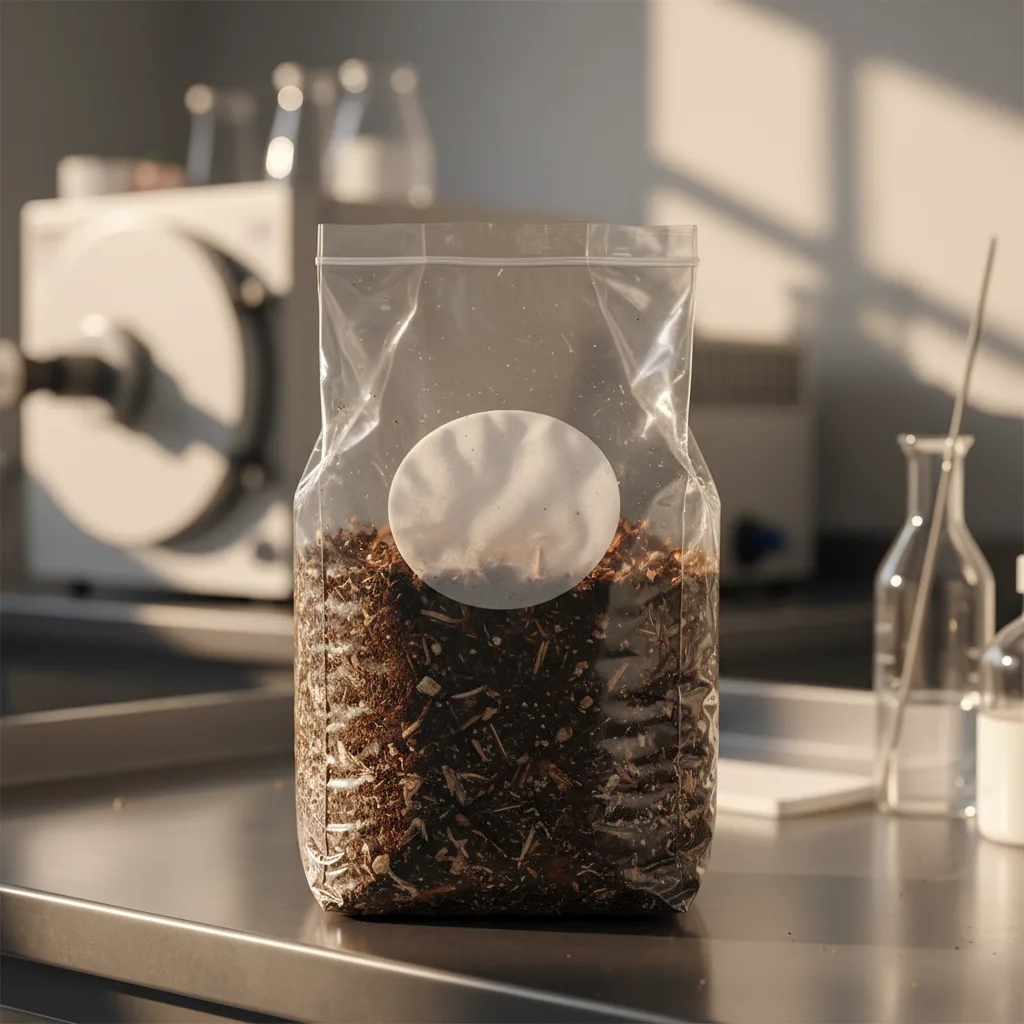
Lay the bag flat across the sealing bar with the opening aligned evenly. The seal should be placed above the filter patch, leaving the filter exposed for gas exchange during colonization. If you're sealing below the filter (for fully closed bags going into the pressure cooker), make sure the seal is at least 5 cm below the filter.
Step 2: Fold Out the Air
Before sealing, smooth the bag flat and push out excess air. A bag full of air is harder to seal cleanly and takes up more space in the pressure cooker. Some growers use a vacuum to remove air; others just press it flat manually.
Step 3: Press and Hold
Press the handle down firmly and hold until the indicator light goes off (or for the duration you've set). Don't release early. The seal needs the full heat cycle to bond properly.
Step 4: Wait Before Peeling
After releasing the handle, wait 2-3 seconds before lifting the bag off the sealing bar. The polypropylene needs a moment to cool and set. Pulling the bag away while the seal is still warm can weaken or distort it.
Step 5: Inspect
Run your finger along the seal. It should be smooth, continuous, and consistent in width. If you see gaps, weak spots, or areas where the bag didn't bond, re-seal that section.
Tips for Better Seals
Keep the Teflon tape clean. The strip of Teflon tape on the sealing bar prevents the bag from sticking to the heating element. If it gets dirty or worn, bags stick, seals are uneven, and frustration follows. Replace the tape when it starts looking worn. METRONIC includes spares.
Adjust for bag thickness. Thinner bags need less heat (lower dial setting, shorter pulse). Thicker bags and multi-layer folds need more. Keep notes on what setting works for each type of bag you use.
Seal twice for critical bags. For bags going into the pressure cooker or long-term storage, we seal the same line twice. The second seal ensures complete bonding across the full width. It takes 3 extra seconds and is cheap insurance.
Practice on scraps. Before sealing a bag of sterilized grain that took 2 hours to prepare, do a test seal on a scrap piece of the same bag material. Confirm your heat setting is right, then proceed with the real bags.
Do You Need an Impulse Sealer?
Honestly, not everyone does. If you're using mason jars for spawn production, you don't need a sealer at all. If you're using pre-sealed grow bags that you inoculate through an injection port, you don't need one either.
You need an impulse sealer when you're:
- Making your own grain spawn bags
- Preparing sawdust substrate bags
- Sealing substrate bags for the pressure cooker
- Running any kind of production operation where bags are your primary vessel
If that describes you, a sealer isn't optional. And the 12-inch METRONIC is where we'd start.
Frequently Asked Questions
Can I use a clothing iron to seal grow bags?
Technically yes, but we don't recommend it. A clothing iron doesn't give you the precise, consistent heat pulse that an impulse sealer does. The temperature is harder to control, the seal width is inconsistent, and it's easy to melt through the bag entirely. An impulse sealer is purpose-built for this job and is worth the modest investment.
How many seals does a heating element last?
With normal use, a METRONIC heating element lasts 500-1000+ seals before it needs replacement. You'll know it's time when seals become inconsistent or the element starts producing visible hot spots. Replacement takes about 10 minutes with a screwdriver.
Can I seal polypropylene grow bags after pressure cooking?
Yes, but the bag needs to be dry at the sealing point. Moisture on the bag surface at the seal line can cause weak seals. Wipe the sealing area with a clean cloth before sealing if needed.
Related Guides
- How to Use Mushroom Grow Bags
- How to Make Mushroom Spawn at Home
- Mushroom Substrate Guide
- Essential Mushroom Growing Equipment Guide
- How to Start a Mushroom Farm in Canada
- Browse Supplies
Not sure which setup is right for you? Dr. MycoThumb is our free AI growing assistant — ask about equipment recommendations, growing setups, and troubleshooting. Available 24/7 in the chat bubble at the bottom-right of every page.