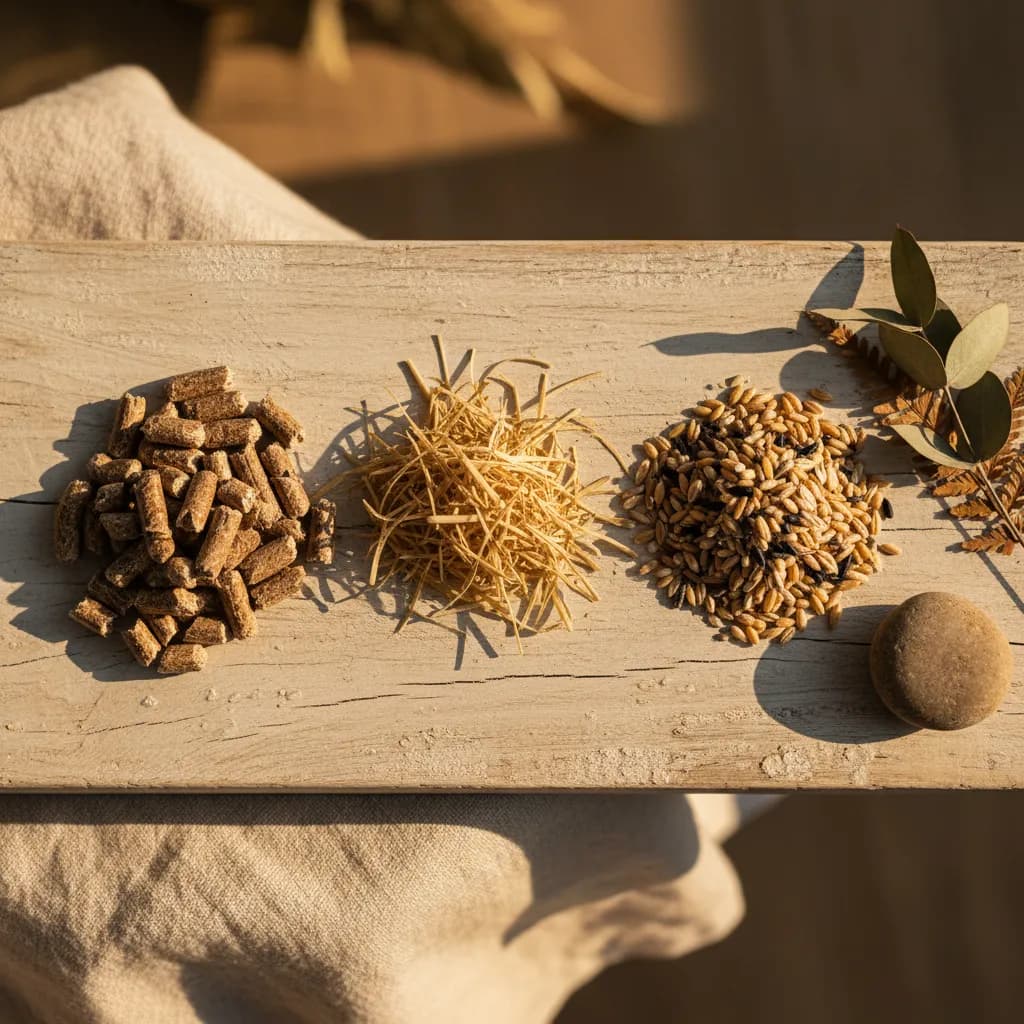
If spawn is the seed, substrate is the soil — except mushrooms don't actually grow in soil. Substrate is the nutritious material that feeds your mycelium as it colonizes and eventually fruits. Get it right and you'll be rewarded with dense, heavy flushes. Get it wrong and you'll be rewarded with a bag of green mold.
Let's break down every major substrate option so you can pick the right one for your species, budget, and skill level.
What Is Substrate and Why It Matters
Substrate is any material that provides the carbon, nitrogen, and moisture mushroom mycelium needs to grow. Think of it as the mushroom's food source. Different species have evolved to break down different types of organic matter — oyster mushrooms are aggressive decomposers that will eat almost anything, while shiitake are pickier and prefer hardwood.
The three things that matter most in any substrate are:
- Nutrition — the right balance of carbon and nitrogen for your target species
- Moisture content — too wet breeds bacteria, too dry starves the mycelium
- Cleanliness — competing organisms (mold, bacteria) must be eliminated or suppressed before you introduce your spawn
Every substrate choice is a trade-off between cost, ease of preparation, and yield. Here's what you need to know about each option.
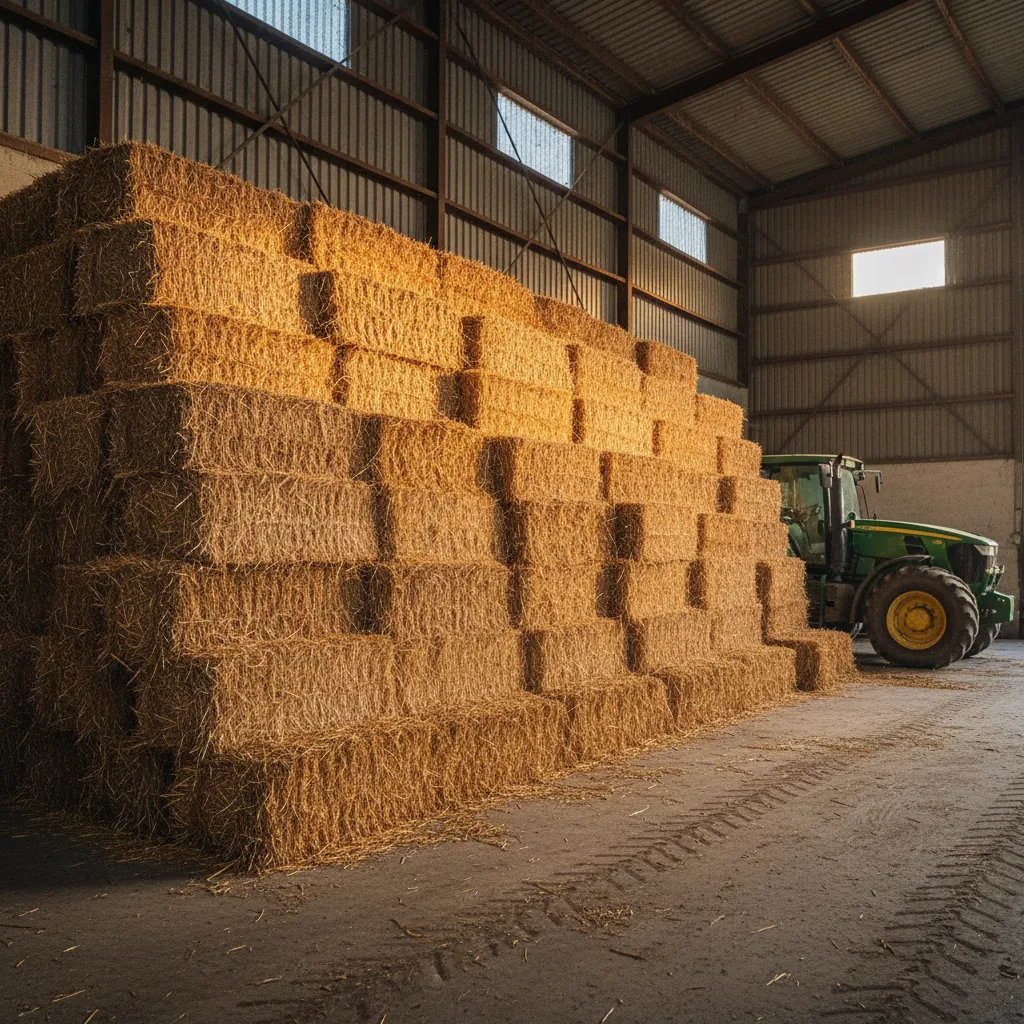
Straw: The Classic Oyster Mushroom Substrate
Chopped wheat or oat straw is the traditional substrate for oyster mushrooms, and it's still one of the best options if you're growing oysters on a budget.
How to prepare it:
Straw needs to be chopped to 2–4 inch (5–10 cm) lengths and pasteurized before use. You can't just stuff raw straw in a bag — it's loaded with competing organisms that will outrun your mycelium.
Common pasteurization methods include:
- Hot water bath: Submerge chopped straw in 65–82°C (150–180°F) water for 60–90 minutes. This is the most reliable home method.
- Cold water lime bath: Soak straw in cold water with hydrated lime (calcium hydroxide) at roughly 1 cup per 50 gallons. Soak for 12–18 hours. The high pH kills competitors. Cheap and effective but takes longer.
- Cold fermentation: Submerge straw in water for 5–7 days. Anaerobic bacteria consume the sugars that mold would otherwise feed on. Simple but smelly.
For a detailed walkthrough, see our how to pasteurize straw guide.
Pros:
- Cheap and widely available (farm supply stores, garden centers)
- Fast colonization with aggressive species like oysters
- No pressure cooker needed — pasteurization is sufficient
- Good airflow through the loose structure
Cons:
- Messy to work with
- Requires chopping and pasteurization setup
- Lower biological efficiency than supplemented sawdust for most species
- Only works well for oyster mushrooms and a few other aggressive species
- Inconsistent quality — straw from different sources varies
Best for: Oyster mushrooms (all varieties), wine cap (for outdoor beds)
Hardwood Sawdust: The Workhorse
Hardwood sawdust from oak, maple, beech, or other deciduous trees is the professional grower's go-to substrate. It works for virtually every gourmet species and produces dense, high-quality fruiting blocks.
Key details:
- Use sawdust from deciduous hardwoods only — never softwoods (pine, cedar, spruce). Softwood resins are antifungal and will kill your mycelium.
- Fresh sawdust works best. Sawdust that's been sitting outside in a pile may already be contaminated with wild fungi.
- Particle size matters. Fine sawdust (like what comes off a table saw) packs too tightly and restricts gas exchange. Coarse chips are too loose. Aim for something in between — roughly the texture of coarse sand.
Supplementation:
Plain hardwood sawdust is relatively low in nitrogen. Adding a nitrogen-rich supplement boosts yields significantly. Common supplements include:
- Wheat bran — the classic supplement, added at 5–15% by dry weight
- Soy hull pellets — high in nitrogen, consistent quality
- Rice bran — popular in Asian cultivation
- Oat bran — similar to wheat bran
Supplementation rates above 15–20% increase contamination risk because the extra nutrition feeds mold as readily as it feeds your mycelium. For supplemented sawdust, you'll need to sterilize (not just pasteurize) to eliminate competitors.
Best for: Shiitake, lion's mane, maitake, pioppino, chestnut mushrooms, nameko, king oyster
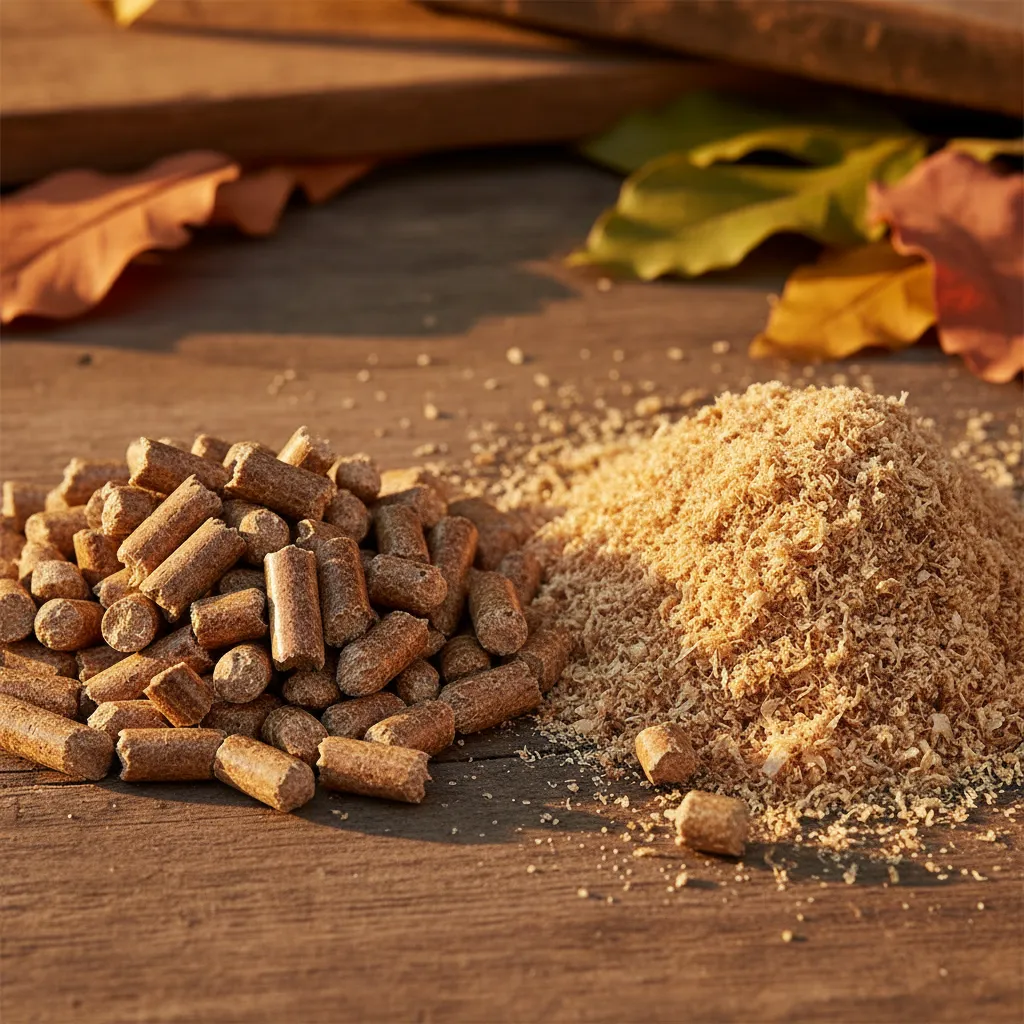
Hardwood Fuel Pellets (HWFP): The Easy Alternative
If you've ever tried sourcing fresh hardwood sawdust, you know it can be a headache. Enter hardwood fuel pellets — the compressed wood pellets sold for pellet stoves. They're essentially hardwood sawdust that's been kiln-dried and compressed under high pressure.
Why growers love them:
- Available at hardware stores and pellet stove dealers across Canada — Canadian Tire, Home Hardware, even Costco in fall
- Consistent quality and particle size
- The compression and heat during manufacturing makes them very clean to start with
- Easy to store — a 40 lb bag takes up far less space than the equivalent volume of loose sawdust
- To use, simply add water and the pellets break apart into hydrated sawdust
How to use them:
- Weigh out your pellets
- Add water (roughly 1.2–1.4 parts water to 1 part pellets by weight)
- Let them soak and break apart — 20–30 minutes, stirring occasionally
- You now have hydrated hardwood sawdust ready for supplementation and sterilization
For the full process, check out our growing mushrooms on hardwood pellets guide.
One thing to watch: Make sure you're buying 100% hardwood pellets with no softwood, bark, or binding agents. Many pellet brands mix in softwood. Read the label. If it doesn't say 100% hardwood, don't use it.
Best for: Same species as hardwood sawdust — shiitake, lion's mane, maitake, and more
Masters Mix: The Gold Standard
Masters mix is a 50/50 blend (by dry weight) of hardwood sawdust and soy hull pellets. It was developed by T.R. Davis at Earth Angel Mushrooms and has become the single most popular substrate recipe among small-to-medium commercial growers in North America.
Why it works so well:
The soy hulls provide a significant nitrogen boost, pushing the carbon-to-nitrogen ratio into the sweet spot for most gourmet species. The result is faster colonization, larger fruits, and higher biological efficiency compared to plain sawdust.
Typical biological efficiency on masters mix:
- Blue oyster: 100–150% BE
- Lion's mane: 80–120% BE
- King oyster: 75–100% BE
- Shiitake: 80–120% BE
The catch: Because masters mix is so nutrient-rich, it must be sterilized — pasteurization isn't enough. You'll need a pressure cooker, autoclave, or steam sterilizer capable of reaching 15 PSI / 121°C (250°F) for 2.5–3 hours.
Recipe for a standard 5 lb fruiting block:
- 5 cups hardwood pellets (about 600g dry)
- 5 cups soy hull pellets (about 600g dry)
- 6 cups water (about 1.4 litres)
- Mix, bag in a mushroom grow bag, and sterilize
This is the substrate we use for most of our own production blocks at our Brantford, Ontario facility.
All-in-One Pellet Blends: Skip the Mixing
If measuring and sourcing separate ingredients sounds like more work than you want, our All-in-One Mushroom Pellets (20 lbs) take the guesswork out of substrate preparation. It's a pre-blended pellet mix — just add water, bag it, and sterilize. Same results as masters mix with half the prep work.
This is particularly handy if you're making multiple blocks at a time and want consistency from batch to batch. Each 20 lb bag makes approximately 16–20 fruiting blocks depending on your target block weight.
Which Substrate for Which Species
Not every substrate works for every species. Here's a reference table based on what we've found works best in our production and what we recommend to our customers:
| Species | Straw | Plain Hardwood | Supplemented Hardwood | Masters Mix | Logs |
|---|---|---|---|---|---|
| Blue Oyster | Excellent | Good | Excellent | Excellent | Fair |
| Pink Oyster | Excellent | Good | Excellent | Excellent | No |
| Yellow Oyster | Good | Good | Excellent | Excellent | No |
| King Oyster | No | Fair | Good | Excellent | No |
| Lion's Mane | No | Fair | Good | Excellent | Good |
| Shiitake | No | Good | Excellent | Excellent | Excellent |
| Maitake | No | Fair | Good | Excellent | Good |
| Chestnut | No | Fair | Good | Excellent | No |
| Pioppino | No | Fair | Good | Excellent | No |
| Nameko | No | Fair | Good | Good | Good |
| Wine Cap | Excellent | No | No | No | No (outdoor beds) |
A few notes on this table:
- Oyster mushrooms are the most flexible — they'll fruit on almost anything. Straw is cheapest, masters mix gives the highest yields.
- Lion's mane strongly prefers supplemented hardwood or masters mix. Don't try it on straw.
- Shiitake does beautifully on hardwood logs outdoors (a great option for Canadian growers with a woodlot) and on supplemented sawdust or masters mix indoors.
- King oyster is the prima donna — it really does best on masters mix with careful environmental control.
Moisture Content: The Squeeze Test
Getting your moisture right is arguably the single most important step in substrate preparation. Too wet and anaerobic bacteria take over, turning your block into a slimy, sour mess. Too dry and the mycelium can't transport nutrients or grow efficiently.
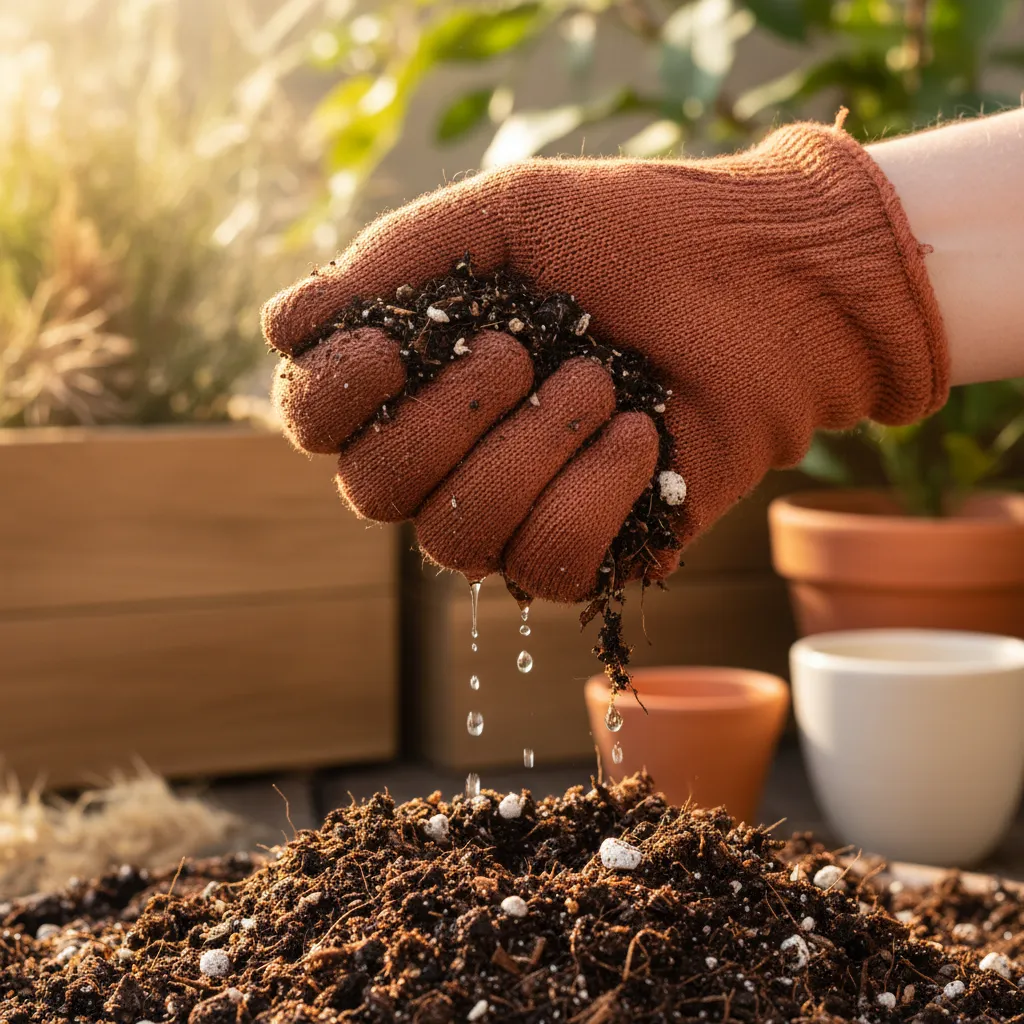
Target moisture: 60–65% by weight
That number doesn't mean much without context, so here's the practical test every grower learns:
The squeeze test:
- Grab a handful of your hydrated substrate (wearing nitrile gloves)
- Squeeze it as hard as you can
- Just right (60–65%): A few drops of water drip out between your fingers. The material holds together when you open your hand.
- Too wet (>65%): Water streams out freely. Add more dry material.
- Too dry (<55%): No water comes out, material crumbles apart. Add more water.
This test takes five seconds and is surprisingly accurate once you've calibrated your hands with a few batches. If you want to be precise, you can use a moisture meter or a digital kitchen scale to dry a weighed sample in the oven at 100°C (212°F) until the weight stabilizes, then calculate the percentage.
When using our all-in-one pellets or hardwood fuel pellets, the water ratios on the instructions are dialled in — follow them and you'll land in the right range every time. Want exact measurements for a custom batch? Our Bulk Substrate Calculator lets you dial in pellet-to-water ratios and supplementation rates for any block size.
Presto 23-Quart Pressure Canner
Essential for sterilizing supplemented substrates and grain spawn. The 23-quart capacity fits multiple bags or jars per cycle, and the weighted gauge makes monitoring pressure simple.
View on Amazon.ca →When you buy through our links, it supports our mycology research at no extra cost to you.
Pasteurization vs. Sterilization: When to Use Each
This is where a lot of beginners get tripped up. Both pasteurization and sterilization reduce microbial competitors in your substrate, but they work differently and are appropriate for different situations.
Pasteurization (60–82°C / 140–180°F for 1–2 hours)
Pasteurization reduces competitor populations without killing everything. It selectively eliminates the most problematic molds and bacteria while leaving behind some beneficial microorganisms that actually help protect against re-contamination.
Use pasteurization when:
- Your substrate is low-nutrient (plain straw, plain hardwood sawdust)
- You're growing aggressive colonizers like oyster mushrooms
- You don't have a pressure cooker or autoclave
Methods: Hot water bath, steam, cold water lime soak
Sterilization (121°C / 250°F at 15 PSI for 2–3 hours)
Sterilization kills everything — all molds, bacteria, and spores. This creates a blank slate that your spawn can colonize without competition. The downside is that if any contaminant is introduced after sterilization (from dirty hands, unfiltered air, etc.), there are no beneficial organisms left to compete with it.
Use sterilization when:
- Your substrate is supplemented (wheat bran, soy hulls, masters mix)
- You're growing slower colonizers like shiitake, lion's mane, or maitake
- You're preparing grain spawn (always sterilize grain)
- You want maximum consistency and yield
Methods: Pressure cooker, autoclave, commercial steam sterilizer
The bottom line: If your substrate has any supplementation, sterilize it. If it's plain straw or unsupplemented sawdust and you're growing oysters, pasteurization is sufficient.
For grain preparation, our Bulk Organic Millet Grain (20 lbs) comes ready to hydrate, bag, and sterilize. If you'd rather skip grain prep entirely, our sterilized grain bags arrive ready for inoculation.
Common Substrate Mistakes
After years of helping growers troubleshoot, these are the substrate mistakes we see over and over:
1. Using softwood sawdust or mixed-species pellets. Pine, cedar, spruce, and fir contain natural antifungal compounds. Even a small percentage of softwood mixed in can dramatically slow or kill your mycelium. Always verify your pellets are 100% hardwood.
2. Wrong moisture content. Too wet is more common than too dry, especially with beginners who figure "more water means more mushrooms." It doesn't. It means more bacteria. Do the squeeze test every single time.
3. Skipping sterilization on supplemented substrates. "I added wheat bran to my sawdust and just did a hot water soak." This is how you grow trich (Trichoderma) instead of mushrooms. If you supplement, you sterilize. No exceptions.
4. Waiting too long between sterilization and inoculation. Once your substrate is sterilized and cooled, inoculate it as soon as possible — ideally within a few hours. Every hour that bag sits open or cooling in a non-sterile environment increases contamination risk.
5. Insufficient spawn rate. Using too little spawn means slower colonization, which gives competitors more time to establish. For most substrates, aim for a 10–20% spawn rate (spawn weight as a percentage of total wet substrate weight). Higher spawn rates increase cost but dramatically reduce contamination risk and colonization time.
6. Not mixing spawn thoroughly. Dumping spawn on top of the substrate instead of mixing it throughout means uneven colonization and potential stall zones. Break up your spawn and distribute it evenly throughout the substrate.
7. Using old or questionable spawn. If your grain spawn smells sour, is slimy, or shows odd colours, don't use it. Bad spawn is the fastest way to ruin a batch. Our spawn ships fresh from our CFIA-licensed facility in Brantford, Ontario, with a clear best-before date.
Putting It All Together
If you're just getting started, here's the simplest path:
- Grab a bag of All-in-One Mushroom Pellets
- Add water per the instructions
- Load into grow bags — our how to use mushroom grow bags guide walks you through sizing and sealing
- Sterilize at 15 PSI for 2.5 hours
- Cool, inoculate with grain spawn, and let it colonize
Or skip the prep work entirely and start with our Pre-Sterilized Mushroom Substrate (6-pack) — hydrated, sterilized, and ready for spawn right out of the box.
For the complete picture — from choosing your species through to harvest — check out our complete guide to growing mushrooms.
Need help with your grow? Dr. MycoThumb is our free AI growing assistant — ask about substrates, contamination, fruiting conditions, or any cultivation question. Available 24/7 in the chat bubble at the bottom-right of every page.