
Straw is one of the most popular substrates for oyster mushrooms — it's cheap, widely available across Canada, and produces excellent yields. But raw straw is full of competing organisms that will outcompete your mushroom mycelium if left untreated.
Pasteurization kills most of these competitors while leaving behind beneficial microorganisms that actually help resist contamination. Here are the two most common methods.
Method 1: Hot Water Pasteurization
This is the standard approach used by most small-scale growers. It's fast, reliable, and requires no chemicals.
What You Need
- Chopped straw (cut to 2-4 inch lengths)
- Large pot, barrel, or cooler
- Thermometer
- Heat source (propane burner works well for large batches)
- Mesh bag or laundry bag
- Grow bags or containers for spawning
Step-by-Step
1. Chop the straw. Cut or shred straw to 2-4 inch pieces. Shorter pieces pack better and colonize faster. A string trimmer in a garbage can works well for small batches. You can also run over it with a lawn mower.
2. Bag the straw. Load chopped straw into a mesh bag or pillowcase. This makes it easy to submerge and remove from the hot water.
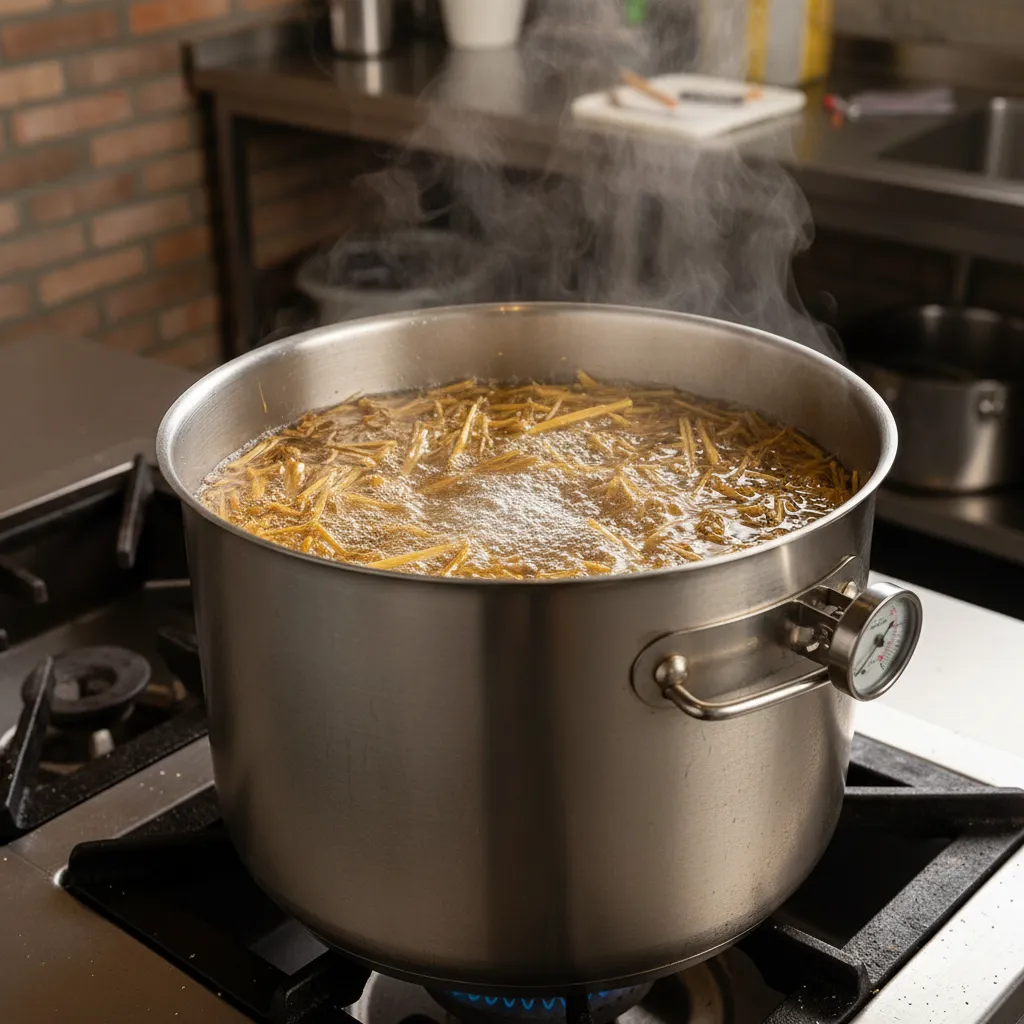
3. Heat the water. Fill your vessel with water and heat to 71-82°C (160-180°F). You need enough water to fully submerge the straw.
4. Submerge and hold. Place the bagged straw into the hot water. Maintain the temperature between 71-82°C for 60 minutes. Use a thermometer to check regularly. If using a cooler, preheat it with boiling water first — the insulation will hold temperature well.
5. Drain and cool. Remove the straw and hang or spread it out on a clean surface to drain and cool. The straw should be moist but not dripping — think of a wrung-out sponge. It's ready to use when it cools to below 27°C (80°F).
6. Spawn. Mix in your oyster mushroom spawn at 10-20% by dry weight of the straw. Load into grow bags, buckets, or tubes. Not sure how much straw to prepare for your batch? Our Bulk Substrate Calculator helps you figure out the right quantities before you start.
Tips for Hot Water Pasteurization
- Don't exceed 82°C — you want pasteurization, not sterilization. Killing everything removes the beneficial bacteria that protect against contamination.
- A propane turkey fryer and large pot is one of the most practical setups for home growers.
- Process straw the same day you plan to spawn it. Don't let pasteurized straw sit overnight.
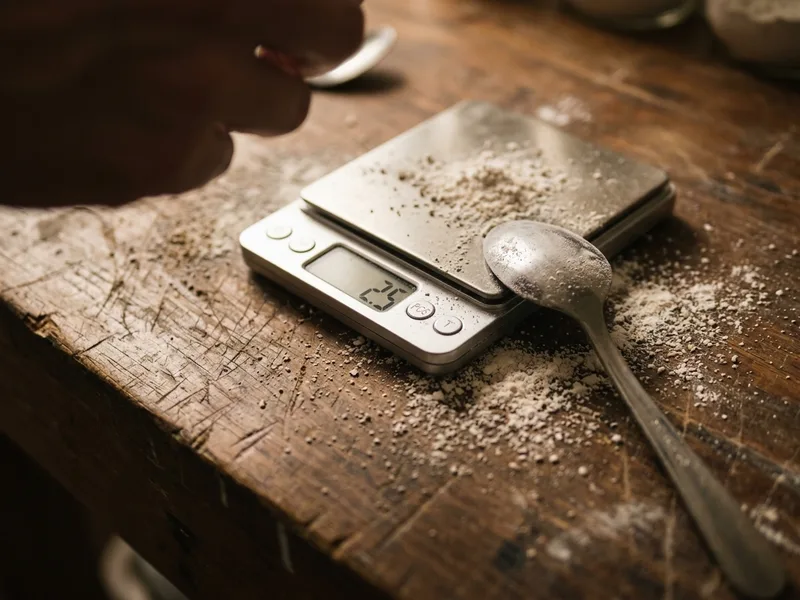
Digital Kitchen Scale
Accurate measurements are the difference between perfectly pasteurized straw and a soggy mess. This scale handles everything from weighing lime to measuring spawn ratios.
When you buy through our links, it supports our mycology research at no extra cost to you.
Method 2: Cold Water Lime Pasteurization
This method uses hydrated lime (calcium hydroxide) to raise the pH of the water, killing competitors without any heat. It's ideal if you don't have a heat source for large batches or prefer a simpler process.
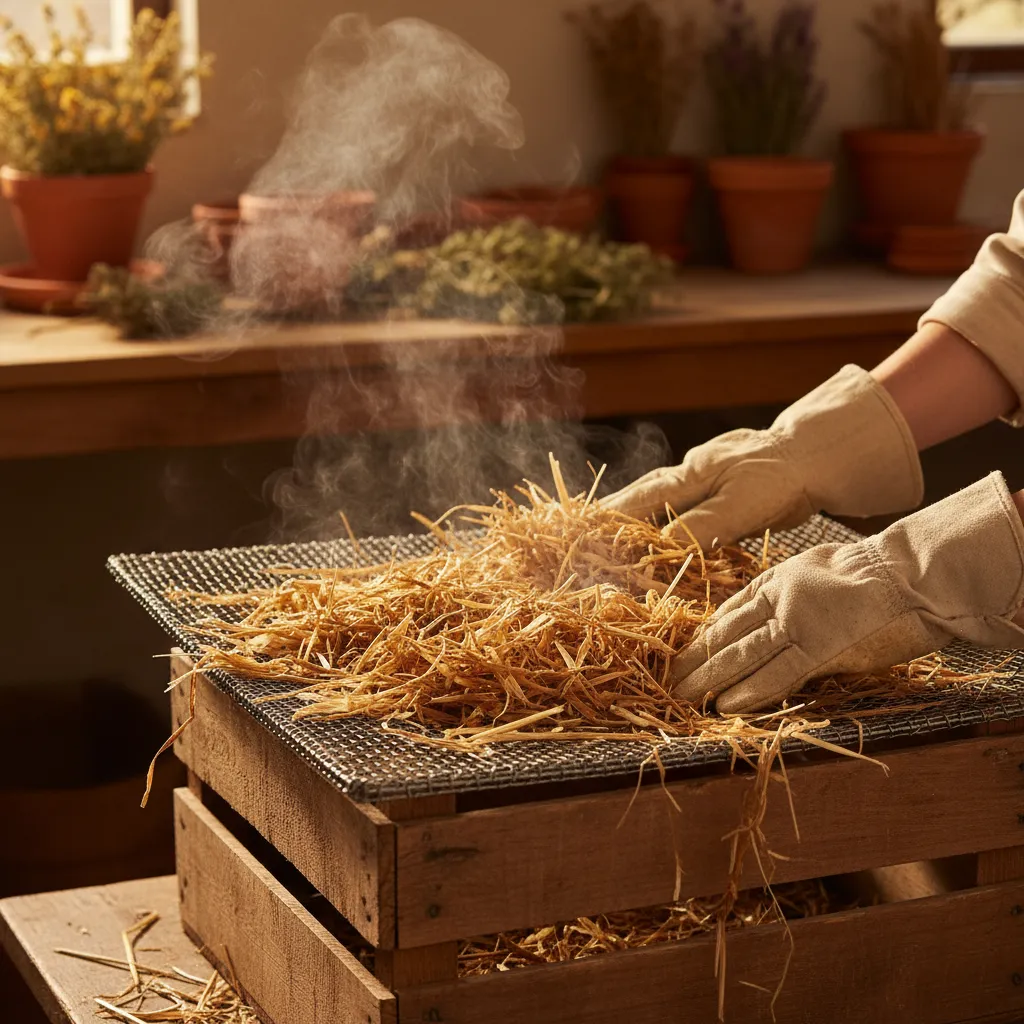
What You Need
- Chopped straw
- Large container (barrel, tote, or stock tank)
- Hydrated lime (calcium hydroxide) — available at building supply stores
- Water
- pH test strips (optional but helpful)
Step-by-Step
1. Chop the straw. Same as above — 2-4 inch pieces.
2. Prepare the lime bath. Fill your container with cold water. Add hydrated lime at a rate of approximately 1-2 grams per litre of water (roughly 1/3 cup per 40 litres). Stir well. The target pH is 11-12. If you have pH strips, test to confirm.
3. Submerge the straw. Push the straw down into the lime water, weighing it down so it stays fully submerged. Ensure all straw is below the water line.
4. Soak for 18-24 hours. Leave the straw submerged at room temperature. The high pH environment kills most contaminants. Don't exceed 24 hours.
5. Drain and drip. Remove the straw, drain thoroughly, and allow excess water to drip off for several hours. The straw should feel moist but not waterlogged.
6. Spawn. Same process as hot water — mix in spawn and load into your growing containers.
Tips for Cold Water Lime
- Wear nitrile gloves when handling hydrated lime — it's caustic at high concentrations.
- The residual lime on the straw is not a problem. It actually helps maintain a slightly alkaline environment that favours mushroom mycelium over competitors.
- This method works best in warmer months (above 15°C ambient temperature).
Method 3: Cold Water Fermentation
Cold water fermentation is the lowest-equipment method. Instead of using heat or hydrated lime, you keep straw fully submerged long enough for anaerobic bacteria to suppress many of the organisms that compete with oyster mushroom mycelium. It is inexpensive and useful for outdoor or seasonal growing, but it smells stronger and is less predictable than hot water or lime pasteurization.
What You Need
- Chopped wheat, oat, or barley straw
- A barrel, tote, or bucket with a lid
- A grate, plate, or clean weight that keeps every piece below the water
- Clean water
- A draining rack, mesh bag, or clean tarp
- Oyster mushroom grain spawn
Step-by-Step
1. Chop and pack the straw. Cut it into pieces roughly 5-10 cm long. Pack it loosely enough that water can move through the material.
2. Cover completely with water. Fill the vessel until the straw is submerged. Floating straw remains exposed to oxygen and can grow mould, so put a clean weight or grate on top.
3. Ferment for 5-10 days. Keep the container covered and out of direct sun. Warm summer conditions move the process faster; cool spring or autumn conditions can take longer. Bubbles and a sour, silage-like odour are normal.
4. Drain outdoors. Fermentation water has a strong smell. Remove the straw and drain it for several hours where runoff will not enter a storm drain or waterway.
5. Check moisture and inoculate. Once the straw reaches field capacity, mix it with spawn and load it into a bucket or grow bag immediately. Do not rinse it unless the odour is putrid rather than cleanly sour.
Fermentation is best treated as an outdoor, warm-weather technique. For an indoor grow or an expensive batch of spawn, hot water pasteurization is the more repeatable choice.
How to Check Field Capacity
Field capacity means the straw holds as much water as the mycelium needs without leaving free water in the bag. This matters as much as pasteurization. Straw that is too dry colonizes slowly; straw that is dripping wet creates low-oxygen pockets where bacteria flourish.
Use the squeeze test after the straw has cooled or drained:
- Take a firm handful from the middle of the batch.
- Squeeze as hard as you can for several seconds.
- Look for only a few drops between your fingers.
If water streams out, drain longer. If no drops appear and the straw feels papery, mist or mix in a small amount of clean water. Test several spots in a large batch because the centre of a bag often retains more water than the outside.
As a rough planning number, dry straw can hold about two to three times its own weight in water. A 2 kg bale portion may therefore finish around 6-8 kg after hydration. The squeeze test is still more useful than chasing an exact weight because straw type, chop length, and storage conditions all change absorption.
Choosing a Spawn Rate
Spawn rate is the weight of grain spawn divided by the wet weight of prepared straw. For most home grows, use 10-15% spawn by wet weight. A higher rate colonizes faster and gives contaminants less time to establish.
| Wet Pasteurized Straw | 10% Spawn Rate | 15% Spawn Rate | 20% Spawn Rate |
|---|---|---|---|
| 5 kg | 500 g | 750 g | 1 kg |
| 10 kg | 1 kg | 1.5 kg | 2 kg |
| 20 kg | 2 kg | 3 kg | 4 kg |
Use 15-20% when conditions are cool, the straw is older, or this is your first batch. Experienced growers working with clean, vigorous spawn can sometimes use less, but saving a small amount of spawn is rarely worth a stalled bag. Our mushroom spawn ratio guide covers the calculation for other substrates and container sizes.
Mix spawn evenly through the straw rather than placing it in one central clump. Layering works in buckets, but each layer should be thin enough that colonization fronts meet quickly. Break grain spawn apart inside its sealed bag before opening it so individual kernels distribute throughout the substrate.
Straw Versus Hardwood Pellets
Straw is inexpensive, fast to colonize, and particularly well suited to Blue, Pink, Pearl, and Black Oyster mushrooms. Its open structure naturally provides air spaces. The trade-off is preparation: it must be chopped, pasteurized, drained, and used promptly.
Hardwood fuel pellets are cleaner to store and easier to measure. Hot water breaks them into hydrated sawdust, and many growers use them for Lion's Mane, Shiitake, King Oyster, and other hardwood-loving species. Supplemented hardwood blocks normally require sterilization rather than simple pasteurization because bran or other supplements are nutrient-rich.
Choose straw when you want an economical oyster substrate or are filling buckets and columns. Choose hardwood pellets when the species prefers wood, storage space matters, or you need more repeatable batch weights. Read our hardwood pellet growing guide before substituting pellets in a straw recipe.
Troubleshooting Pasteurized Straw
The Straw Smells Rotten or Slimy
A clean batch smells like wet hay after hot water treatment, mildly mineral after lime treatment, or sour like silage after fermentation. A putrid odour, slime, or greasy texture indicates bacterial growth. Do not add spawn in the hope that it will recover. Compost the batch, clean the vessel, and start again with better drainage or a shorter soak.
Green Mould Appears Before Full Colonization
Common causes include weak spawn, too little spawn, exposed straw at the top of a fermentation vessel, excessive moisture, or dirty handling after pasteurization. Small isolated spots rarely stay small. Remove the bag from the growing area so spores do not spread, then review the process using our green mould contamination guide.
The Bag Colonizes Slowly
Check temperature, spawn rate, and moisture. Blue Oyster can colonize in cool rooms, but progress slows substantially below about 15°C. Straw packed extremely tightly can also become oxygen-poor. Use clean, vigorous spawn, distribute it evenly, and provide filtered gas exchange rather than sealing the substrate in an airtight container.
Straw Dries Out While Draining
Thin layers exposed to sun or wind can move from field capacity to too dry surprisingly quickly. Drain in shade and begin inoculating as soon as the straw is cool. If necessary, mist with clean water while mixing, then repeat the squeeze test.
Clean Handling After Pasteurization
Pasteurization does not make straw sterile. It creates a temporary window in which healthy mushroom spawn can establish before competitors rebound. Clean the work surface, wash your hands, and sanitize buckets or tools before the straw comes out of the treatment vessel.
Cool hot-water straw below 27°C before adding spawn. Grain spawn can be damaged by heat trapped in the centre of a large pile even when the outside feels comfortable. Do not leave treated straw exposed overnight, and do not mix fresh untreated straw into a finished batch.
Hydrated lime is caustic. Use calcium hydroxide with a low magnesium content, follow the product label, protect your eyes and skin, and keep the bath away from children and animals. Do not substitute garden lime or dolomitic lime: they do not raise pH in the same way.
Frequently Asked Questions
Do I Need to Sterilize Straw for Oyster Mushrooms?
No. Oyster mushrooms colonize pasteurized straw aggressively, and the surviving background organisms can help resist contamination. Sterilizing straw adds equipment and creates a highly exposed substrate that must then be handled under cleaner conditions.
Can I Pasteurize a Whole Bale Without Chopping It?
You can, but long stems hydrate unevenly, pack poorly, and colonize more slowly. Chopping to 5-10 cm pieces produces more consistent moisture and makes buckets or bags easier to fill.
Can Pasteurized Straw Wait Until Tomorrow?
It is best to inoculate the same day. If a delay is unavoidable, keep the drained straw covered and cool, then use it within 24 hours. Reheating or repeatedly handling it generally introduces more risk than it removes.
How Long Does Oyster Spawn Take to Colonize Straw?
With vigorous spawn, correct moisture, and a 10-20% spawn rate, many oyster varieties colonize a small container in 10-21 days. Large, cold, or lightly spawned batches take longer.
Can I Reuse Pasteurization Water?
Hot water can sometimes be used for a second batch if it is brought back to the target temperature promptly. Lime and fermentation baths become less predictable as organic matter accumulates, so beginners should prepare a fresh bath for each batch.
Which Oyster Species Work Best on Straw?
Straw is primarily an oyster mushroom substrate. Other species generally prefer hardwood-based substrates.
| Species | Performance on Straw |
|---|---|
| Blue Oyster | Excellent — the classic straw mushroom |
| Pink Oyster | Excellent — fast colonization |
| Pearl Oyster | Excellent |
| King Oyster | Poor — prefers supplemented hardwood |
| Lion's Mane | Poor — needs hardwood |
| Shiitake | Poor — needs hardwood |
Next Steps
Ready to get growing? Pick up some oyster mushroom spawn and grow bags from our shop. For more detail on substrate options beyond straw, read our substrate guide. And for the full oyster growing process, check out our oyster mushroom guide.
Sources and Further Reading
- Cornell Small Farms: Four Methods of Commercial Mushroom Cultivation — hot-water treatment, cold fermentation, hydrated-lime treatment, wastewater safety, and oyster production on straw.
- Cornell Small Farms: The Science of DIY Mushroom Substrates — field testing of hydrated lime, straw preparation, magnesium limits, pH, cleanliness, and spawn use.
- Cornell Cooperative Extension: Adding Specialty Mushrooms to a Farm — substrate preparation and the roles of temperature, humidity, and airflow.
Have a mushroom-growing question? Ask Dr. MycoTek for AI help with your grow. Sign in to use your free monthly allowance.