Sterilization is the single most important step in mushroom cultivation that separates successful growers from frustrated ones. If your substrate isn't properly sterilized, contaminants — mould spores, bacteria, wild yeasts — will outcompete your mushroom mycelium before it has a chance to colonize. Every green bag of trichoderma you've ever thrown out traces back to a sterilization failure.
This guide covers everything you need to know about sterilizing mushroom substrate: when sterilization is required (versus pasteurization), the science behind it, pressure cooker and autoclave methods with exact parameters, alternative techniques, and the most common mistakes that cause contamination.
Sterilization vs. Pasteurization: When to Use Each
This is the most common point of confusion for new growers. They're not interchangeable — using the wrong method for your substrate type is a guaranteed path to contamination.
Sterilization kills everything — all bacteria, moulds, endospores, and competing organisms. It requires temperatures above 121°C (250°F), which is only achievable under pressure. Sterilization creates a completely blank slate, meaning your mushroom mycelium is the only organism that gets to colonize the substrate.
Pasteurization reduces microbial populations without eliminating them entirely. It uses lower temperatures — typically 60-82°C (140-180°F) — for 1-2 hours. Pasteurization leaves behind beneficial organisms that actually help mushroom mycelium compete against contaminants. It's simpler, cheaper, and appropriate for substrates that don't need full sterilization.
When to Sterilize (Pressure Required)
You must sterilize any substrate that contains added nutrition beyond the base material:
- Supplemented hardwood sawdust — sawdust with bran, soy hull, gypsum, or other nitrogen supplements
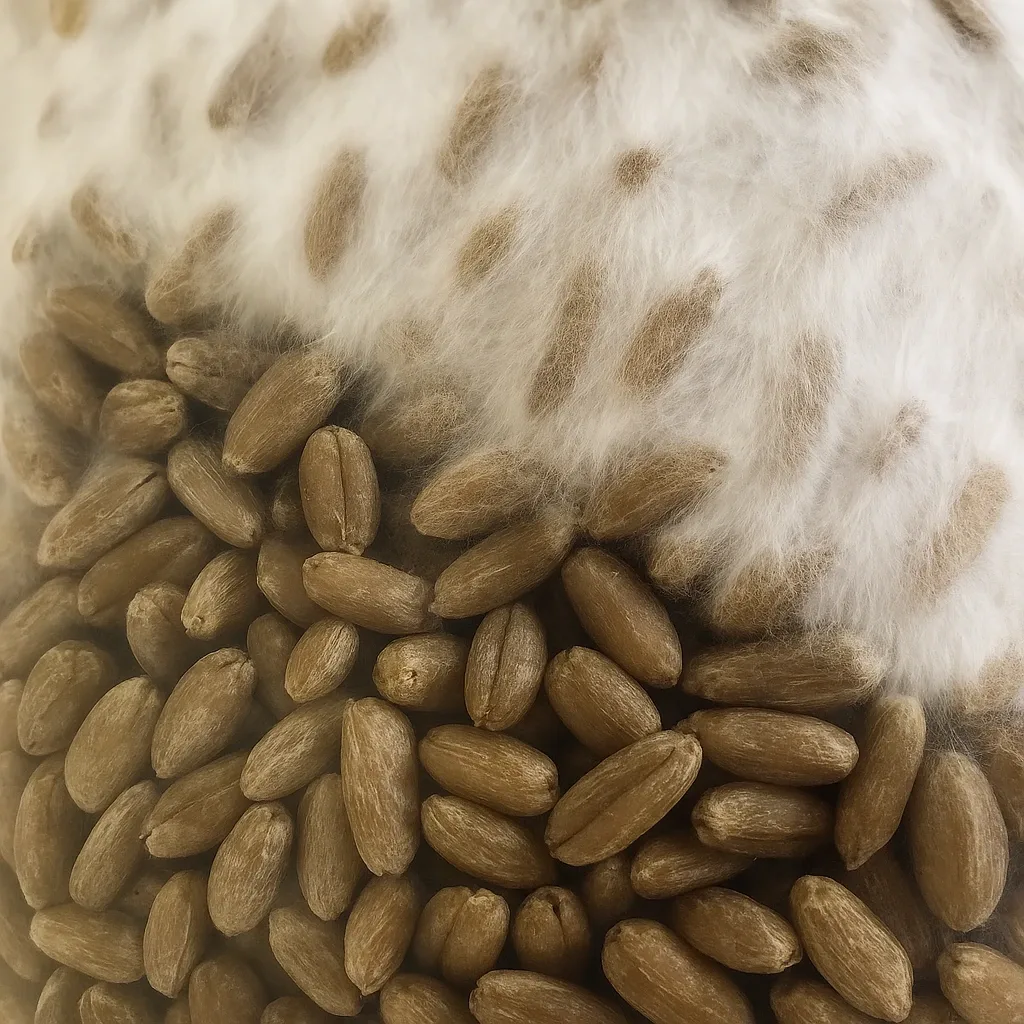
- Grain (rye, millet, wheat, oats) — for making grain spawn
- Agar media — for culture work
- Manure-based substrates — composted manure blends like our Magic Soil
- All-in-one grow bags — pre-mixed grain and substrate in a single bag
- Any substrate with supplements added for higher yields
The added nutrition creates an environment where bacteria and moulds can thrive. Without full sterilization, contaminants will colonize the nutrients faster than your mushroom mycelium.
When to Pasteurize (No Pressure Needed)
You can pasteurize substrates that are nutritionally simple — materials where mushroom mycelium has a natural competitive advantage:
- Straw — wheat straw, oat straw (see our straw pasteurization guide)
- Plain coco coir — coconut fibre without supplements
- Coco coir + vermiculite (CVG) — the classic manure-free substrate
- Cardboard — for outdoor oyster mushroom beds
- Plain hardwood pellets — without bran or soy hull supplement (see pellet substrate guide)
These materials are low in easily accessible nutrients, so contaminants don't have a head start. The surviving beneficial microbes from pasteurization actually help protect the substrate.
The Science: Why 121°C and 15 PSI
Ordinary boiling (100°C / 212°F at sea level) kills most bacteria and moulds, but it does NOT kill bacterial endospores — dormant, heat-resistant structures produced by species like Bacillus and Clostridium. These endospores can survive hours of boiling and will germinate once the substrate cools, contaminating your bags days or weeks later.
To destroy endospores, you need 121°C (250°F) sustained for a minimum of 90 minutes. Water cannot reach 121°C at normal atmospheric pressure — it boils at 100°C. A pressure cooker or autoclave raises the internal pressure to 15 PSI (103 kPa), which raises the boiling point of water to 121°C. At this temperature, endospore proteins denature and the organisms die.
The critical variables:
| Parameter | Minimum | Recommended | Notes |
|---|---|---|---|
| Temperature | 121°C (250°F) | 121°C | Higher is not better — degrades substrate |
| Pressure | 15 PSI | 15 PSI | This achieves 121°C at sea level |
| Time (grain) | 90 minutes | 90-120 min | At pressure, after reaching 15 PSI |
| Time (sawdust) | 120 minutes | 150 min | Denser material needs longer |
| Time (agar) | 20 minutes | 30 min | Small volumes heat quickly |
Important: The timer starts when the cooker reaches 15 PSI — not when you turn on the heat. Getting up to pressure typically takes 30-60 minutes depending on the load size.
Method 1: Pressure Cooker Sterilization
The pressure cooker is the standard tool for home and small-scale mushroom cultivation. A 23-quart Presto pressure cooker is the most popular choice — it fits 7 quart jars or 4-5 substrate bags per run.
What You Need
- Pressure cooker rated for 15 PSI (NOT an Instant Pot — those only reach 12 PSI)
- Grow bags with filter patches, or mason jars with modified lids
- Substrate (grain, supplemented sawdust, etc.)
- Trivet or jar rack to keep bags/jars off the bottom
- Heat source (stove or standalone burner)
Step-by-Step Process
Prepare your substrate. For grain: rinse, soak 12-24 hours, simmer 15 minutes, drain until surface-dry. For supplemented sawdust: mix components, hydrate to 60-65% moisture (squeeze test — a few drops when firmly squeezed). See our grain preparation guide for exact ratios.
Load the bags or jars. Fill grow bags to about 2/3 capacity, leaving room for expansion. Fold the top of the bag over and secure loosely — the bag needs to vent steam during sterilization. If using jars, leave 1 inch of headspace and cover lids with foil.
Add water to the cooker. Add 2-3 inches of water to the bottom. Place the trivet in, then stack your bags or jars. Don't let bags touch the bottom directly — they can melt.
Bring to pressure. Place the lid on, turn heat to high. Once steam vents steadily from the vent pipe (about 10 minutes), place the weight/regulator on. Pressure will build to 15 PSI over the next 15-30 minutes.
Hold at 15 PSI. Once the weight begins to rock gently (Presto) or the gauge reads 15 PSI, reduce heat to maintain a steady, gentle rock. Start your timer:
- Grain: 90-120 minutes
- Supplemented sawdust: 120-150 minutes
- Agar: 20-30 minutes
Cool naturally. When the timer ends, turn off the heat and let the cooker depressurize naturally. Do NOT release steam manually — rapid cooling creates a vacuum that sucks contaminants into your bags through the filter patches. Natural cooling takes 4-8 hours. Many growers run their sterilization cycle in the evening and unload the next morning.
Inoculate in clean conditions. Once cooled to room temperature, transfer bags or jars to a still air box or in front of a laminar flow hood for inoculation with liquid culture or grain spawn.
Method 2: Autoclave Sterilization
For growers producing at commercial scale, a dedicated autoclave replaces the pressure cooker. Autoclaves offer larger capacity (25-75 litres), more precise temperature control, and programmable cycles.
The process is identical in principle — 121°C at 15 PSI — but autoclaves heat more evenly, hold pressure more consistently, and often have automatic pressure relief and cooling cycles.
When to upgrade from a pressure cooker to an autoclave:
- You're running more than 3-4 pressure cooker loads per week
- You need to sterilize more than 50 lbs of substrate at once
- You want programmable, hands-off sterilization cycles
- You're scaling from hobby to commercial production
See our full autoclave buying guide for recommendations and pricing.
Method 3: Tyndallization (Fractional Sterilization)
Tyndallization is an old technique that achieves sterilization without a pressure cooker by exploiting the endospore lifecycle. It's slower and less reliable than pressure sterilization, but it works if you don't have a pressure cooker.
How it works:
- Heat to 100°C (boiling) for 30-60 minutes. This kills all vegetative cells and active moulds but NOT endospores.
- Cool to room temperature and let sit for 24 hours. During this period, surviving endospores germinate into vulnerable vegetative cells.
- Heat to 100°C again for 30-60 minutes. This kills the newly germinated cells.
- Repeat a third time. Three cycles over three days.
Pros: No pressure cooker needed, just a large pot and stove.
Cons: Takes 3 days, not as reliable as pressure sterilization (some endospores may not germinate on schedule), higher contamination risk overall. Not recommended for supplemented substrates or commercial production.
Pasteurization Methods
Pasteurization is the more accessible side of substrate preparation — no pressure cooker required, lower risk of substrate degradation, and perfectly effective for the right materials. Here's every method that works.
Method 4: Bucket Tek (Boiling Water Pour)
The simplest pasteurization method, and the one most beginners start with. It requires nothing more than a bucket with a lid and a kettle.
Best for: Coco coir, CVG (coco coir + vermiculite + gypsum), and coco coir/straw blends.
Process:
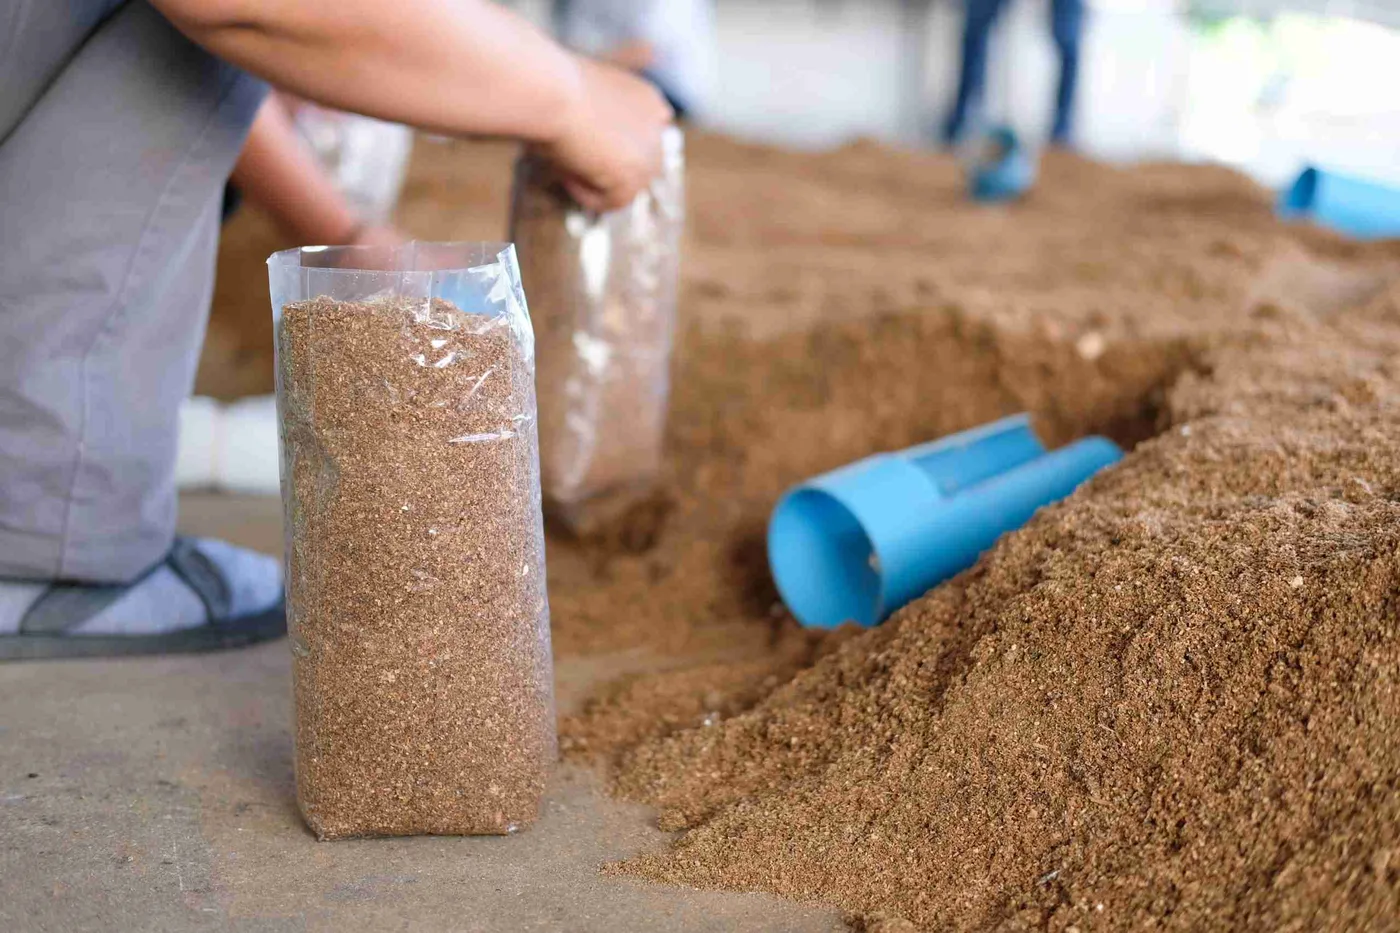
- Place your dry substrate in a clean bucket. For a standard CVG mix: 650g coco coir brick, 2 litres vermiculite, 1 cup gypsum.
- Boil enough water to fully saturate the substrate — typically 3-4 litres for one coir brick.
- Pour the boiling water directly over the dry substrate.
- Close the lid immediately. Wrap the bucket in towels or a blanket to retain heat.
- Let it sit undisturbed for 6-8 hours (overnight is ideal).
- Open, check moisture. The substrate should be at proper field capacity — squeeze a handful firmly and get a few drops of water, not a stream.
- Once cooled to room temperature (below 30°C / 86°F), it's ready for inoculation.
Why it works: Coco coir is naturally resistant to contamination due to its low nutrient content and slightly acidic pH. The boiling water raises the internal temperature to 82-90°C, which is well above pasteurization range (60-82°C). The sealed bucket holds this temperature for several hours as it slowly cools, giving a thorough pasteurization without any special equipment.
Tips: Use clean buckets — wash with hot soapy water before each use. Don't open the lid to "check on it" during the 6-8 hour wait. Every time you open the lid, you introduce room air and drop the temperature.
Method 5: Hot Water Bath (Straw and Hardwood)
The traditional pasteurization method for straw and plain hardwood substrates. Requires a large pot or barrel, a thermometer, and a heat source.
Best for: Chopped straw, plain hardwood chips, plain hardwood pellets (unsupplemented).
Process:
- Chop straw to 5-10 cm (2-4 inch) lengths. If using hardwood pellets, hydrate them first in cold water until they break apart.
- Load the substrate into a mesh bag, pillowcase, or wire basket for easy removal.
- Submerge in water heated to 65-82°C (149-180°F). Use a thermometer — this range is critical.
- Hold at temperature for 60-90 minutes. Do NOT exceed 82°C — too hot kills beneficial organisms you want to keep.
- Remove, drain thoroughly. Hang the mesh bag or spread on a clean surface until no more water drips.
- Cool to room temperature before inoculating.
Temperature matters: Below 60°C doesn't kill enough contaminants. Above 82°C starts approaching sterilization territory, which removes the beneficial organisms that give pasteurization its competitive advantage. The sweet spot is 71-77°C (160-170°F) for 60 minutes.
Scaling up: For larger volumes, some growers use a 55-gallon steel drum with a propane burner underneath. Add a spigot near the bottom for draining. This setup can pasteurize 20+ lbs of straw per batch.
For a detailed walkthrough specifically for straw, see our complete straw pasteurization guide.
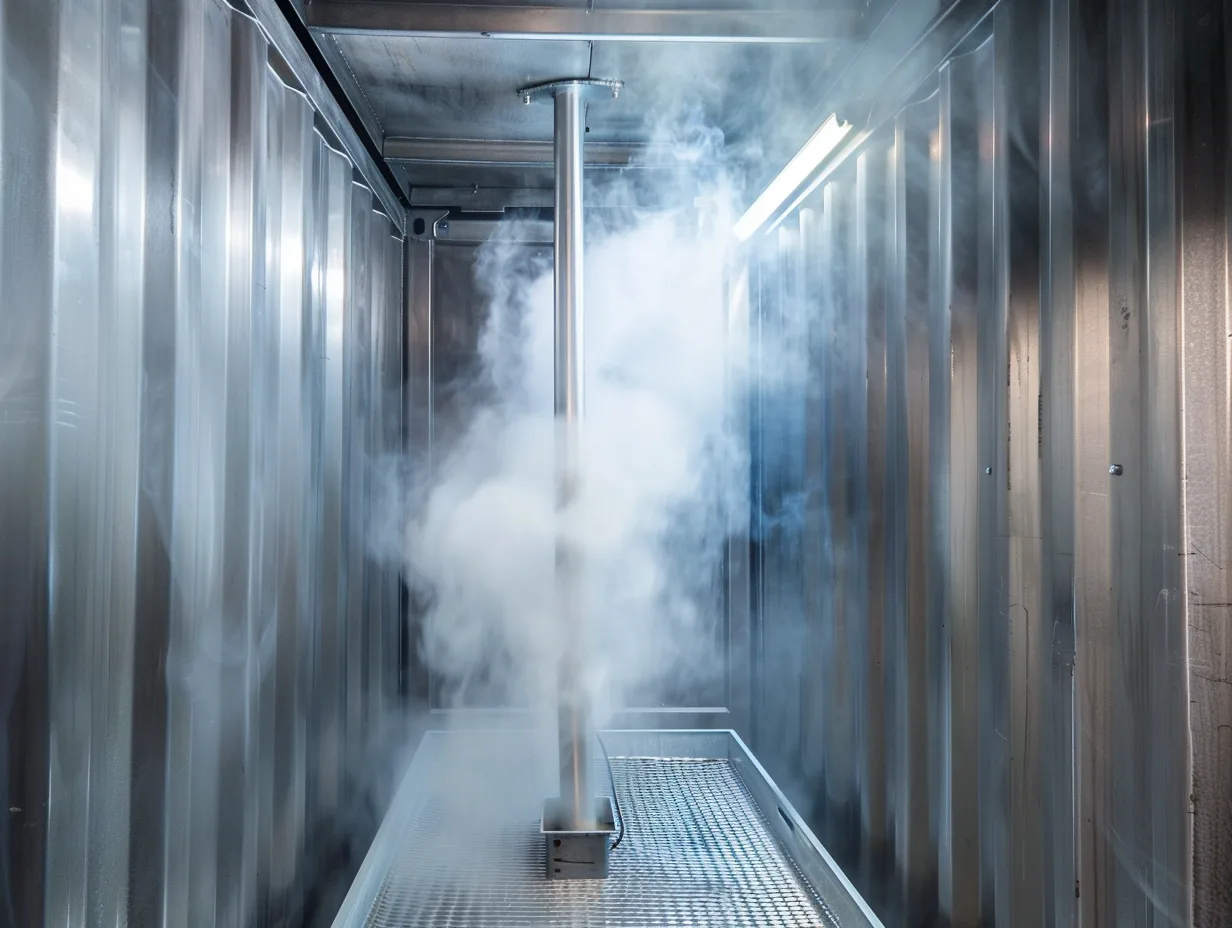
Method 6: Low-Pressure Steam Pasteurization
This is the method used by most commercial mushroom farms. It's cleaner and more consistent than water bath pasteurization, and it doesn't waterlog the substrate.
Best for: Supplemented hardwood sawdust (with up to 20% bran), straw, and any substrate at commercial scale. This is how most oyster mushroom farms pasteurize their fruiting blocks.
Process:
- Load substrate into bags or a pasteurization chamber (an insulated box, chest, or converted chest freezer).
- Generate steam using a wallpaper steamer, turkey fryer with a steam attachment, or a dedicated steam generator.
- Pipe the steam into the chamber. Target an internal temperature of 65-80°C (149-176°F).
- Hold for 12-18 hours. The long duration compensates for the lower temperature compared to pressure sterilization.
- Allow to cool in the sealed chamber before opening.
The 20% bran rule: Low-pressure steam pasteurization works for hardwood sawdust supplemented with UP TO approximately 20% wheat bran by weight. At this supplementation rate, the pasteurization temperature is sufficient to control contaminants while the mushroom mycelium has enough nutritional advantage to colonize first.
When it doesn't work: Master's mix (50% hardwood pellets + 50% soy hull pellets) is too nutritionally rich for pasteurization. The high protein content of soy hull gives contaminants too much fuel. Master's mix MUST be sterilized at 15 PSI. Same goes for any substrate with more than 25% supplementation — sterilize it.
DIY chamber: A cheap pasteurization chamber can be built from a large cooler or insulated plastic tote with a hole drilled for the steam hose. Line with foil for easy cleaning. A $40 wallpaper steamer produces enough consistent steam for 50+ lbs of substrate.
Method 7: Cold Water Lime Bath
No heat required at all. This method uses extreme alkalinity to kill contaminants. Popular for outdoor straw beds and large-scale oyster mushroom operations where fuel costs matter.
Best for: Straw (wheat, oat, barley), corn stalks, and other agricultural residues. Not suitable for grain, sawdust, or coco coir.
Process:
- Chop straw to 5-10 cm lengths.
- Fill a large container (barrel, tote, or stock tank) with cold water.
- Add hydrated lime (calcium hydroxide) at approximately 1-2% by weight of water. For a 200-litre barrel, that's roughly 2-4 kg of lime. Target pH of 12-13.
- Submerge the straw completely. Weight it down with a plate or lid so it stays under water.
- Soak for 16-24 hours.
- Drain thoroughly. Rinse the straw with clean water 2-3 times to reduce pH. Check with pH strips — aim for below pH 9 before inoculating. Most mycelium prefers pH 6-8.
- Drain until the straw stops dripping, then inoculate.
Why it works: At pH 12-13, the extreme alkalinity denatures proteins in bacterial and mould cells, effectively killing them. Mushroom mycelium is more tolerant of residual alkalinity than most contaminants, giving it a competitive window during early colonization.
Caution: Hydrated lime is caustic — wear gloves and eye protection when handling. Don't skip the rinse step, or the residual alkalinity will inhibit your mushroom mycelium too.
The Grey Area: Lightly Supplemented Hardwood
This is where many growers get confused, and where contamination problems often start.
Plain hardwood sawdust or pellets (0% supplementation): Can be pasteurized using any method above. Very low contamination risk because there's minimal available nutrition for contaminants.
Hardwood + 10-20% wheat bran: Can be steam-pasteurized at 65-80°C for 12-18 hours. Many commercial oyster farms use this approach successfully. The key is maintaining clean workspace practices and using vigorous spawn — oyster mycelium is aggressive enough to outcompete most contaminants at this supplementation level.
Hardwood + 20-30% supplementation: Grey zone. Some experienced growers pasteurize this successfully, but contamination rates climb. If you're losing more than 10% of your bags to contamination, switch to sterilization.
Master's mix (50/50 hardwood + soy hull) or anything above 30%: Must be sterilized at 15 PSI. No pasteurization method is reliable at this supplementation level. The protein and nitrogen content is too high — contaminants will outrun your mycelium every time.
| Substrate | Method | Supplementation | Reliability |
|---|---|---|---|
| Coco coir / CVG | Bucket tek | None | Very high |
| Plain straw | Hot water or lime | None | High |
| Plain hardwood | Hot water or steam | None | High |
| Hardwood + 10-20% bran | Steam pasteurization | Low | Good (with clean technique) |
| Hardwood + 20-30% | Sterilize recommended | Medium | Moderate if pasteurized |
| Master's mix (50/50) | Must sterilize (15 PSI) | High | Only sterilization works |
| Grain (any type) | Must sterilize (15 PSI) | High | Only sterilization works |
| Manure-based | Must sterilize (15 PSI) | High | Only sterilization works |
Common Mistakes
1. Not reaching full pressure before timing
The most common mistake. If your timer starts before the cooker actually hits 15 PSI, the substrate spends part of the cycle below the lethal temperature. Wait until the weight rocks steadily or the gauge reads 15 PSI, THEN start timing.
2. Releasing pressure manually
Opening the steam valve to cool faster creates a vacuum inside the cooker. This vacuum sucks unfiltered air (carrying contaminants) back through your bag's filter patches. Always let the cooker depressurize naturally overnight.
3. Substrate too wet
Excess moisture creates anaerobic pockets where bacteria thrive even after sterilization. Your substrate should pass the squeeze test: squeeze a handful firmly — you should see a few drops of water, not a stream. If water drips freely, your substrate is too wet.
4. Bags too full
Overfilled bags don't heat evenly. The centre of the bag may not reach 121°C even if the edges do. Fill bags to 2/3 capacity maximum.
5. Using an Instant Pot
Instant Pots and most electric pressure cookers max out at 11-12 PSI, which only reaches about 116°C. This is below the 121°C threshold needed to kill endospores. You need a stovetop pressure cooker or dedicated autoclave rated for 15 PSI.
6. Contaminated after sterilization
If your substrate is clean out of the cooker but contaminates after inoculation, the problem isn't sterilization — it's your inoculation technique. Work in a still air box, flame-sterilize your tools, and minimize the time bags are open.
7. Pasteurizing substrate that needs sterilization
This is the most expensive mistake on the list. If you're pasteurizing master's mix, grain, or heavily supplemented sawdust, you'll contaminate 30-80% of your bags. No amount of clean technique compensates for the wrong preparation method. Check the table above — if your substrate has more than 20% supplementation, sterilize it.
8. Inoculating while substrate is too hot
Mushroom mycelium dies above approximately 40°C (104°F). If you inoculate pasteurized substrate before it's fully cooled, you'll kill your spawn. Wait until the substrate is below 30°C (86°F) — cool to the touch. For bucket tek, this means waiting the full 6-8 hours.
Skip the Sterilization: Pre-Sterilized Options
If you'd rather skip the pressure cooker entirely, we produce pre-sterilized hardwood substrate blocks at our CFIA-licensed facility. Each bag arrives ready to inoculate — just inject liquid culture or break in grain spawn, seal, and wait for colonization.
We also sell pre-sterilized Magic Soil (manure-based substrate) and bulk organic millet grain for growers who prefer to handle their own grain preparation.
Frequently Asked Questions
Can I sterilize substrate in the oven?
No. Dry heat in an oven does not penetrate substrate effectively. Sterilization requires moist heat under pressure — the steam is what transfers heat into the centre of the substrate. An oven at 250°F will char the outside while leaving the centre unsterilized.
How do I know if my substrate is properly sterilized?
You don't — not by looking at it. The only reliable indicator is whether it contaminates after inoculation. If you're following the correct parameters (15 PSI, 121°C, 90-150 minutes depending on substrate) and your bags still contaminate, check your inoculation technique first, then your substrate moisture content.
Can I sterilize substrate twice if the first run fails?
Yes, but it may degrade the substrate quality. Repeated sterilization breaks down wood fibres and can make grain mushy, both of which reduce yields. It's better to diagnose why the first run failed (insufficient time, pressure too low, substrate too wet) and fix the root cause.
What's the difference between a pressure cooker and a pressure canner?
For mushroom cultivation purposes, they're the same thing. Both reach 15 PSI. "Pressure canner" is the food-preservation term. The 23-quart Presto is technically a pressure canner but is the standard tool for mushroom substrate sterilization.
How long does sterilized substrate stay sterile?
Properly sealed bags remain sterile indefinitely — the filter patch keeps contaminants out while allowing gas exchange. In practice, inoculate within a few days of sterilization for best results. Sterilized grain in sealed jars keeps for weeks if stored in a clean environment.
Ready to start growing? Browse our pre-sterilized substrates — hardwood blocks, Magic Soil, and bulk grain, all sterilized in our CFIA-licensed facility and shipped free across Canada. Or pick up a pressure cooker and sterilize your own.
Need help with your grow? Dr. MycoThumb is our free AI growing assistant — ask about substrates, contamination, fruiting conditions, or any cultivation question. Available 24/7 in the chat bubble at the bottom-right of every page.