Hardwood fuel pellets (HWFP) are one of the best-kept secrets in mushroom cultivation. They're cheap, widely available, nearly sterile out of the bag, and produce excellent results with a wide range of gourmet species.
If you've been buying pre-made substrate and want to save money — or you're scaling up and need a reliable bulk recipe — pellets are the answer. This guide covers everything from sourcing and hydration to the popular Masters Mix recipe and species-specific tips.
What Are Hardwood Fuel Pellets?
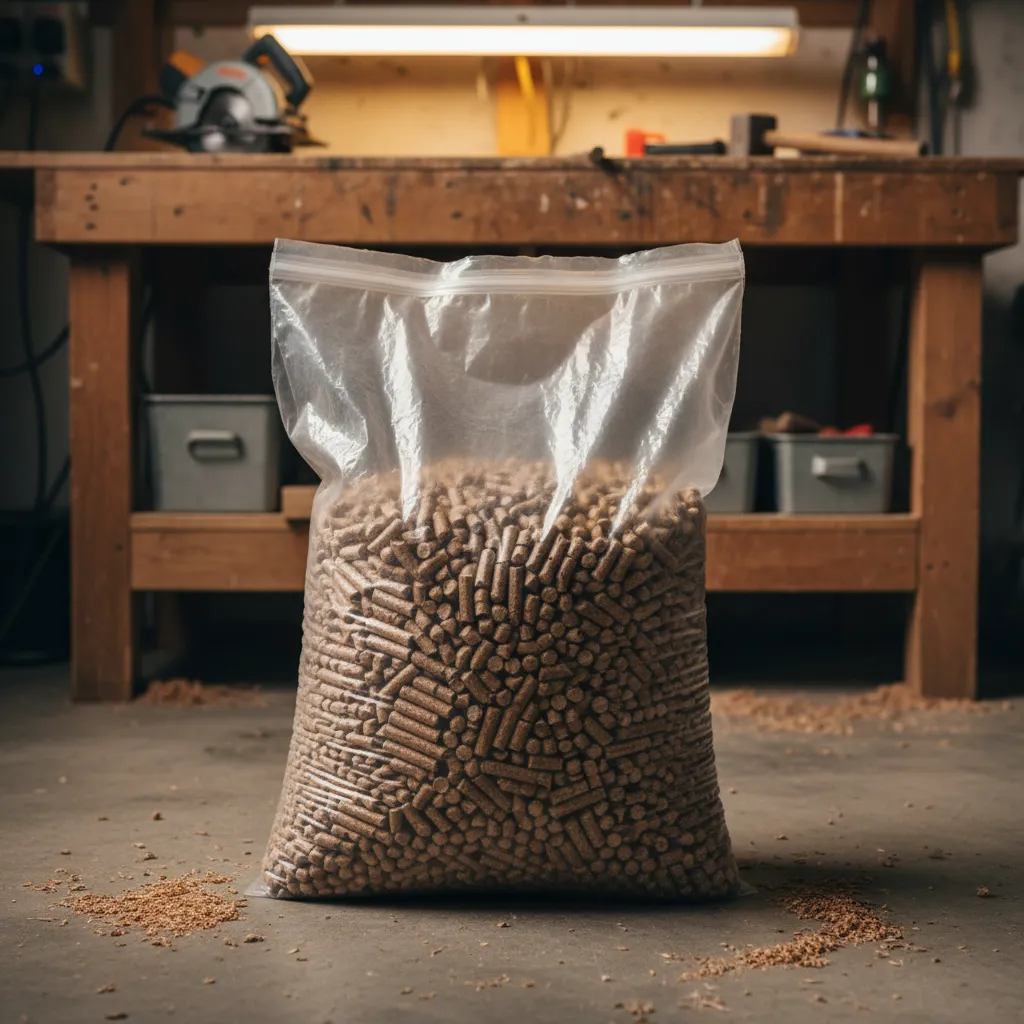
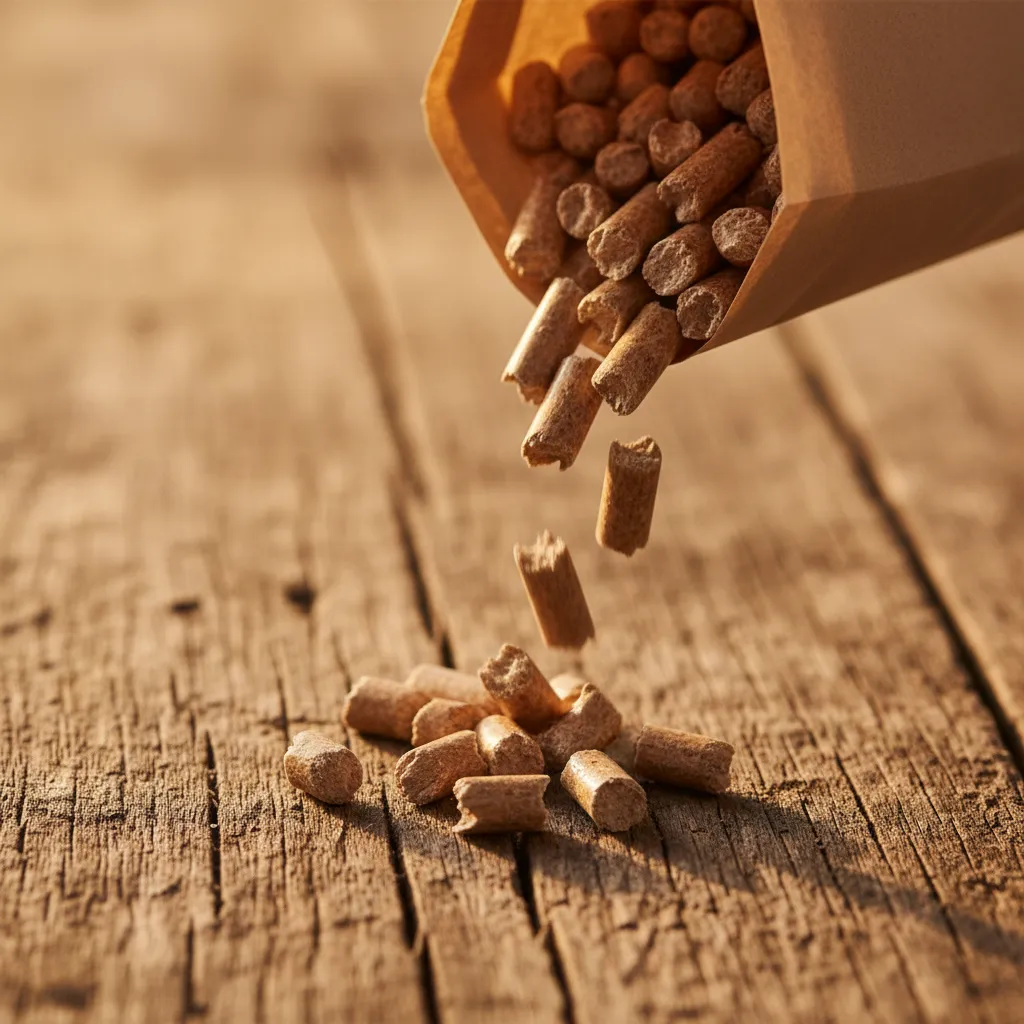
HWFP are compressed sawdust pellets sold as heating fuel for pellet stoves. They're made by forcing hardwood sawdust through a die at high pressure and temperature — typically around 150-200°C — which compresses the material into dense, uniform cylinders about 6mm in diameter and 10-25mm long.
The manufacturing process is what makes them so useful for mushroom growers. The extreme heat and pressure accomplish three things simultaneously: they kill nearly all bacteria, moulds, and competing fungi present in the raw sawdust; they break down the wood fibres partially, making the cellulose and lignin more accessible to mushroom mycelium; and they reduce the material to a fraction of its original volume, making storage and transport far more practical.
A single 40 lb bag of pellets expands to roughly 4-5 cubic feet of hydrated substrate — enough for 8-10 standard grow bags. Compare that to hauling bales of straw or bags of raw sawdust, and the convenience advantage is obvious.
Why Growers Use Hardwood Pellets
There are good reasons HWFP have become the go-to substrate for home growers and small-scale farms across Canada:
- Nearly sterile. The heat and pressure of manufacturing kills most contaminants. Many growers use them with no additional sterilisation for aggressive species like oysters.
- Consistent. Every bag is the same — no variation in particle size or wood species mix. This consistency means repeatable results batch after batch.
- Cheap. A 40 lb bag costs $6-10 at Canadian hardware stores or feed suppliers. Per bag of substrate, you're looking at roughly $1-2 in raw material cost.
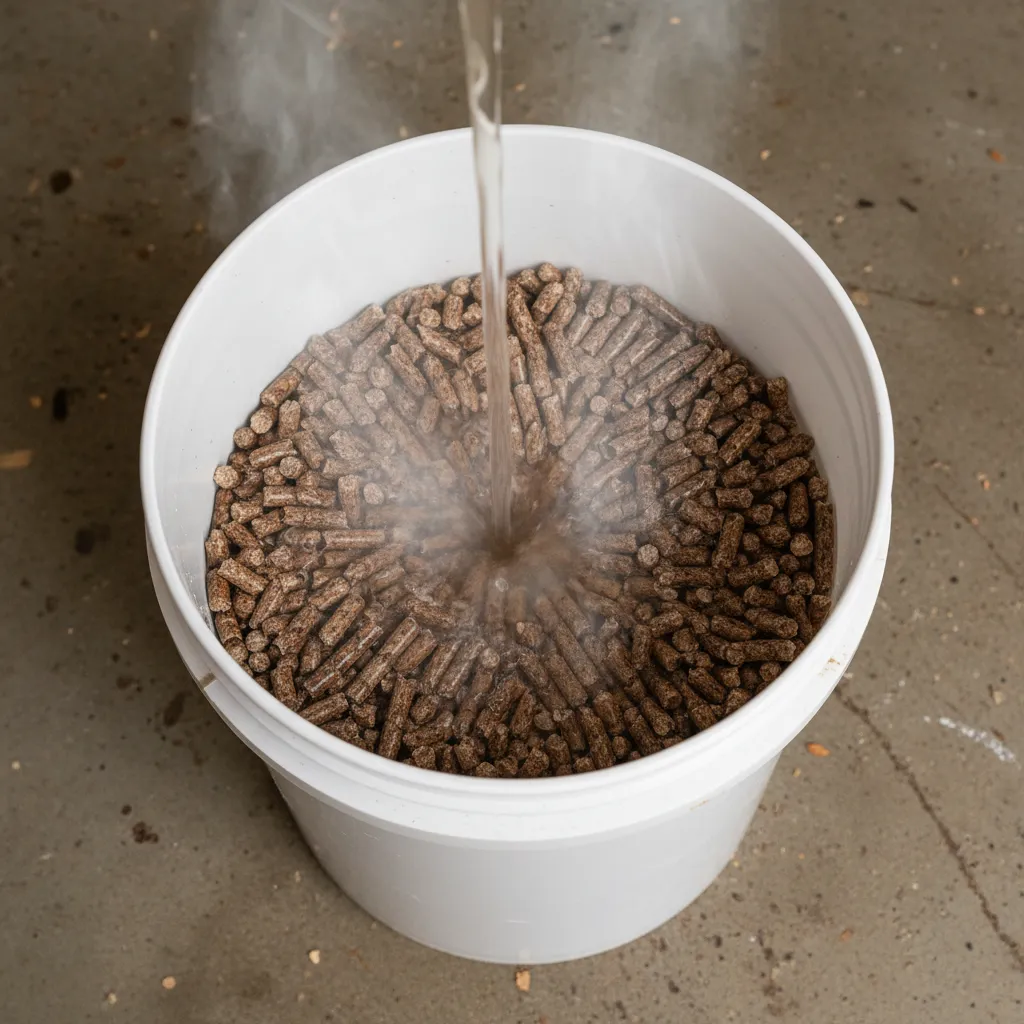
- Easy to hydrate. Just add water and they break apart into fine sawdust within 30 minutes. No chopping, shredding, or soaking overnight.
- Available everywhere. Canadian Tire, Home Hardware, farm supply stores, even some grocery stores carry them during heating season. Online availability is year-round.
- Compact storage. A pallet of pellets in your garage stores the equivalent of a barn full of straw. They don't attract pests and stay shelf-stable for years when kept dry.
For growers who want to skip the sourcing entirely, our pre-mixed mushroom pellets are formulated specifically for cultivation and come ready to hydrate with no guesswork.
HWFP vs Other Substrates
How do hardwood pellets compare to other common mushroom substrates? Each option has its trade-offs depending on your scale, species, and equipment.
Pellets vs Straw
Straw is the traditional substrate for oyster mushrooms and remains popular at larger farms. It's cheap and widely available, but it requires significant preparation — chopping to 5-10 cm lengths, then pasteurising by hot water bath, lime bath, or cold fermentation. The particle size and nutrient content vary between batches, and straw harbours far more contaminants than pellets. For detailed pasteurisation methods, see our straw pasteurisation guide.
Pellets win on consistency and preparation time. Straw wins on cost at very large scale (farm-level) and for outdoor bed cultivation.
Pellets vs Raw Sawdust
Raw hardwood sawdust works well but is difficult to source in consistent quantities unless you have a relationship with a sawmill. It needs to be confirmed as hardwood only (no treated lumber, no MDF), and it carries a much higher contamination load than pellets. You'll always need to sterilise raw sawdust.
Pellets are effectively pre-processed sawdust — same end material, far less prep work.
Pellets vs Masters Mix
Masters Mix isn't a separate substrate — it's a recipe that uses pellets as one of its two ingredients (more on this below). Think of plain HWFP as the base model and Masters Mix as the upgraded version with supplementation built in.
When to Use What
| Situation | Best Substrate |
|---|---|
| First-time grower, oyster mushrooms | HWFP alone (no sterilisation needed) |
| Growing Lion's Mane, Shiitake, or King Oyster | Masters Mix or supplemented HWFP |
| Large-scale outdoor beds | Straw or wood chips |
| Log cultivation (Shiitake, Maitake) | Hardwood logs — see our log growing guide |
| Maximum yield per bag | Masters Mix (supplemented) |
Sourcing Hardwood Pellets in Canada
Not all fuel pellets are created equal. Here's what to look for and what to avoid when shopping for HWFP in Canada.
What to Look For
- 100% hardwood, no additives. The label should explicitly state hardwood only — oak, maple, beech, birch, or a hardwood blend. No binders, no accelerants, no flavouring.
- Premium or super-premium grade. These have lower ash content (under 1%) and fewer fines, which means cleaner substrate.
- Intact packaging. Bags with holes or tears may have absorbed moisture, which defeats the near-sterile advantage.
- Canadian brands. Look for brands like Pinnacle, Trebio, or Energex. Most Canadian pellet manufacturers use local hardwood and maintain consistent quality standards.
What to Avoid
- Softwood pellets. Pine, spruce, cedar, and fir contain natural resins and terpenes that inhibit mushroom mycelium growth. Some species simply won't colonise softwood substrate at all. Always confirm the species — "wood pellets" without specifying hardwood is a red flag.
- Treated or recycled wood. Pellets made from construction waste, pallets, or treated lumber may contain preservatives, paint residues, or heavy metals. These are not safe for food production.
- Pellets with binders or additives. Some pellet stove brands add binding agents or fire accelerants. These are toxic to mycelium.
- BBQ/smoking pellets. While often made from hardwood, these frequently contain flavouring oils and blends with softwood filler. Stick to heating pellets.
- Damp or old stock. If a bag feels heavy for its size or the pellets have started to crumble, moisture has gotten in. Pass on it.
When in doubt, our pre-mixed mushroom pellets eliminate sourcing concerns entirely — they're verified hardwood, additive-free, and optimised for mushroom cultivation.
Step-by-Step: Preparing HWFP Substrate
Hydration Ratio
The standard hydration ratio for HWFP is 1:1.2 by weight — for every 1 kg of dry pellets, add 1.2 litres of water. This brings the substrate to approximately 60-65% moisture content, which is ideal for most species. Our Bulk Substrate Calculator lets you enter your target number of bags and spits out exact pellet, water, and supplement weights — no mental math required.
A practical recipe for one grow bag:
- 2.5 lbs (1.1 kg) hardwood pellets
- 3 lbs (1.3 kg) water (about 1.3 litres)
The Process
1. Measure and hydrate. Weigh out your pellets and water according to the 1:1.2 ratio. Pour hot (not boiling) water over pellets in a clean bucket or directly into your grow bag. Hot water speeds up the break-down process. Wait 20-30 minutes for full absorption. The pellets will swell and crumble into fluffy, moist sawdust. Break up any remaining clumps by hand or by kneading the bag.
2. Check moisture. Grab a handful and squeeze firmly. You should see a few drops of water at most — not a steady stream. If it's too wet, spread it out on a clean surface for 15-20 minutes to let excess moisture evaporate. If it's too dry, sprinkle in small amounts of water and mix.
3. Load the bag. Transfer the hydrated sawdust into your grow bag. If you're not supplementing, you can skip sterilisation — the pellets are clean enough for a simple pasteurisation approach. Many growers succeed with no additional heat treatment at all, especially with aggressive species like oysters.
4. Add spawn. Mix in your grain spawn at a rate of 10-20% by weight. More spawn means faster colonisation and less chance of contamination. Break the spawn up and distribute it evenly throughout the substrate. For a 5 lb substrate bag, use 0.5-1 lb of spawn.
5. Seal and incubate. Fold over the top of the bag and secure it. The filter patch allows gas exchange while keeping contaminants out. Place the bag in a dark area at the appropriate incubation temperature for your species (typically 20-24°C). Colonisation takes 2-4 weeks depending on species and spawn rate.
6. Fruit. Once the bag is fully colonised (100% white mycelium with no uncolonised patches), cut slits or holes in the bag and move it to your fruiting area. Maintain humidity at 85-95%, provide fresh air exchange, and wait for pins. Most species fruit within 7-14 days of being introduced to fruiting conditions.
For a complete overview of sterilisation methods, see our substrate sterilisation guide. If you're new to grow bags specifically, our grow bag guide covers bag types, sealing techniques, and fruiting methods.
Digital Kitchen Scale
Getting your pellet-to-water ratio right is the key to perfect substrate moisture. A kitchen scale takes the guesswork out of hydration every time.
View on Amazon.ca →When you buy through our links, it supports our mycology research at no extra cost to you.
Species-Specific Results on HWFP
Not all mushrooms perform equally on plain hardwood pellets. Here's a detailed breakdown to help you match your species to the right substrate approach.
| Species | Performance on HWFP | Supplementation Needed? | Notes |
|---|---|---|---|
| Blue Oyster | Excellent | No | Fast colonisation (10-14 days), heavy yields. The best beginner species on pellets. |
| Pink Oyster | Excellent | No | Prefers warmer temperatures (24-30°C). Fruits quickly but has a short shelf life. |
| Yellow Oyster | Excellent | No | Similar to Pink Oyster. Needs warmth and high humidity. |
| Lion's Mane | Very Good | Recommended | Benefits significantly from 10-20% soy hull or bran supplementation. See our Lion's Mane guide. |
| Shiitake | Good | Recommended | Longer colonisation (4-8 weeks), benefits from Masters Mix. See our Shiitake guide. |
| Chestnut | Good | Recommended | Excellent flavour. Supplement with bran or soy hulls for best yields. |
| King Oyster | Good | Strongly Recommended | Slower coloniser that needs supplementation to produce large, dense fruit bodies. |
| Pioppino | Good | Recommended | Long colonisation period but excellent gourmet mushroom. |
| Maitake | Fair | Required | Prefers natural hardwood. Consider log cultivation instead. |
Rule of thumb: Oyster species (Pleurotus) do brilliantly on plain HWFP. Everything else benefits from supplementation, either through the Masters Mix recipe or by adding wheat/oat bran. Browse our full spawn catalogue to find the species that suits your setup.
The Masters Mix Recipe
Masters Mix is the gold standard supplemented substrate for wood-loving gourmet mushrooms. Developed by T.R. Davis at Earth Angel Mushrooms, it's a simple 50/50 blend of hardwood fuel pellets and soy hull pellets by weight. The combination provides both the structural carbon source (wood) and a nitrogen-rich supplement (soy) that dramatically boosts yields.
Why It Works
Soy hull pellets add protein and nitrogen to the substrate, giving the mycelium more building blocks for producing large, dense fruit bodies. Studies and grower reports consistently show 50-100% yield increases compared to unsupplemented hardwood alone. The 50/50 ratio has been tested extensively and represents the sweet spot — more soy increases contamination risk without proportional yield gains.
Masters Mix Recipe (Per Bag)
- 1.25 lbs (570 g) hardwood fuel pellets
- 1.25 lbs (570 g) soy hull pellets
- 3 lbs (1.36 litres) water
Combine the dry pellets in a bucket, add water, and wait 30 minutes for full hydration. Mix thoroughly to distribute the soy hulls evenly throughout the sawdust.
Important: Sterilisation Required
Unlike plain HWFP, Masters Mix must be sterilised before inoculation. The soy hulls are nutrient-rich and will attract Trichoderma and other contaminants rapidly if not properly sterilised.
Load the hydrated mix into your grow bags, seal with an impulse sealer or fold-over, and pressure cook at 15 PSI for 2.5 hours. Allow to cool fully to room temperature before inoculating with spawn.
If you don't own a pressure cooker, check out our guide on the best pressure cookers for mushroom cultivation. Alternatively, our pre-mixed mushroom pellets and all-in-one grow bags come pre-sterilised and ready for inoculation.
Sourcing Soy Hull Pellets
Soy hull pellets are sold as livestock feed at farm supply stores across Canada. Look for them at Peavey Mart, TSC Stores, or Co-op. They're sometimes labelled as "soybean hull pellets" or "soy hulls." Make sure they're 100% soy hulls with no additives, medications, or molasses. A 50 lb bag typically costs $15-25 and lasts a long time.
Supplementation with Bran
If you can't source soy hull pellets, wheat bran or oat bran is an alternative supplement. It's less effective than soy hulls for most species but still provides a meaningful yield boost.
Supplemented recipe (per bag):
- 2 lbs hardwood pellets
- 0.5 lbs wheat bran (about 20% of dry substrate weight)
- 3 lbs water
Critical: When you add bran, you must sterilise the substrate. Bran is nutrient-rich and will attract contamination if not properly sterilised. Load the mixed substrate into your grow bag, seal with an impulse sealer or fold-over, and pressure cook at 15 PSI for 2.5 hours. Allow to cool fully before inoculating.
Our all-in-one grow bags come pre-sterilised with a supplemented hardwood substrate — ready for you to add spawn without any sterilisation equipment.
Troubleshooting Common Problems
Even with a forgiving substrate like HWFP, things can go wrong. Here are the most common issues and how to fix them.
Green Mould (Trichoderma)
The number one enemy of mushroom growers. Green patches appearing during colonisation mean Trichoderma has taken hold. Causes include: non-sterile technique when inoculating, supplemented substrate that wasn't sterilised long enough, or spawn that was already contaminated.
Fix: Isolate or discard contaminated bags immediately — Trichoderma spreads via airborne spores. Review your process, increase spawn rate to speed colonisation, and ensure supplemented substrates get a full 2.5 hours at 15 PSI. For a complete identification guide, see our contamination field guide.
Poor or No Colonisation
If your substrate isn't colonising after 2-3 weeks, possible causes include: dead or old spawn, substrate too wet or too dry, temperatures too low, or the pellets contained softwood.
Fix: Verify your spawn is fresh and healthy (it should smell clean and earthy, not sour). Double-check your hydration ratio. Ensure incubation temperature is 20-24°C for most species. Confirm your pellets are 100% hardwood.
Bacterial Contamination (Sour Smell)
A sour, fermented smell during colonisation usually indicates bacterial contamination from over-hydrated substrate. Excess moisture creates anaerobic conditions that favour bacteria over mycelium.
Fix: Reduce water next batch. Remember: a firm squeeze should produce only a few drops, not a stream. If you're consistently over-hydrating, weigh your water instead of estimating.
Low Yields
Your bags colonise fine but produce disappointingly small flushes. This usually means the substrate lacks nutrition for the species you're growing, or fruiting conditions aren't optimal.
Fix: For species other than oysters, add supplementation (Masters Mix or bran). Ensure your fruiting area maintains 85-95% humidity, receives indirect light, and has adequate fresh air exchange. Also check that you're harvesting at the right time — picking too early reduces yield weight, picking too late reduces quality. Our mushroom growing equipment guide covers the gear needed for proper fruiting conditions.
Substrate Drying Out During Colonisation
Bags losing moisture during the 2-4 week colonisation period, resulting in dry, uncolonised patches.
Fix: Check that your bags have intact filter patches and no holes. Store colonising bags away from direct airflow (fans, HVAC vents). If your grow space is very dry, place bags in a closed shelf or cupboard during colonisation.
Tips for Success
- Use fresh pellets. Bags that have been open or exposed to moisture may have picked up contaminants. Once opened, use the entire bag or reseal it tightly.
- Don't over-hydrate. Soggy substrate invites bacterial contamination. If you squeeze a handful and water drips out freely, it's too wet. Spread it out to dry before loading bags.
- Work clean. Even though pellets are nearly sterile, poor technique can introduce contaminants. Wash your hands, clean your workspace, and work quickly. A still air box or laminar flow hood helps enormously.
- Start with oysters. They're the most forgiving species on pellets and will teach you the process before you move to pickier species. Our oyster mushroom guide covers the full process.
- Scale gradually. Make 2-3 bags at a time until your process is dialled in, then scale up. Wasting 3 bags to contamination teaches you something. Wasting 30 is expensive.
- Track your batches. Record dates, pellet brand, hydration amounts, spawn type, and results. This data helps you optimise over time and identify the source of problems when they arise.
For a deeper dive into substrate options beyond pellets, check out our complete substrate guide. If you're just getting started with mushroom cultivation, our complete beginner's guide covers everything from choosing a species to harvesting your first flush.
Frequently Asked Questions
Can I use softwood pellets for mushroom growing?
No. Softwood species like pine, spruce, and cedar contain natural resins, terpenes, and phenolic compounds that inhibit or kill mushroom mycelium. Always use 100% hardwood pellets with no additives. If the label doesn't specify hardwood, assume they contain softwood and avoid them.
Do I need a pressure cooker to use hardwood pellets?
Not necessarily. For aggressive species like oyster mushrooms on unsupplemented HWFP, many growers skip sterilisation entirely and still achieve excellent results. The near-sterile nature of the pellets combined with a high spawn rate (15-20%) gives the mycelium a strong enough head start to outcompete contaminants. However, if you're adding any supplementation (soy hulls, bran, or gypsum), a pressure cooker is essential. See our pressure cooker guide for recommendations.
How much spawn do I need per bag?
Use 10-20% spawn by weight of your total substrate. For a 5 lb substrate bag, that's 0.5-1 lb of grain spawn. Higher spawn rates mean faster colonisation and lower contamination risk. For beginners, err on the side of more spawn. Our spawn ratio guide has detailed calculations for different bag sizes and species.
How long do hardwood pellets last in storage?
Indefinitely, as long as they stay dry. Store unopened bags off the ground in a dry location. Once a bag is opened, use it within a few weeks or reseal it tightly. If pellets have started to crumble, swell, or smell musty, moisture has gotten in and they should be discarded — they're no longer reliably clean.
What's better: Masters Mix or plain hardwood pellets?
It depends on your species and equipment. For oyster mushrooms, plain HWFP produces excellent results with zero sterilisation needed — it's the simplest, cheapest approach. For Lion's Mane, Shiitake, King Oyster, and other species that benefit from supplementation, Masters Mix (50/50 HWFP and soy hull pellets) produces significantly higher yields but requires pressure sterilisation. Start with plain pellets and oysters, then graduate to Masters Mix as you invest in equipment and gain experience.
Need help with your grow? Dr. MycoThumb is our free AI growing assistant — ask about substrates, contamination, fruiting conditions, or any cultivation question. Available 24/7 in the chat bubble at the bottom-right of every page.