
Your spawn ratio is one of the most important decisions you make every time you set up a grow. Use too little spawn and you're gambling with contamination. Use too much and you're wasting grain that could have gone into another batch. Getting it right means faster colonization, lower contamination rates, and more efficient use of your materials.
This guide covers the ratios that actually work for every common species and growing method, how to calculate them, and how to dial them in over time.
What Is a Spawn Ratio?
Your spawn ratio is the proportion of colonized grain spawn to bulk substrate in your growing container. It's expressed as a percentage by weight.
If you want to skip sterile grain preparation, you can buy ready-to-use mushroom spawn produced at our Brantford facility. Blue Oyster grain spawn is a forgiving choice for straw, buckets, and first ratio experiments.
The formula is simple:
Spawn Ratio = (Weight of Spawn / Weight of Substrate) x 100
So if you mix 500 g of grain spawn into 4,500 g of hydrated substrate, your spawn ratio is:
(500 / 4,500) x 100 = 11.1%
Some growers calculate it as spawn weight divided by total weight (spawn + substrate combined). Both conventions exist, but we use spawn-to-substrate throughout this guide because it's more common and easier to work with.
Why It Matters
Every grain of colonized spawn is an inoculation point. When you mix spawn into substrate, each grain starts colonizing the material around it. More inoculation points means faster colonization because the mycelium has less distance to travel before the entire substrate is fully colonized.
Speed matters because you're in a race against contamination. Your substrate is a nutritious environment that competing organisms -- bacteria, moulds, yeasts -- would love to colonize. The faster your mushroom mycelium claims all available territory, the less opportunity those competitors have. Higher spawn ratios can reduce contamination rates by 5-15% and shorten colonization time by 2-7 days depending on species and conditions.
Commercial research backs this up. A Penn State trial of oyster-mushroom spawn rates (Royse, Applied Microbiology and Biotechnology, 2002) tested spawn levels from 1.25% to 5% of substrate wet weight and found the highest levels produced maximum yield and cut time-to-production by an average of 9.2 days compared with the lowest. (Commercial percentages run lower than the hobbyist ratios in this guide because they're calculated against the full wet weight of supplemented substrate — but the direction holds at any scale: more spawn means faster, safer colonization.)
But there's a practical ceiling. At some point, adding more spawn doesn't meaningfully improve colonization speed and you're just burning through expensive grain. Finding the sweet spot for your specific situation is the goal.
Recommended Ratios by Species
Different species colonize at different speeds and have different contamination resistance. Fast, aggressive colonizers like oyster mushrooms can thrive at lower ratios. Slower, more delicate species need more spawn to maintain the colonization speed necessary to outrun contaminants.
Oyster Mushrooms (Pleurotus ostreatus)
Recommended ratio: 10-15%
Oyster mushrooms are the most aggressive colonizers in cultivation. Their mycelium is fast, vigorous, and highly resistant to contamination. You can get away with ratios as low as 5-10% in clean conditions, though we recommend 10-15% for consistent results.
If you're growing on pasteurized straw in bucket or bag setups, 10% is usually plenty. The aggressive mycelium handles the non-sterile substrate well. For monotub grows on coir-based substrates, 10-15% keeps colonization times short.
Pink Oyster (Pleurotus djamor)
Recommended ratio: 10-15%
Pink oyster is even more aggressive than common oyster at warm temperatures. It colonizes extremely fast at 24-27C (75-80F) and can handle lower spawn ratios in warm environments. In cooler Canadian basements (18-20C / 64-68F), colonization slows considerably, so bump up toward the 15% end.
One thing to note: pink oyster mycelium doesn't survive cold temperatures well, so there's less margin for error if colonization stalls. Using 15% gives you insurance in less-than-ideal conditions.
Lion's Mane (Hericium erinaceus)
Recommended ratio: 15-20%
Lion's mane colonizes at a moderate speed and is pickier about its conditions than oyster species. The mycelium is wispy and less visually obvious during colonization, which can make it harder to tell if things are progressing well. A higher spawn ratio helps compensate for its slower pace and gives it a stronger start.
For grow bag grows on hardwood-based substrates, 15-20% is the range we use. If you're working with hardwood pellet substrate or pre-sterilized hardwood bags, the 15% end usually works well because these substrates are sterile after preparation.
Shiitake (Lentinula edodes)
Recommended ratio: 20-25%
Shiitake is a slow colonizer compared to oyster species. The mycelium is methodical and takes its time establishing in substrate. This slower pace means a longer window where contamination can take hold, so you need more inoculation points to compensate.
For supplemented hardwood sawdust blocks (the standard commercial shiitake method), 20-25% is the working range. Commercial growers often push toward 25% because the cost of losing a block to contamination outweighs the extra spawn cost.
For log cultivation, spawn ratios work differently -- you're plugging individual holes rather than mixing into bulk substrate, so the "ratio" is really about plug spacing. See the by-method section below.
Chestnut Mushrooms (Pholiota adiposa)
Recommended ratio: 15-20%
Chestnut mushrooms colonize at a moderate pace -- faster than shiitake but slower than oyster. They do well on supplemented hardwood substrates and are fairly contamination-resistant once established. A 15-20% ratio gives reliable results without excessive spawn use.
Recommended Ratios by Growing Method
Your growing method affects the ideal ratio as much as species selection. Different methods have different sterility levels, substrate volumes, and environmental conditions.
Monotub (Bulk Substrate)
Typical ratio: 10-20%
Monotubs use a bulk substrate -- usually coir-based or coir/vermiculite -- that's been pasteurized rather than sterilized. The substrate is moderately clean but not sterile, so you need enough spawn to colonize it quickly.
For aggressive species like oyster: 10-15% For moderate species like lion's mane: 15-20%
In a standard 64 qt monotub, you're working with roughly 5-7 kg of hydrated substrate. At 15%, that's about 750 g to 1 kg of grain spawn -- roughly one quart jar's worth.
Grow Bags (Supplemented Hardwood)
Typical ratio: 15-25%
Grow bags filled with supplemented hardwood sawdust or pellets are sterilized in a pressure cooker, giving you a clean starting point. But the added nutrition from bran or soy hull increases contamination risk, so higher ratios help the mycelium claim the substrate before anything else can.
For a standard 2.5 kg bag:
- Oyster species: 15% (375 g spawn)
- Lion's mane: 20% (500 g spawn)
- Shiitake: 20-25% (500-625 g spawn)
Straw Bucket / Straw Bag
Typical ratio: 10-15%
Pasteurized straw is one of the simplest substrates. It's low in nutrition compared to supplemented hardwood, which actually works in your favour -- fewer nutrients means fewer contaminants competing for them. Oyster mushrooms thrive on straw at relatively low spawn ratios.
For a standard 20-litre bucket of pasteurized straw, 10% spawn by weight is a solid starting point. If you're having contamination issues, bump to 15% before changing anything else.
Log Cultivation
Typical ratio: Plug spacing rather than weight ratio
Log cultivation uses a different approach. Instead of mixing spawn into bulk substrate, you drill holes in hardwood logs and insert spawn plugs or pack them with sawdust spawn.
The standard is one hole every 10-15 cm (4-6 inches) along the length of the log, with rows spaced 5-7.5 cm (2-3 inches) apart around the circumference. For a log that's 1 metre long and 15 cm in diameter, that works out to roughly 30-50 plug holes.
More plugs means faster colonization and less chance of competing fungi colonizing exposed wood. For shiitake logs, erring on the side of more plugs is worth the extra cost.
The Spawn Ratio Table
Here's a quick-reference table combining species and method recommendations. All values are spawn weight as a percentage of substrate weight.
| Species | Monotub | Grow Bag | Straw Bucket | Log |
|---|---|---|---|---|
| Oyster | 10-15% | 10-15% | 10-15% | Standard plug spacing |
| Pink Oyster | 10-15% | 10-15% | 10-15% | Not suitable |
| Lion's Mane | 15-20% | 15-20% | Not typical | Standard plug spacing |
| Shiitake | Not typical | 20-25% | Not typical | Dense plug spacing |
| Chestnut | 15-20% | 15-20% | Not typical | Standard plug spacing |
"Not typical" means the species-method combination isn't commonly used, not that it's impossible. Shiitake grows best in bags and logs, not monotubs. Oyster mushrooms are the most versatile and work well in every method.
Spawn Rate by Species
The table above answers "which method". This one answers the question we hear most: how much of one Nature Lion 5 lb bag goes into how much substrate? It's the grain spawn to substrate ratio in kitchen-scale terms. Convention: the percentage is spawn weight divided by hydrated substrate weight, and the "covers" column uses the midpoint of each range, rounded, with one bag taken as 5 lb (2.27 kg).
| Species | Recommended spawn % (by wet weight) | Substrate one 5 lb bag covers | Notes |
|---|---|---|---|
| Blue / grey oyster (Pleurotus ostreatus) | 10-15% | ~40 lb (18 kg) at 12.5% | Fastest colonizer; forgiving on straw, pellets, buckets. |
| Lion's mane (Hericium erinaceus) | 15-20% | ~29 lb (13 kg) at 17.5% | Slow, wispy mycelium -- extra spawn buys a shorter contamination window. |
| Shiitake (Lentinula edodes) | 20-25% | ~22 lb (10 kg) at 22.5% | Supplemented sawdust only; long colonization plus a browning phase. |
| Chestnut (Pholiota adiposa) | 15-20% | ~29 lb (13 kg) at 17.5% | Moderate speed; likes cooler temps once colonized. |
| King oyster (Pleurotus eryngii) | 15-20% | ~29 lb (13 kg) at 17.5% | Slower than blue oyster; needs supplemented sawdust, not straw. |
| Wine cap (Stropharia rugosoannulata) | 5-10% (outdoor beds, by volume ~1 bag per 1 m²) | ~50-100 lb (23-45 kg) of wood chips/straw | Outdoor bed; low ratio is fine because there's no sterile race -- just keep it moist. |
| Turkey tail (Trametes versicolor) | 15-20% | ~29 lb (13 kg) at 17.5% | Sawdust/log species; slow to fruit. Grown for craft and dye projects. |
| Reishi (Ganoderma lucidum) | 15-20% | ~29 lb (13 kg) at 17.5% | Sawdust or log; slow, dense colonization, tolerant of high spawn rates. |
The colonization-time effect is predictable: moving from the bottom of a species' range to the top trims roughly 2-5 days off colonization. The slow species -- shiitake, lion's mane, reishi -- gain the most because their contamination window is longest. Oyster barely notices anything above 15%. Grain type matters less than people expect: millet gives more inoculation points per kilogram than rye, so you can sit at the lower end of the range, but the percentages hold for either. If you're expanding your own grain to hit these numbers cheaply, the grain-to-grain transfer guide covers multiplying one bag into several.
Worked Example: What One 5 lb Bag of Grain Spawn Covers
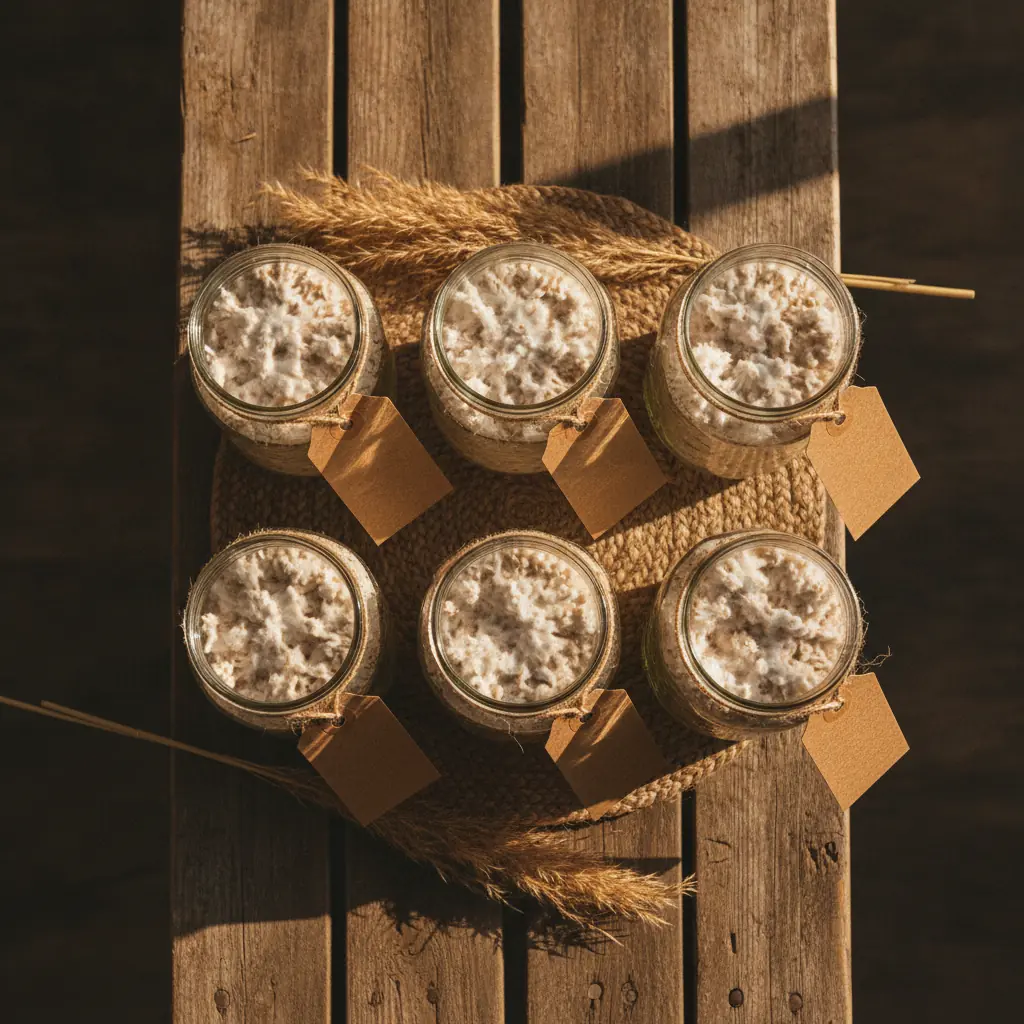
Let's make this concrete with one 5 lb bag of Blue Oyster grain spawn. It's $39, sold only in 5 lb increments, and ships as two 2.5 lb bags -- a handy split, because you can use one half today and keep the other sealed in the fridge for a couple of weeks. 5 lb is 2,270 g, so that's the number we're dividing up.
1. Supplemented hardwood blocks (5 lb / 2.27 kg each). At 12.5% for oyster, each block needs 2,270 g × 0.125 ≈ 285 g of spawn. 2,270 ÷ 285 ≈ 8 blocks from one bag. For lion's mane at 17.5%, each block wants about 400 g, so one bag of Lion's Mane grain spawn covers 5-6 blocks. No pressure cooker? Our Pre-Sterilized Hardwood Substrate Blocks are the no-fuss route. Otherwise the hardwood pellet guide and bulk substrate guide cover making them yourself.
2. 20 L straw buckets (bucket tek). A packed 20-litre bucket holds roughly 6-7 kg of hydrated, pasteurized straw. At 12.5%, that's about 800 g of spawn per bucket, so one bag gives you ~3 buckets -- or 4 if you run oyster at a lean 10%, which straw tolerates well. The full method is in our bucket tek guide.
3. A 1 m² wine cap bed. A one-square-metre bed 15 cm deep is about 60 litres of hardwood chips, roughly 25-30 kg wet. One 5 lb bag at ~8% is right on target: 1 bed per bag, or stretch to 2 m² if you're patient.
Rule of thumb: one bag ≈ 8 oyster blocks, 3 buckets, or 1 wine cap bed. Every bag in the spawn shop is the same 5 lb size, so just swap in the percentage from the table for other species.
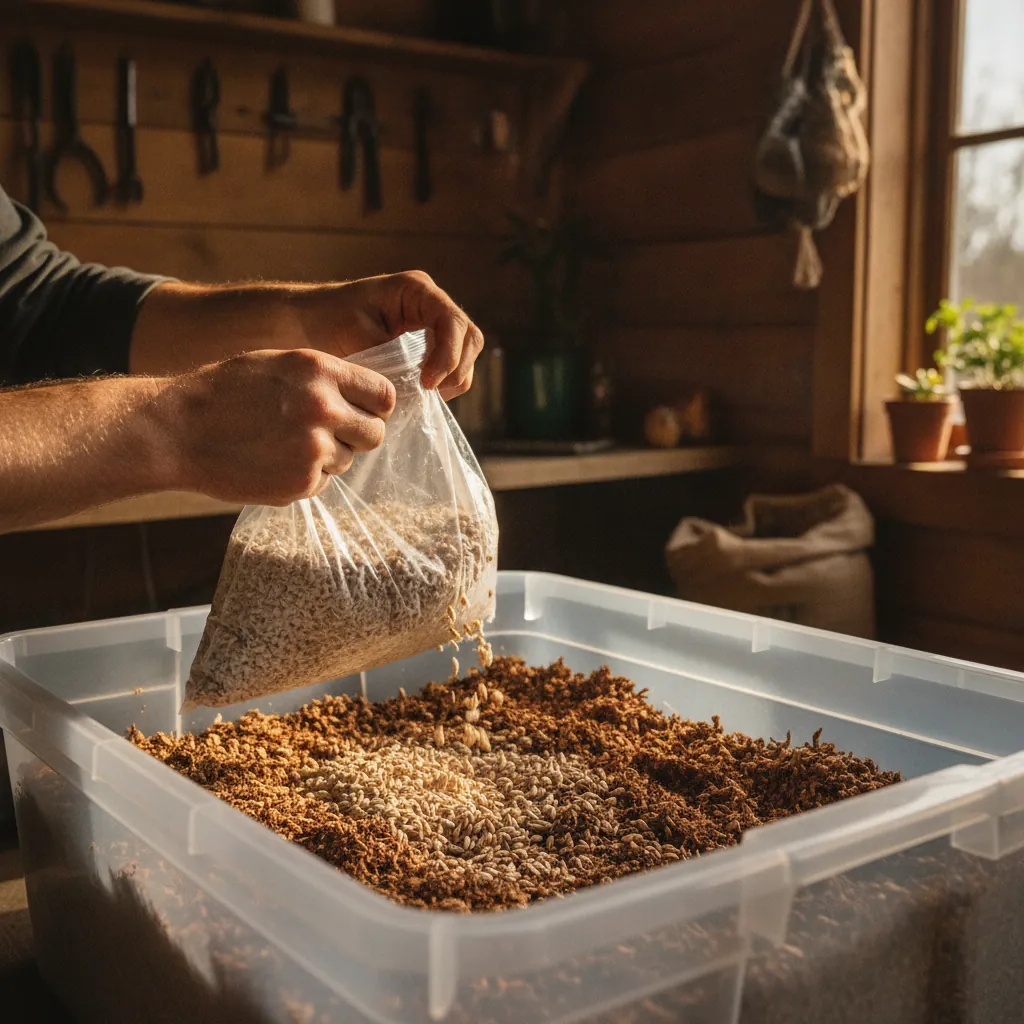
Under-Spawned vs Over-Spawned: How to Tell
The mechanics are covered in the too-little and too-much sections below. This is the diagnostic: what you see in the tub, and what to do about it.
Under-spawned looks like:
- Day 7 and less than 50% of the visible surface is white.
- Isolated white islands with bare substrate between them, rather than a spreading front.
- A sour or ammonia smell, or green or black specks appearing in the gaps before the mycelium reaches them.
- A patchy first flush -- pins only where the colonization was densest.
Over-spawned looks like:
- Fully white in 4-6 days, but the block is heavy and weeping at the bottom from the extra moisture the grain brought in.
- Lots of visible grain sitting on the surface that pins poorly or not at all.
- You ran out of spawn after two blocks and the rest of your substrate is sitting there uninoculated.
Decision rule: If a block isn't at least 50% colonized by day 7 (oyster) or day 10 (lion's mane, shiitake, reishi), raise your ratio by 5 percentage points next batch. If it's fully colonized in under 5 days with no contamination two batches running, drop by 5 points and pocket the savings. Never adjust more than 5 points at a time.
Frequently Asked Questions About Spawn Ratios
Can I use less spawn if I fully sterilize the substrate?
Yes, modestly. Sterile supplemented sawdust tolerates the low end of each range -- 10% for oyster is fine -- because nothing is already living in the substrate. But don't go below 10% for the slow species; their problem is the long window before they've claimed the substrate, not competition from it. In practice, most contamination enters at inoculation (open bag, dusty room, unclean hands) rather than surviving in the substrate, so sterilization buys less ratio headroom than people hope.
Does liquid culture change the ratio?
No. Liquid culture inoculates grain, not bulk substrate, so the bulk ratio is unchanged. What LC changes is how much grain spawn you can produce and how quickly. See grain spawn vs liquid culture for what each is good at, and the grain-to-grain transfer guide to turn one colonized bag into several. The table's ratios apply whichever way your grain was made.
What's the ratio for spent coffee grounds?
Go high -- 20-25% -- and use fresh grounds, less than 24 hours old. Coffee is nutrient-rich and only briefly "clean" from the brewing heat; by day two it's already growing something. A heavy spawn rate is the only real defence, and oyster is the only species fast enough to make it work. Mix thoroughly so there are no unspawned pockets, and expect a lower success rate than straw or sawdust regardless of ratio.
Do hardwood pellets need more spawn than chips or straw?
Not by weight. Hydrated pellets use the same 10-15% for oyster (or the species range from the table) -- calculated after hydration. That's the catch: 1 kg of dry pellets becomes roughly 2.2-2.5 kg of wet substrate, and the ratio is based on that wet weight. The common mistake is weighing dry pellets, which leaves you at less than half the spawn you intended. The hardwood pellet guide covers hydration so you land on the right wet weight.
Can I mix two species in one substrate?
No. Two species in one container compete, one wins, and the loser's grain becomes a contamination vector in the middle of your block. Split the substrate and run them separately. One 5 lb bag can be divided across several tubs or blocks -- that's the point of the worked example above -- but never across species in the same container.

Free tool
Build Your Grow
Tell it where you're starting and it sizes the whole grow: how much spawn, how much substrate, how many containers, the expected harvest and what it works out to per pound.
- I have grain spawnSize the substrate and containers around it
- I'm starting from liquid cultureWork out the grain, then the fruiting plan
- I'm starting from agarPlates to grain to substrate, in order
Live store pricing. Free shipping on orders over $50. Or start from a pre-built bundle.
Ratios by Scale and Goal
Your goals also affect the optimal ratio. A hobbyist experimenting in their basement has different priorities than a farmer filling 200 bags a week.
Hobby Grower (10-15%)
If you're growing for personal use and learning, the lower end of each species' range is fine. You have the flexibility to lose an occasional batch to contamination without major consequences, and stretching your spawn further means more experiments per batch of grain.
Farmers' Market Scale (15-20%)
Once you're selling at markets, consistency matters more. A contaminated batch isn't just a learning experience -- it's lost revenue and wasted time. Bumping your ratios up by 5% over the hobby range reduces contamination and gives more predictable timelines for planning your harvest schedule.
Commercial Production (20-25%)
At commercial scale, every day of colonization time costs money in facility space and labour. Higher ratios shorten colonization by 2-5 days per batch, which adds up to significantly more production cycles per year. The extra spawn cost is easily offset by fewer losses and faster turnover.
Educational Settings (20-30%)
If you're running workshops or teaching cultivation, you want the highest possible success rate. Nothing kills enthusiasm like a contaminated demo batch. Use generous ratios and prioritize reliability over efficiency.
What Happens When You Use Too Little Spawn
Using less spawn than recommended doesn't just slow things down -- it changes the dynamics of colonization in ways that compound on each other.
Slow colonization. With fewer inoculation points, the mycelium has to travel further to colonize the entire substrate. What would take 10-14 days at 15% might take 18-25 days at 5%. That extra time is the core problem because everything else follows from it.
Higher contamination risk. Every extra day of colonization is another day where contaminants have a chance to establish. Uncolonized substrate is undefended territory. At low spawn ratios, you might see green mould (Trichoderma) establish in substrate pockets that the mycelium hasn't reached yet -- even in an otherwise clean setup.
Uneven colonization. With widely spaced inoculation points, some areas colonize fully while others are still bare. This creates an uneven pinning surface and can result in patchy flushes with lower overall yield.
Stalling. In extreme cases (below 5%), colonization can stall entirely. The mycelium grows outward from each inoculation point but runs out of energy before reaching the next colonized zone. The result is islands of mycelium in a sea of uncolonized substrate -- an open invitation for contamination.
What Happens When You Use Too Much Spawn
More is not always better. There's a point of diminishing returns, and pushing well past optimal ratios has its own downsides.
Wasted spawn. Grain spawn takes time, energy, and materials to produce. If you're using liquid culture to inoculate grain jars, stretching each jar further means more growing containers per batch of spawn. At 30% ratio when 15% would work fine, you're using twice the spawn for marginally faster colonization.
Diminishing returns on speed. Going from 5% to 15% might cut colonization time by 5-7 days. Going from 15% to 30% might only save 1-2 days. The relationship between spawn ratio and colonization speed is not linear -- it flattens out quickly once you have adequate coverage.
Excess moisture. Grain spawn contains water. Adding a very large volume of grain to your substrate can shift the overall moisture content higher than ideal, creating conditions that favour bacterial contamination. This is especially relevant in monotub grows where the substrate moisture level is carefully calibrated.
Reduced yield potential. Some growers report that very high spawn ratios (above 30%) can actually reduce total yield. The theory is that the substrate's nutrients are partially consumed during colonization, and when too much of the substrate is spawn grain rather than bulk material, there's less nutrition available for fruiting. We haven't seen definitive research on this, but it aligns with practical observations.
How to Calculate Your Spawn Ratio
Here's the practical workflow for calculating and preparing the right amount of spawn for any grow.
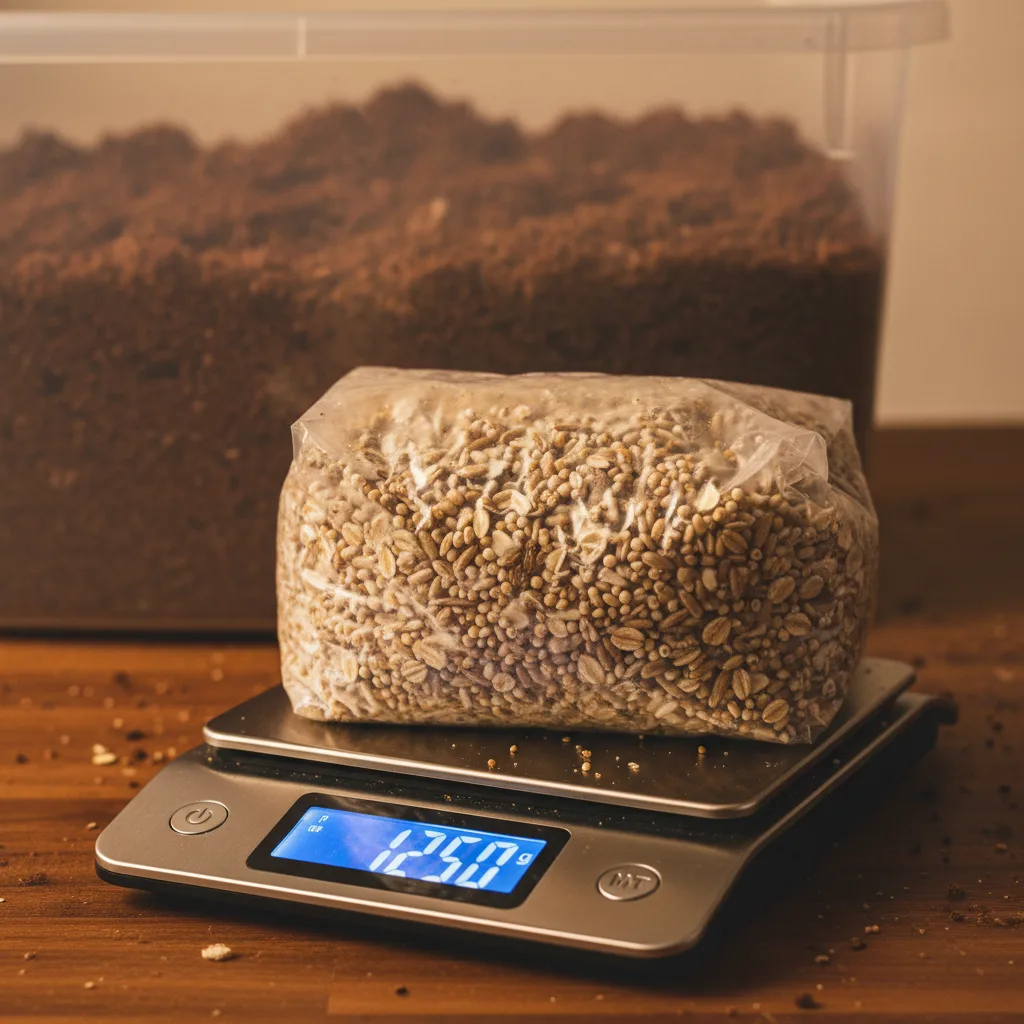
Step 1: Determine Your Substrate Weight
Weigh your hydrated, field-capacity substrate before mixing in spawn. This is the wet weight -- don't try to calculate dry weight for ratio purposes. Your substrate should already be at proper moisture content after preparation.
For common setups:
- 64 qt monotub: roughly 5-7 kg of hydrated coir/verm substrate
- Standard grow bag (2.5 kg): the bag weight tells you
- 20-litre straw bucket: roughly 4-5 kg of pasteurized straw
Step 2: Choose Your Target Ratio
Use the species and method tables above to pick your target percentage.
Step 3: Calculate Spawn Weight
Spawn Weight = Substrate Weight x (Target Ratio / 100)
Example: You have 5 kg of hydrated coir substrate for a monotub oyster grow. Target ratio is 12%.
5,000 g x (12 / 100) = 600 g of grain spawn
A fully colonized quart jar of grain spawn weighs roughly 700-900 g depending on the grain type. So one jar is approximately right for this scenario.
Step 4: Weigh, Don't Eyeball
This is worth emphasizing: use a kitchen scale. Eyeballing spawn ratios is unreliable because grain density varies by type and moisture content. A bag that looks like "about the right amount" could easily be 8% or 22%. Weigh your spawn, weigh your substrate, and calculate.
A basic digital kitchen scale accurate to 1 g is all you need. If you don't have one, this is one of the cheapest upgrades that will most improve your consistency.
How to Track and Optimize Your Ratios
The ratios in this guide are starting points. Your specific environment, grain type, substrate recipe, and technique will affect what's optimal for your setup. The way to find your best ratio is to track your results systematically.
Keep a Grow Log
For every batch, record:
- Species and strain
- Substrate type and recipe
- Spawn ratio (calculated, not estimated)
- Colonization time (days from inoculation to full colonization)
- Contamination (yes/no, type if applicable)
- Yield (weight of first flush, total across all flushes)
- Environmental conditions (room temperature, humidity if measured)
After 10-15 batches, you'll have enough data to see patterns. Maybe your lion's mane does perfectly well at 15% in your setup but your shiitake really needs 25%. Maybe summer grows (warmer temps) can handle lower ratios than winter grows.
Adjust One Variable at a Time
If you want to test whether a lower ratio works for your oyster grows, change only the ratio. Keep the same substrate recipe, same grain type, same containers, same room. If you change multiple variables at once, you won't know which one caused any difference in results.
Consider Your Grain Type
Different grains produce different numbers of inoculation points per gram. Millet, being small, gives you far more individual grains per gram than popcorn kernels. At the same ratio by weight, millet provides more evenly distributed inoculation points. This means you might be able to use a slightly lower weight-based ratio with millet than with larger grains.
For more on grain selection, see our guide to making mushroom spawn.
Factor in Your Environment
Your growing environment affects how aggressive you need to be with spawn ratios:
- Clean, dedicated grow space with good air filtration: You can use ratios toward the lower end of the recommended range. Fewer airborne contaminants means less pressure on colonization speed.
- Shared space, basement, or garage: Use ratios toward the higher end. More environmental contaminant exposure means you need faster colonization as insurance.
- Warm environment (22-26C / 72-79F): Mycelium grows faster at warmer temperatures (within each species' range), so lower ratios can still produce fast colonization.
- Cool environment (16-20C / 61-68F): Slower mycelial growth means colonization takes longer regardless of ratio. Bump up your ratio by 3-5% to compensate.
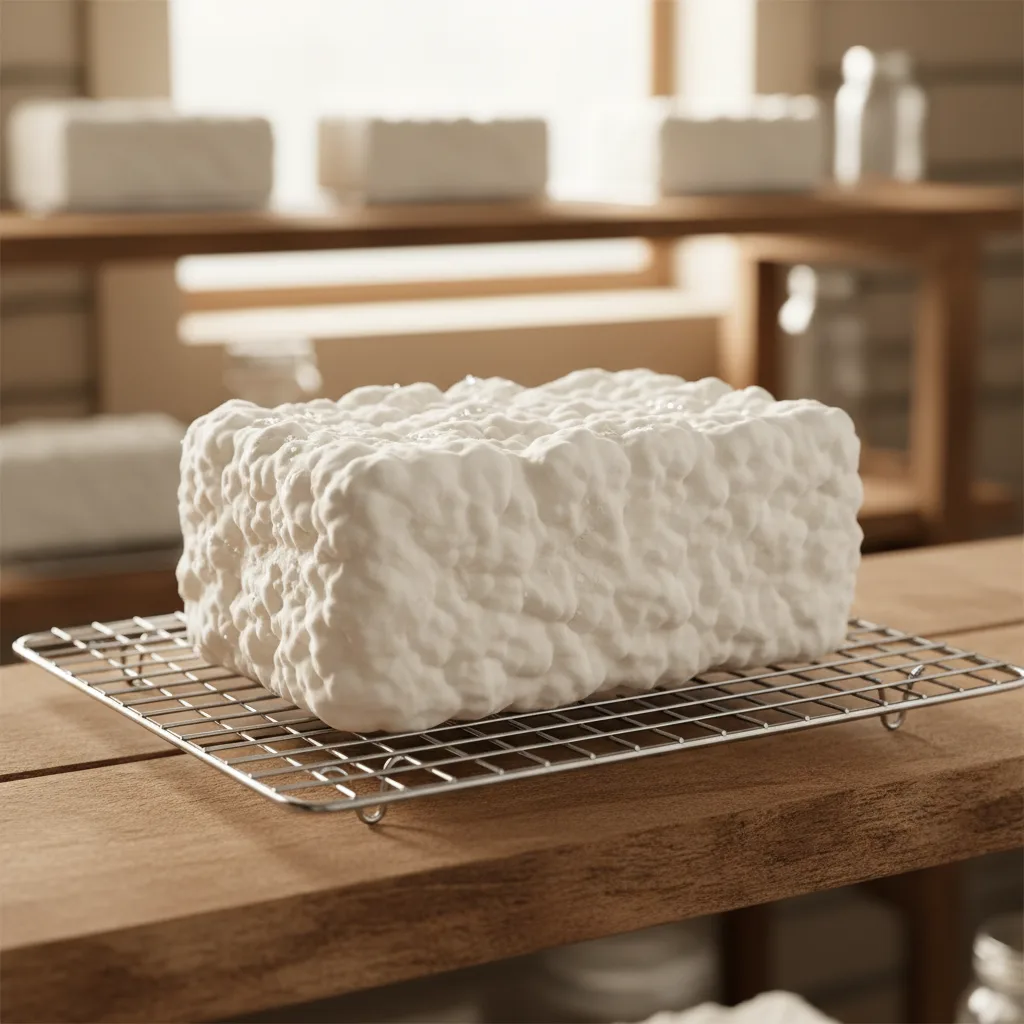
Ratios only matter once you have spawn in hand. For where to buy it in Canada, see our spawn supplier comparison.
Common Mistakes
Calculating by volume instead of weight. A cup of grain spawn and a cup of coir substrate have very different weights. Always calculate ratios by weight, not volume.
Using the same ratio for every species. A 10% ratio that works perfectly for oyster mushrooms will lead to contamination problems with shiitake. Match your ratio to the species.
Not adjusting for conditions. The "right" ratio changes with temperature, season, cleanliness, and substrate type. A ratio that works in your summer grow room might need to increase by 5% in winter when it's cooler.
Skipping the scale. We've said it already, but it bears repeating. Eyeballing is how you end up with inconsistent results and can't figure out why.
Getting your spawn ratio right is one of those fundamentals that pays off on every single grow. It's not glamorous -- nobody posts about their perfectly calculated 14.2% ratio on growing forums. But the growers who produce consistently clean, high-yielding batches are almost always the ones who've dialled in their ratios through careful tracking and adjustment.
Start with the recommendations in this guide, track your results, and adjust based on what your grows tell you. If you need quality grain spawn to get started, browse our spawn collection -- we ship across Canada with all species available in 5 lb bags ready to use.
Have a mushroom-growing question? Ask Dr. MycoTek for AI help with your grow. Sign in to use your free monthly allowance.