
A green patch on a mushroom block is a reason to pause and separate it from other grows. Do not cut away the patch and assume the remaining mushrooms are safe to eat. Keep a closed bag closed, avoid disturbing the growth and contact the kit maker.
Green mould is often discussed as “Trichoderma” in mushroom-growing advice. That name can be useful background, but colour alone does not establish which organism is present. This guide focuses on what to do and how to investigate a recurring problem.
Green Mould vs Mushroom Mycelium
Mycelium is the mushroom spreading through its growing material. Its appearance varies: it can be thin, fluffy or thread-like. Some moulds also start white, so a white patch is not proof that everything is healthy.
A new spreading green or powdery patch needs attention. Do not try to identify it by rubbing with a cotton swab or opening the bag to smell it. Those tests disturb the area and still cannot give a reliable identification.
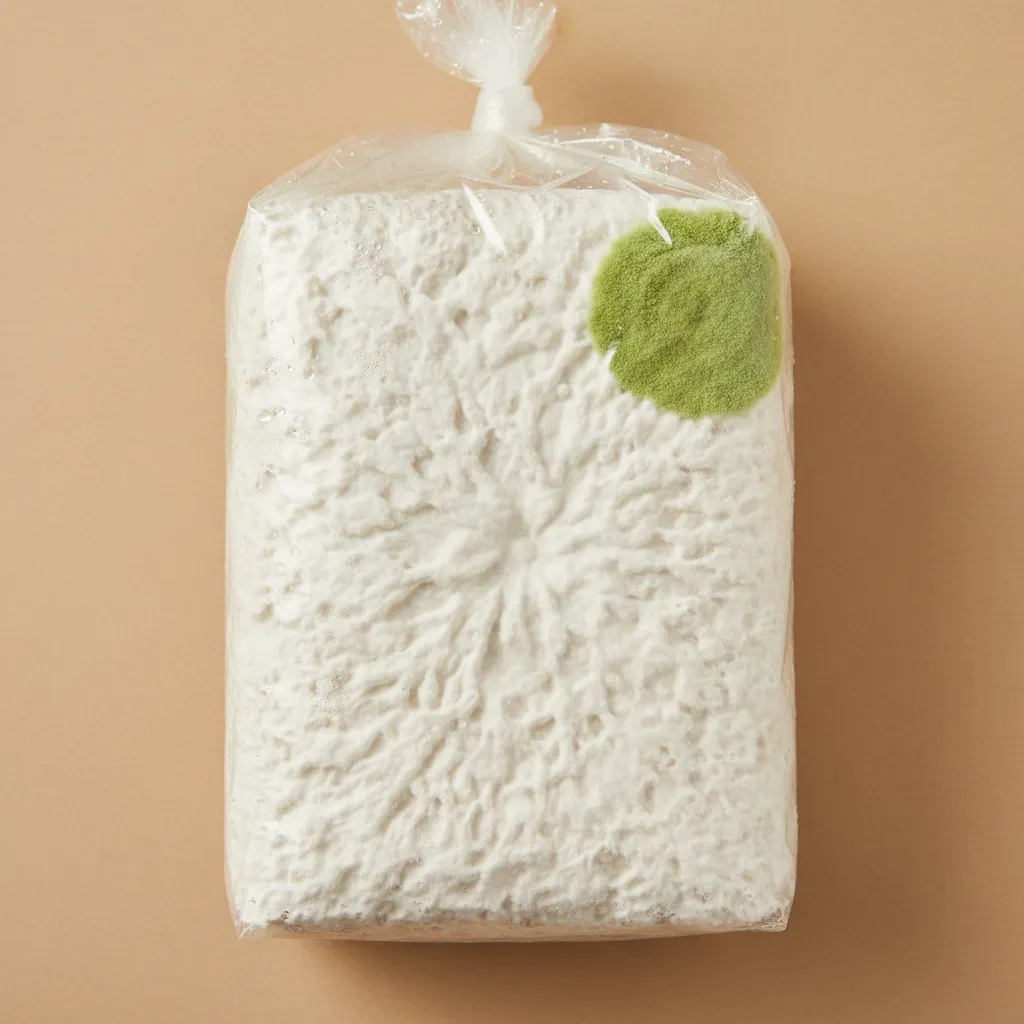
This is an illustration, not a confirmed specimen or a mould identification test.
For normal changes and other possible concerns, use the mushroom contamination field guide or the kit mould-or-mycelium guide.
What to Do When You Find a Green Patch
- Stop disturbing it. Do not scrape, brush, salt or spray the patch.
- Keep it apart from other grows. Avoid shaking the bag or handling it over healthy blocks. Leave a closed bag closed.
- Photograph it without opening it further. Take a whole-kit photo and a close-up, with enough light to show the colour and texture.
- Record when it appeared. Include the mushroom, start date, supplier and whether the patch is spreading.
- Contact the maker. For a Nature Lion kit, email info@naturelion.ca. Keep the order information so we can review the particular kit.
If you are disposing of an affected block, keep it contained while removing it from the growing space and follow local disposal guidance. Do not break it apart beside healthy grows or use it to start a new indoor batch.
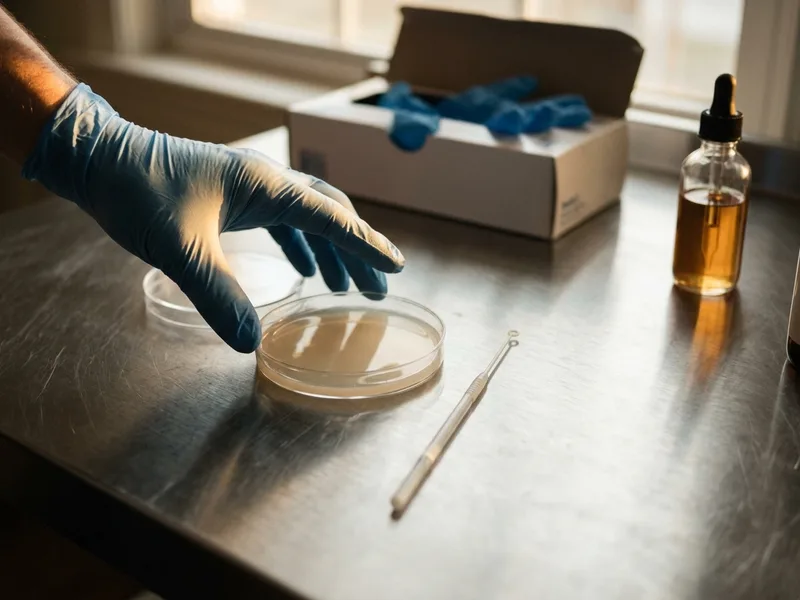
Nitrile Gloves
Cheap, disposable, and they stop you carrying spores from one block to the next when you are handling something already contaminated.
When you buy through our links, it supports our mycology research at no extra cost to you.
Can You Save the Block?
The size of a visible patch does not establish how far a problem extends. There is no reliable “under 10% is fine” rule for a home grower, and cutting away a spot does not prove the rest is unaffected.
Do not harvest and eat mushrooms from a suspect block on the assumption that the contamination cannot affect them. Ask the maker about handling and replacement options. For a homemade batch, removing an affected bag from production and correcting the process is usually more useful than repeated rescue attempts.
Does salt or hydrogen peroxide fix it?
Do not rely on either as a cure for a kit. A surface change after treatment does not show that the problem has been removed. Cleaning products belong in their labelled uses; applying them to a food-growing block is not the same as cleaning an empty work surface.
What if it already has mushrooms?
Keep the same approach: pause, isolate the block and ask for advice. An unaffected-looking mushroom is not evidence that it is safe to eat. Avoid using a photo or chat answer to make that decision.
Why Might Green Mould Appear?
A single patch does not tell you exactly when or how a problem began. For a retail kit, save photos of how it arrived and what changed after opening. A problem is not automatically the customer’s fault.
For homemade blocks, review these areas:
| Stage | Check | Useful note to keep |
|---|---|---|
| Spawn or culture | Source, storage and other bags from the same lot | Supplier and lot number |
| Substrate preparation | Recipe, water and heat treatment appropriate to the load | Ingredient weights and actual process used |
| Cooling | Whether bags stayed sealed and cooled before adding spawn | Cooling and inoculation dates |
| Transfer | Clean tools, workspace and time containers stayed open | Any handling problem noticed |
| Packaging | Damaged seals or filters | A photo before moving the bag |
| Growing room | Pooling water, temperature and old blocks | Room readings and cleaning dates |
Repeated problems across one batch may help narrow the investigation. The number of days before green appears does not prove a particular source.
Preventing Problems in a Homemade Grow
Match preparation to the material
Grain, supplemented sawdust and straw are different materials. Follow a complete method designed for what you are using. Do not assume that pellet manufacturing has left an opened bag sterile, or that one pressure-cooking time works for every block size.
Read the substrate guide and bulk-substrate preparation guide before starting. A prepared substrate product can remove a preparation step, but it still needs suitable handling when you add spawn.
Prepare the workspace before opening bags
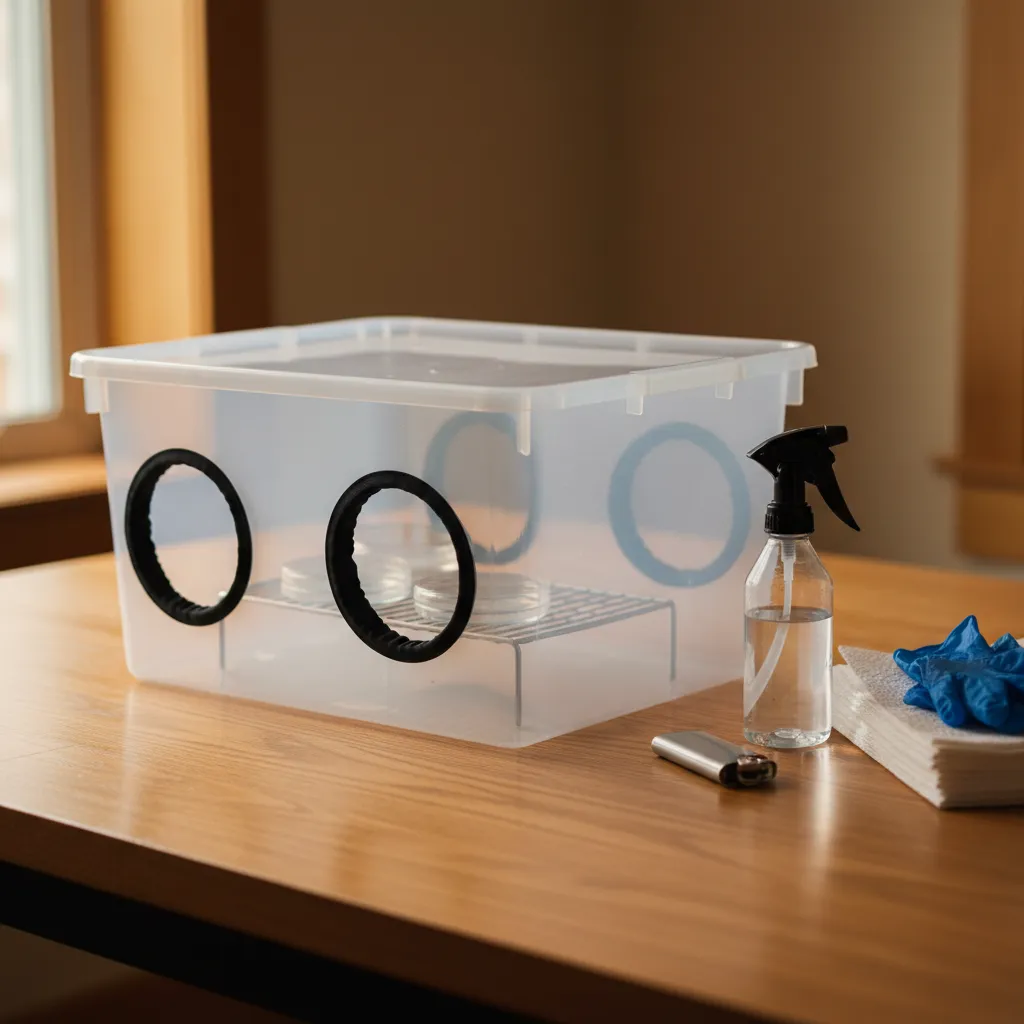
Work inside a still-air box or in the proper working area of a flow hood. A still-air box reduces drafts; it does not sterilize the contents. Have your tools and bags ready before opening them.
Clean surfaces and use disinfectants according to their labels. Keep flames outside still-air boxes and away from alcohol. Never mix cleaning products.
Follow the spawn supplier’s directions
Check storage advice for the species you bought. Use a recipe with a clear spawn rate, including whether it is measured against dry ingredients or hydrated substrate. See the spawn ratio guide and spawn storage guide.
For culture work, an agar plate can help you observe growth before expanding a batch, but it is not an automatic guarantee of purity. The agar guide explains the method.
Keep the next grow easy to compare
Change one part of your process at a time where practical. Label batches and note their outcomes. A successful batch made with purchased sterilized grain may help your investigation, but one success does not prove that your previous sterilization was the only cause.
For kits, keep the care routine simple and follow the maker’s instructions. Do not apply laboratory preparation steps to an already prepared boxed kit.
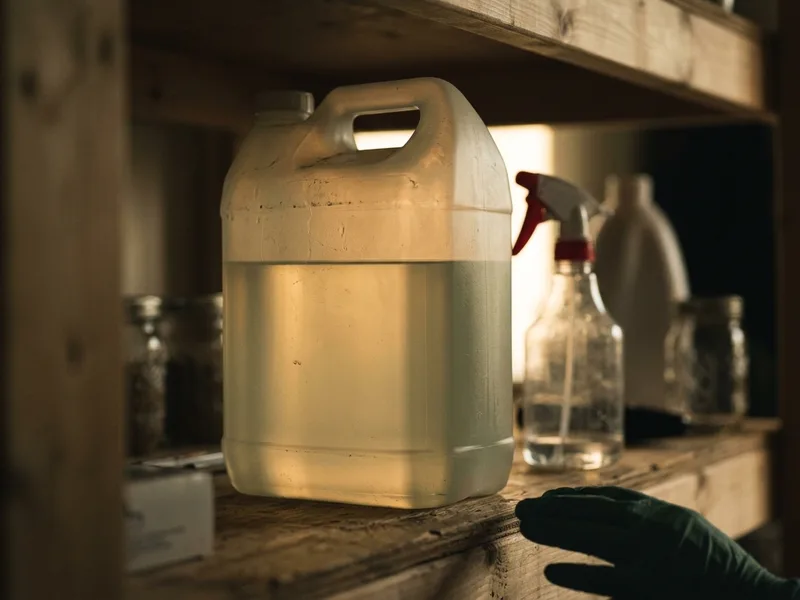
Isopropyl Alcohol 70%, 4 Litre Jug
Wiping down the work surface, the bag neck and your gloves between steps is the single highest-value habit against Trichoderma. Seventy percent, not ninety-nine.
When you buy through our links, it supports our mycology research at no extra cost to you.
Frequently Asked Questions
Is green always Trichoderma?
No. Green or blue-green growth can raise a contamination concern, but colour does not reliably identify the organism. You do not need an exact name before keeping a suspect bag away from healthy grows.
Is white growth before green normal?
It may be mushroom mycelium, but some moulds also begin white. Compare dated photos without opening or touching the patch. Ask the maker if an area looks unusual or starts spreading differently.
Can I compost an affected block?
Do not automatically assume that an unidentified contaminant is suitable for composting. Follow the maker’s advice and local disposal guidance, and keep suspect material away from your indoor production area.
Is a black patch a different problem?
It may be, but black alone does not identify a mould. Some normal mushroom structures are dark too. Keep the container closed, take photos and consult the maker rather than rubbing the area or sniffing it.
Can a chat identify it from a photo?
A chat can help describe visible changes or organise your notes. It cannot confirm the organism or whether a harvest is safe. An optional grow diary can keep those observations together.
Preventing the next one
If you have flies as well as green patches, the two are probably connected. See fungus gnats in mushroom grows.
If green mould keeps returning to the same shelf despite clean work, check the spawn jars for grain mites, which carry mould spores from one container to the next.
Further Reading and Help
Cornell Small Farms’ indoor production resources explain the broader growing process. For a retail kit, use the Nature Lion kit hub and the instructions supplied with your product.
Email info@naturelion.ca with photos and your order details if you need help with a Nature Lion kit.