
Lion's Mane (Hericium erinaceus) is the mushroom that converts skeptics. People who've never given a second thought to growing fungi see a picture of this shaggy, otherworldly organism and immediately want one. The good news: it's very growable at home. The slightly tricky news: it's pickier than oyster mushrooms about its environment, and the one thing it absolutely demands is fresh air.
This guide walks you through every method of growing Lion's Mane — from the simplest (a ready-to-fruit kit) to the most involved (starting from liquid culture). Everything here is based on what works for Canadian growers in Canadian homes.
Getting to Know Lion's Mane
Lion's Mane is a tooth fungus — instead of gills or pores, it produces long, cascading spines that give it the look of a white waterfall or, yes, a lion's mane. In the wild, it grows on dead or dying hardwood trees, particularly beech, maple, oak, and birch. If you live in Ontario, Quebec, or the Maritimes, you've probably walked past it in the forest without realizing it. It fruits from late summer through fall in Canadian hardwood forests, usually high up on standing dead trees.
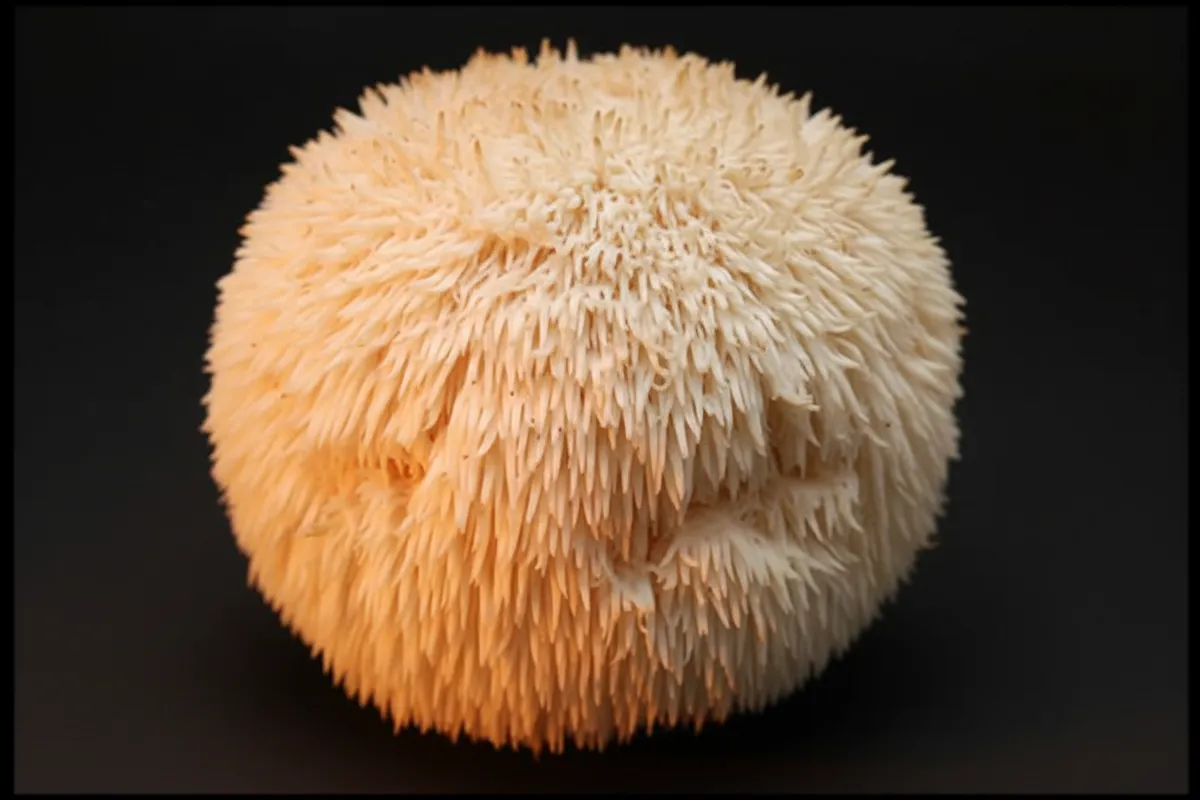
What's driven the surge of interest in Lion's Mane is the combination of exceptional culinary quality and a growing body of research around its potential health benefits — particularly for nerve health and cognitive function. For more on that side of things, see our post on Lion's Mane health benefits.
But let's talk about growing it.
Growing Conditions
Lion's Mane is a cool-weather species, which works nicely for most Canadian homes. Here's what it needs:
- Fruiting temperature: 16-20°C (60-68°F). This is the sweet spot. It can fruit a bit outside this range, but yields and quality drop. Most Canadian homes sit right in this window, especially in spring and fall.
- Humidity: 85-95% relative humidity. This is non-negotiable. Low humidity is the number one killer of Lion's Mane grows. The developing teeth dry out fast in dry air, turning brown and crispy at the tips.
- Fresh air exchange (FAE): High. This is where Lion's Mane differs most from oyster mushrooms. It is extremely sensitive to CO2 buildup. Insufficient fresh air produces the most common Lion's Mane defect — coral-like or brain-like growth instead of the characteristic hanging teeth.
- Light: Indirect ambient light. A room with a window is fine. Don't place it in direct sunlight.
- Substrate: Hardwood-based. Supplemented hardwood sawdust is the standard. It will not grow on straw.
The fresh air and humidity requirements create a real tension — you need to move air constantly, but moving air dries things out. Solving this tension is the core skill of growing Lion's Mane well.
Method 1: Grow Kit (Recommended Start)
A Nature Lion Lion’s Mane kit is already prepared for you. Follow these opening steps, then use its included humidity tent. Other brands may prepare their blocks differently; use their own instructions.
- Open the back window of the box. Keep the block in its bag and box.
- Cut an X. With a clean knife, cut through the exposed plastic and 1–2 inches into the block. Keep the four flaps attached and your other hand away from the blade. An adult should handle the knife.
- Gently scrape the exposed surface. Lift the flaps and use a clean fork or knife to roughen the white mycelium—the mushroom growth covering the block. Do not dig out a hole.
- Mist under the flaps. Use the included spray bottle and clean water. Leave the exposed surface damp without puddles, then lay the flaps back down.
- Repeat 2–3 times daily until mushrooms sprout. Keep the kit in indirect light, away from heaters and drying vents. Once mushrooms appear, leave them attached and do not scrape them or push the flaps over them.
Use the included humidity tent
Lion’s Mane is the only Nature Lion kit that comes with a tent.
- Cut a few slits in the tent for air.
- Drape it loosely over the box, leaving space for the mushroom. Do not seal the bottom.
- Mist the inside walls 2–3 times daily to keep them moist. Continue gentle care at the block opening while you wait for growth.
- Once mushrooms begin growing, remove the tent for 1–2 hours once a day, then replace it. Keep it away from a fan or drying heater during this break.
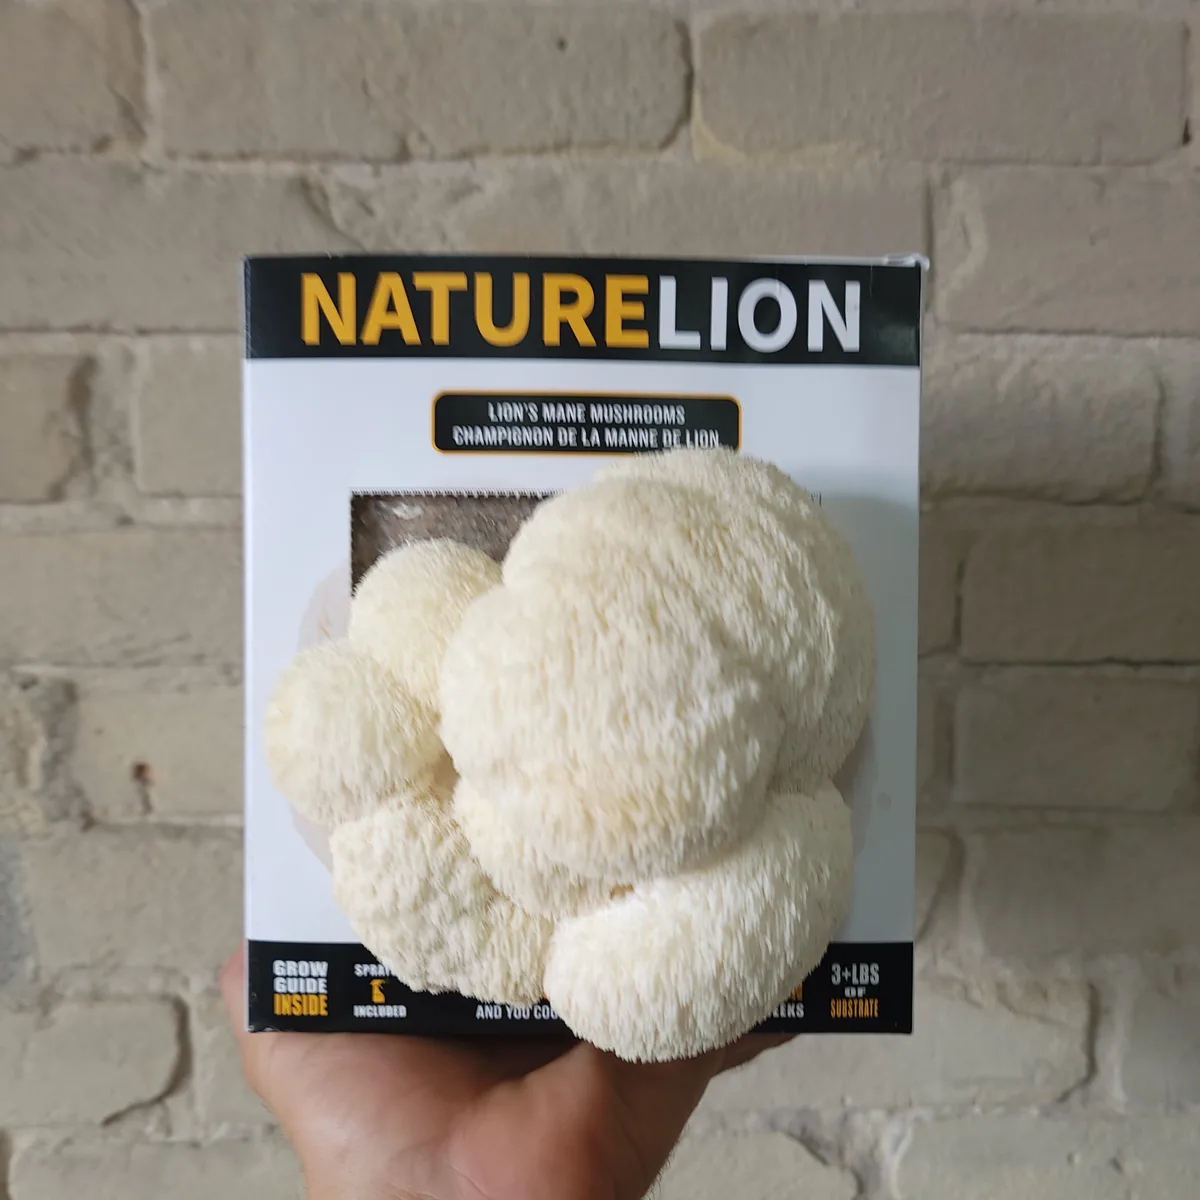
Watch for small white growth at the opening, followed by a fuller cluster and hanging teeth. There is no single promised harvest day. If you are unsure about progress, send us a photo rather than scraping again or chilling the kit.
Harvest: Look for a firm, white cluster with hanging teeth about 6–12 mm (¼–½ inch) long. Support the base and cut its attachment with a clean knife. Avoid squeezing the delicate teeth. Cook it within a day or two of picking; our lion's mane recipes guide covers eight preparations sorted by how you cut it. See also the Lion’s Mane kit guide and North Spore’s harvest reference.
After your first harvest
For a Nature Lion boxed oyster, chestnut or Lion’s Mane kit, let the block rest for about one week after harvest. Then soak it in clean water for eight hours. Let excess water drain away before checking its weight: a fully hydrated Nature Lion block should weigh about 3–3.5 lb (1.4–1.6 kg), without the box or soaking container.
If the block has not taken up enough water, its mycelium covering may be keeping water out. Gently scratch the surface with a clean fork, or poke a few holes around the block to help water reach inside, then soak again. Check its weight again after draining. Do not keep making new cuts once mushrooms are growing.
After rehydrating, return to the original misting routine. Oysters and chestnuts need gentle misting at the growing opening. Lion’s Mane also needs its slit humidity tent: mist inside 2–3 times daily and, once mushrooms are growing, remove the tent for 1–2 hours once a day before replacing it. Harvest by the same signs as the first crop. Another crop is possible, but its timing and size can vary.
For another maker’s kit, use that maker’s rest and soaking instructions. The eight-hour soak and target weight above are specific to Nature Lion boxed kits. See the full second-harvest guide and harvest instructions.
Method 2: From Grain Spawn
Making your own Lion's Mane fruiting blocks from grain spawn gives you more mushrooms at a lower per-kilogram cost, and it teaches you the full cultivation process.
What you need:
- Lion's Mane grain spawn (5 lb bag)
- Hardwood fuel pellets (oak or maple, from a hardware store — make sure they're 100% hardwood with no binding agents)
- Wheat bran or soy hull pellets for supplementation
- Grow bags with filter patches
- A pressure cooker large enough for your bags suitable for the pressure and load required by your tested substrate method
- A still air box (a clear plastic tub with arm holes — see our still-air box guide for details)
Substrate preparation:
The standard recipe for Lion's Mane is supplemented hardwood sawdust:
- 5 cups hardwood fuel pellets (dry)
- 1.4 litres water (boiling — this both hydrates and breaks apart the pellets)
- 1.25 cups wheat bran (or soy hull pellets)
Mix thoroughly. The pellets will crumble into sawdust as they absorb water. The final moisture should be at "field capacity" — when you squeeze a handful firmly, a few drops of water emerge but it doesn't stream. Adjust with small amounts of water if needed. Making multiple blocks? Our Bulk Substrate Calculator scales the recipe to any batch size so you don't have to do the math by hand.
The process:
Bag the substrate. Load the hydrated, supplemented sawdust into filter-patch grow bags. Aim for 2-3 kg of substrate per bag.
Sterilize. Pressure cook at 15 PSI for 2-2.5 hours. This is not optional — supplemented hardwood must be sterilized, not just pasteurized. Let the pressure drop naturally, then let the bags cool completely (at least 12 hours, ideally 24).
Inoculate. Working inside a still air box, open each bag, crumble in grain spawn at roughly 5-10% of substrate weight, seal the bag, and shake or knead to distribute the spawn throughout.
Incubate. Store bags at 21-24°C (70-75°F) in a clean, dark space. Lion's Mane colonizes more slowly than oysters — expect 3-4 weeks for full colonization. The mycelium will appear white and somewhat wispy. It often develops a yellowish tinge toward the end of colonization — this is normal.
Initiate fruiting. Once the bag is fully colonized, cut one opening (a single X or window) and move to your fruiting area. Drop the temperature to 16-20°C (60-68°F) and provide humidity and fresh air as described above.
Grow, harvest, repeat. Use the harvest signs described above, but follow the strain supplier’s moisture and restart routine for the size and preparation of your homemade block.
For a deeper comparison of substrate options, check our substrate guide and our breakdown of grain spawn vs liquid culture.
Method 3: From Liquid Culture (Advanced)
Starting from a Lion's Mane liquid culture means you're doing the entire cultivation cycle yourself — growing mycelium from a culture syringe, making your own grain spawn, and then using that spawn to inoculate substrate blocks. You can even expand a single syringe into litres of inoculant by following our honey liquid culture recipe.
This method is for growers who want maximum control and minimum cost per block. A single 3cc syringe of liquid culture can inoculate multiple jars of grain, each of which produces enough spawn for several fruiting blocks. The multiplication factor is enormous.
The basic workflow:
Prepare grain. Rinse and simmer whole rye, wheat, or millet grain. Drain and dry the surface. Load into mason jars or spawn bags with filter patches. Sterilize at 15 PSI for 90 minutes.
Inoculate grain. Using sterile technique (still air box, flame-sterilized needle), inject 0.5-1cc of liquid culture into each jar or bag through a self-healing injection port. Do not pierce a filter patch; it needs to remain intact. Keep flame outside the still-air box and away from alcohol.
Incubate. At 21-24°C (70-75°F), the grain will colonize over 2-3 weeks. Shake the jars once at about 30% colonization to speed things up.
Use as spawn. Your colonized grain is now spawn. Use it to inoculate supplemented hardwood blocks exactly as described in Method 2.
The main risk with liquid culture is contamination. If your sterile technique isn't solid, you'll lose grain jars to mould or bacteria. Practice with oyster mushrooms first — they're faster and more forgiving — before attempting Lion's Mane from liquid culture.
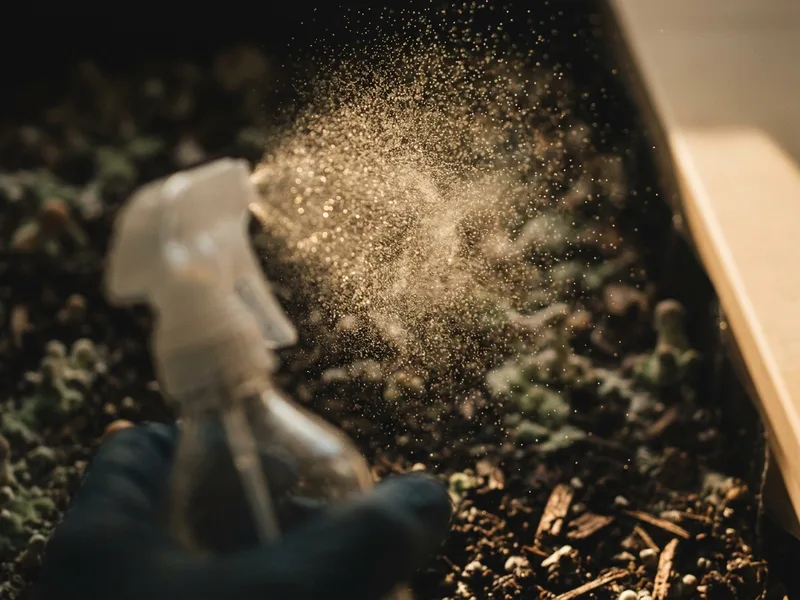
Fine Mist Spray Bottle — 2 Pack (500ml)
Lion's Mane demands consistent humidity. A quality fine-mist sprayer lets you add moisture without drenching the developing teeth. Keep one at your growing station and a spare ready.
When you buy through our links, it supports our mycology research at no extra cost to you.
Lion's Mane Growing Timeline: Week by Week
Keep separate start dates for each stage. A purchased kit has already passed through the grain and block preparation stages; do not add those waiting periods to kit care.
| Stage | What you are waiting for | What to do |
|---|---|---|
| Making grain spawn | Mycelium spreads through the grain over several weeks | Keep the container closed and follow the culture supplier’s conditions |
| Growing through a homemade block | The mushroom spreads through all the prepared sawdust; allow several more weeks | Follow the strain’s maturation instructions before opening |
| Opened kit or mature block | Small white growth appears at the opening | Follow the product’s moisture and air routine |
| Developing mushroom | The cluster grows and develops hanging teeth | Check daily; avoid soaking the mushroom itself |
| Harvest | Firm white cluster with teeth about 6–12 mm long | Support the cluster and cut at the base |
| Next crop from a Nature Lion kit | Rest about one week, then rehydrate | Use the second-harvest routine above |
Strain, room conditions and starting material change the pace. See the full growing timeline to understand the stages.
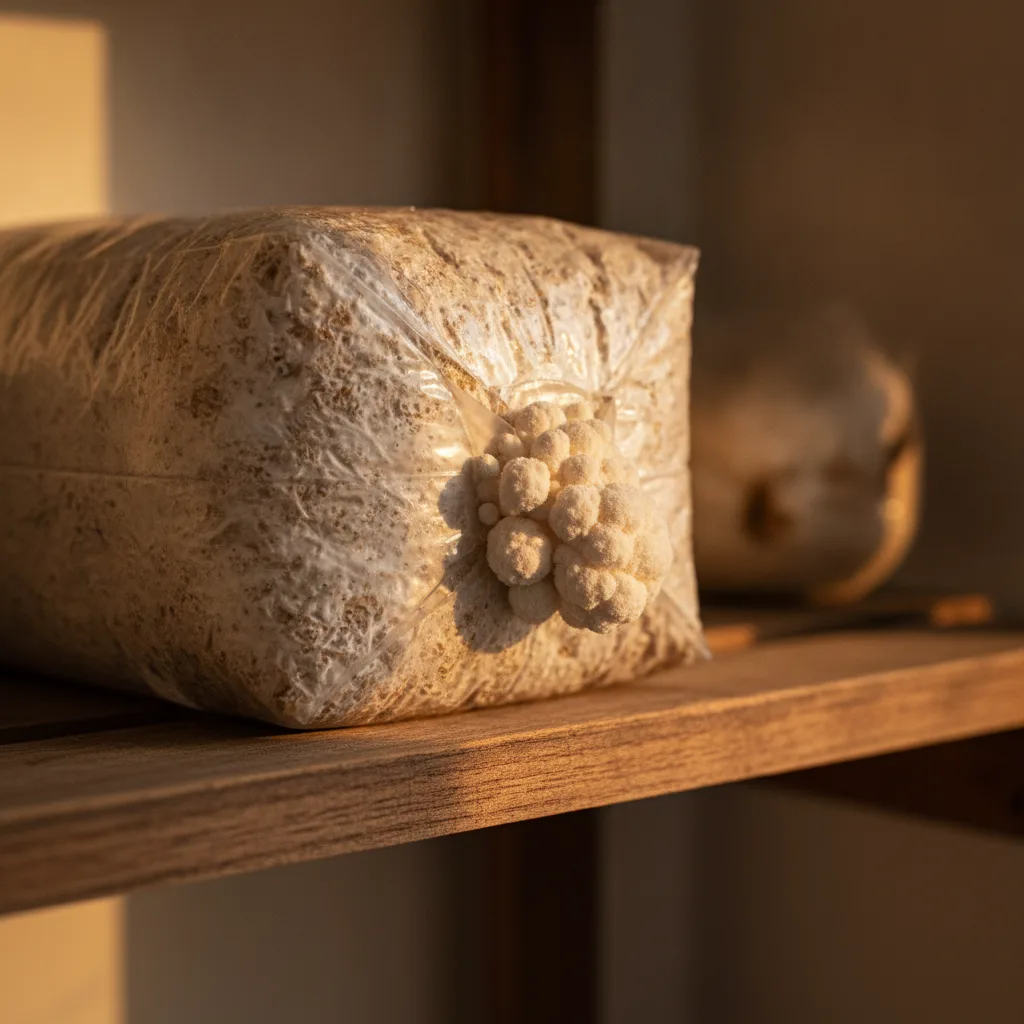

1 kit

1 kit

1 kit
Ready to fruit
Gourmet Grow Kit Trio
Three culinary grows: Lion's Mane, Chestnut, and Blue Oyster.
Common Problems and Solutions
Branching or coral-like growth
Trapped air can change the shape of Lion’s Mane. For a Nature Lion kit, check that the tent has slits, fits loosely and comes off for its daily 1–2 hour air break once mushrooms are growing. Do not aim a fan directly at the opening.
Dry or brown tooth tips
Check for drying vents or a tent that has dried out. Mist the inside of the tent, without drenching the mushroom. Do not trim the developing teeth as a treatment. If the cluster is small and deteriorating, send us a photo.
Yellowing before harvest
Yellowing can reflect age, drying or other growing conditions. It does not by itself prove that a mushroom is ready to pick or safe to eat. Compare its shape with the harvest instructions and ask for help if it is yellowing while still small.
A suspicious patch on the block
Keep the kit apart from other grows and avoid disturbing the patch. Do not cut away a coloured patch and assume the rest is unaffected. Read the contamination guide and send the maker a photo.
No mushrooms yet
Check the opening, room conditions and tent routine against the kit setup guide. Do not cold-shock, tape shut or repeatedly scrape an opened Nature Lion kit to force its first crop. Contact us with your start date and photos if you are unsure.
Growth inside the bag or unusual white fuzz
Take a photo before changing the opening. White growth can take different forms, and a photo alone may not identify the cause. Ask the kit maker before brushing it off, enlarging a hole or removing more packaging.
A homemade block is not fully colonized
Colonized means the mushroom has grown through the substrate. Check the strain’s recommended temperature and allow time; do not open a partly colonized block just because a calendar estimate has passed. Keep suspicious bags closed and apart from healthy grows.
Harvest Timing
This bears repeating because getting it wrong is the most common regret new Lion's Mane growers have: harvest while the teeth are 6–12 mm long and the mushroom is still white.
If you wait until the mushroom is massive and dramatically shaggy, you've waited too long. The texture becomes spongy and the flavour fades. Younger Lion's Mane has a firmer, meatier texture and a cleaner taste.
Cut or twist the entire mass off at the base. Don't try to take partial harvests — it damages the remaining tissue.
Storing and Preserving Lion's Mane
You harvested at the right moment — teeth short, flesh white and firm. Now don't undo it with bad storage.
In the fridge: Put the whole, unwashed mushroom in a paper bag and refrigerate it. It will keep 5–7 days. Don't wash it before storing (moisture accelerates breakdown — brush debris off instead) and don't use a sealed plastic bag or container, which traps moisture and turns Lion's Mane slimy within a couple of days. If the tips start to yellow or brown in the fridge, cook it that day.
Dehydrating: For anything you won't eat within the week, drying is the best preservation method. Tear the mushroom into strips about 1 cm thick, lay them on dehydrator trays without overlapping, and dry at 50°C for 6–10 hours until the pieces snap cleanly — cracker-dry, not leathery. Stored in an airtight jar out of direct light, dried Lion's Mane keeps for a year. Rehydrate in warm water for 20–30 minutes for stir-fries and soups, or grind the dried pieces into a powder for broths and gravies.
Freezing: Raw Lion's Mane freezes badly — the texture collapses into mush when thawed. Cook it first (a quick dry sear, as described below), let it cool, and freeze it flat in a freezer bag. Cooked-then-frozen Lion's Mane holds up well for about 3 months.
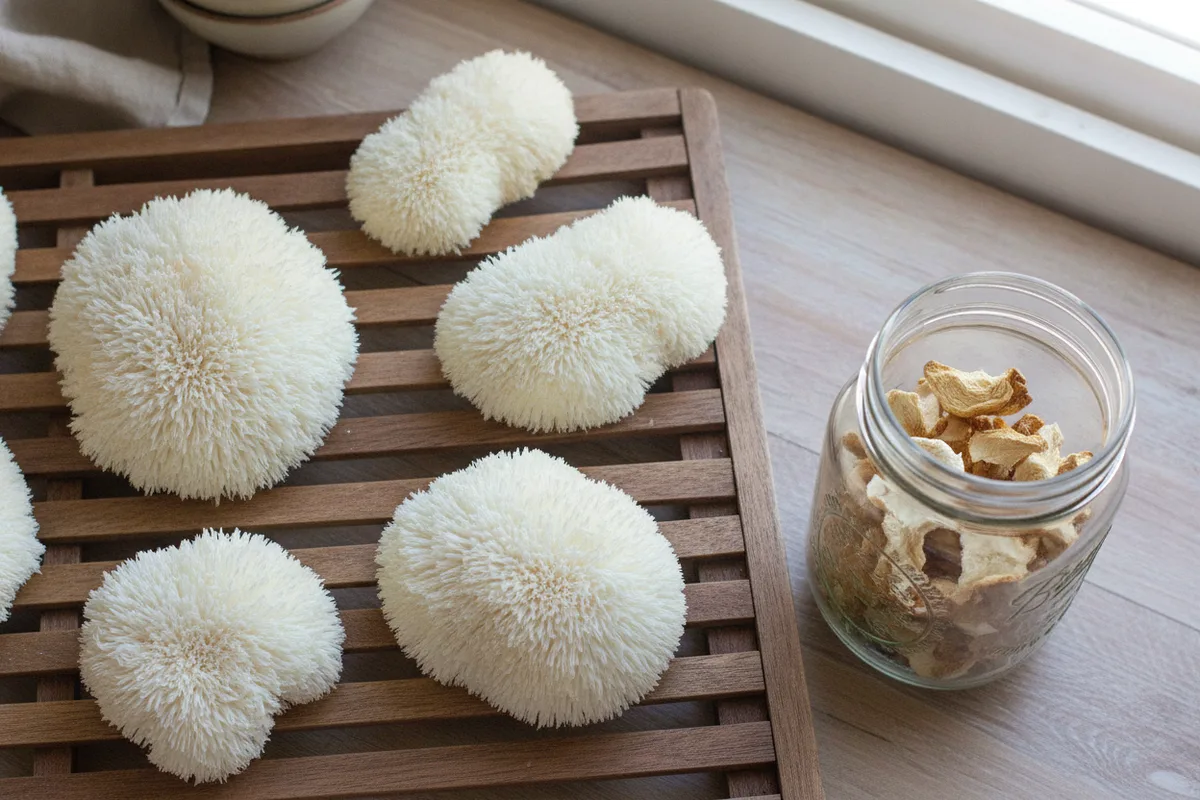
Cooking Lion's Mane
Lion's Mane has a texture and flavour often compared to lobster or crab — not in an "if you squint" kind of way, but in a way that genuinely surprises people.

The best way to cook it:
Tear, don't cut. Pull the mushroom apart into flat, steak-like slabs about 1.5 cm thick, following the natural grain of the flesh. Cutting with a knife compresses the texture; tearing preserves it.
Dry sear. Place the slabs in a hot, dry pan (no oil) and press them flat with a spatula. Cook for 2-3 minutes per side until golden and the moisture has cooked out. The surface should be crispy.
Add butter. Once both sides are seared, add butter (or olive oil), a pinch of salt, and a squeeze of lemon. Cook for another minute. The browned exterior and tender interior is genuinely remarkable.
Lion's Mane also works beautifully in soups, stir-fries, and as a pulled-meat substitute. Dried Lion's Mane rehydrates well for tea or broth. For the full recipe with step-by-step photos, see our Lion's Mane steak recipe.
Health Benefits (Brief Overview)
Lion's Mane has attracted significant research interest for compounds called hericenones and erinacines, which may stimulate nerve growth factor (NGF) production. Studies have explored potential benefits for cognitive function, nerve regeneration, and mood support. The research is promising but still developing — we think the culinary qualities alone justify growing it, and any health benefits are a bonus.
For a thorough look at the science, see our dedicated post on Lion's Mane health benefits.
Frequently Asked Questions
Can you grow lion's mane at home?
Yes. A Nature Lion kit lets you start with a prepared block. Open it as described above, mist 2–3 times daily and use the included slit humidity tent. You do not need to prepare grain or sawdust for a boxed kit.
What are the ideal fruiting conditions for lion's mane?
Three numbers to remember: 16-20°C, 85-95% humidity, and high fresh air exchange. Cool temperatures produce dense, white, well-formed mushrooms; high humidity keeps the developing teeth from browning; and constant fresh air prevents the coral-like deformed growth caused by CO2 buildup. Indirect ambient light is all it needs. The core skill is balancing humidity against airflow — mist more when you ventilate more.
How long does lion's mane take to grow?
A prepared kit skips the grain and block-growing stages. Watch its progress rather than a promised harvest date: small white growth develops into a cluster with hanging teeth. Starting from culture adds several weeks for grain and several more for the block. The table above separates these stages.
Why is my lion's mane growing like coral instead of forming teeth?
Trapped air can produce branching growth. For a Nature Lion kit, check the tent slits and loose fit, then give growing mushrooms the daily 1–2 hour air break. Keep the tent walls moist and avoid a direct fan. If the shape still worries you, send us a photo before making larger changes.
Lion's Mane is one of the most rewarding mushrooms to grow. It demands a bit more attention than oysters, but the payoff — both in the kitchen and in the satisfaction of producing this incredible organism — is absolutely worth it.
Ready to start? Grab a Lion's Mane grow kit for your first grow, or jump to grain spawn if you're ready to make your own blocks. For the full cultivation cycle, start with a Lion's Mane liquid culture and work your way up.
For a Nature Lion boxed kit, use the Lion’s Mane care guide. Other makers’ opening instructions may differ. Keep a photo of each stage on your phone or in an optional grow diary.
Need help with a Nature Lion kit? Start with the kit care guide, or email info@naturelion.ca with a photo and your start date. Dr. MycoTek is another option for growing questions and notes.