
Every grow ends the same way: the flushes taper off, the block starts to look tired, and you're left holding a kilogram or two of colonized substrate wondering what to do with it. Tossing it in the garbage is the one genuinely wrong answer. A spent block is not garbage — it's a brick of partially decomposed organic matter, shot through with living mycelium, that took weeks of work (yours and the fungus's) to create.
Here are nine ways to put spent substrate to work, roughly ordered from "get more mushrooms out of it" to "feed your garden with it." Everything below applies whether your block came from one of our grow kits, a monotub, or bags you inoculated yourself with grain spawn.
First, What Counts as "Spent"?
A quick definition, because it shapes everything that follows. Home-scale spent substrate is usually a sawdust or straw block, sometimes with grain and coir mixed in, that has stopped producing worthwhile flushes. "Spent" doesn't mean dead — in most cases the mycelium is still alive, just exhausted of the nutrients and water it needs to keep fruiting indoors.
That's the key insight behind the first three uses: a tired block indoors can still have real energy left outdoors, where rain, soil contact, and fresh organic matter give it a second life.
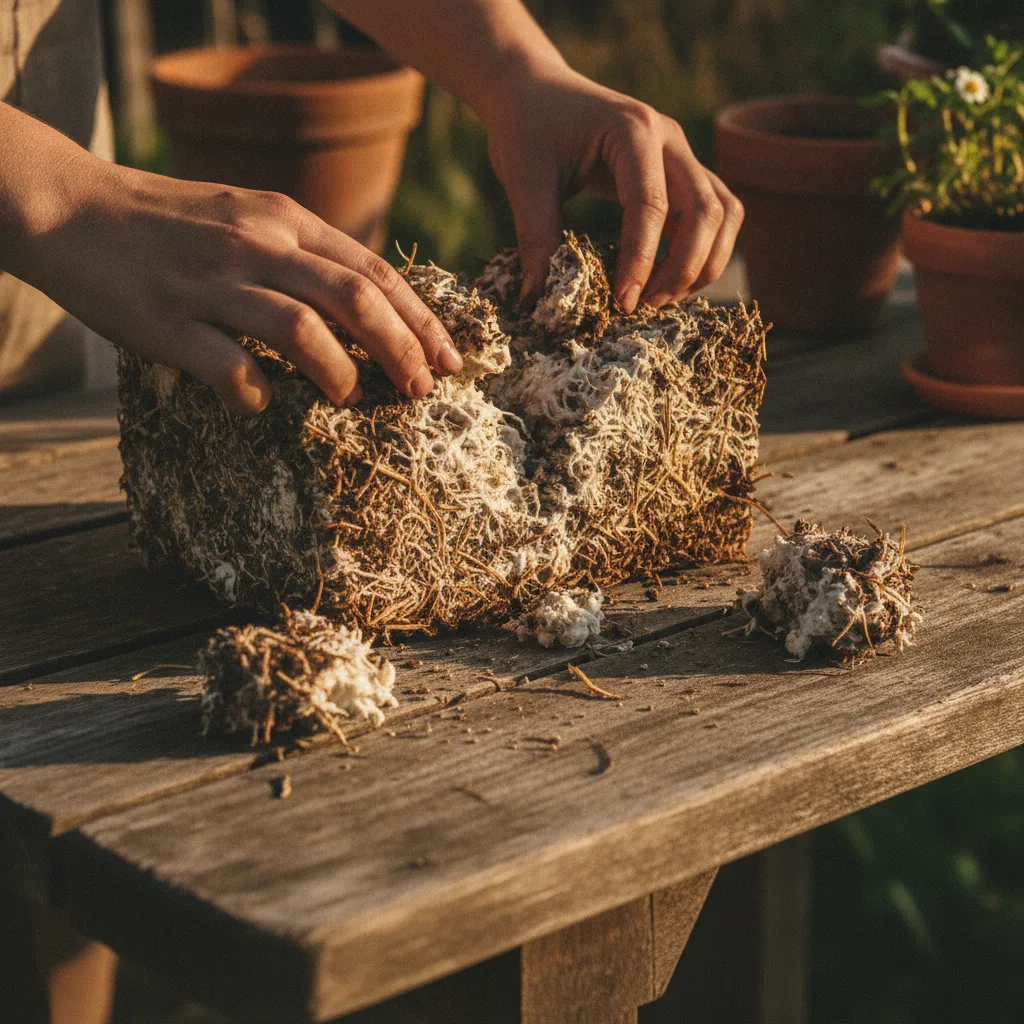
One caveat before we start: these uses assume a reasonably healthy spent block. If yours lost the fight to green mould or another contaminant, skip straight to the composting section — contaminated blocks belong in a hot compost pile, not an outdoor mushroom bed.
The Nine Uses at a Glance
The whole list side by side. "Effort" is your labour, not the fungus's.
| Use | Effort | Time to result | Best suited to | What it does for your soil |
|---|---|---|---|---|
| 1. Another indoor flush | Low | 1 to 2 weeks | Any space, indoors | Nothing yet, the block is still working |
| 2. Bury and naturalize | Low | 2 months to a year | Backyard, acreage | Builds organic matter in one shaded patch |
| 3. Dedicated outdoor bed | Medium | 3 to 12 months | Backyard, acreage | Turns chips into dark, water-holding soil |
| 4. Hot compost | Medium | 2 to 6 months | Backyard, acreage | Structure, tilth, slow-release feeding |
| 5. Worm bin | Low | 1 to 3 months | Balcony, indoors, backyard | Castings that improve aggregation and moisture |
| 6. Mulch and conditioner | Low | Same day, gains over a season | Balcony, backyard | Cuts evaporation, moderates soil temperature |
| 7. Layer into new beds | Medium | One season | Backyard, acreage | Adds organic matter and air space deep down |
| 8. Seed-starting and potting blends | Medium | Same day | Balcony, indoors | Lightens heavy mixes, improves drainage |
| 9. Overwinter for spring | Low | One winter | Backyard, acreage | Freeze and thaw does the crumbling for you |
1. Squeeze Out Another Flush Indoors
Before the block goes anywhere, make sure it's actually done. Most blocks that "stop producing" have simply dried out. Soak the block in cold water for 12-24 hours (weigh it down so it stays submerged), return it to fruiting conditions, and you'll often get another flush within two weeks.
We've covered the full rehydration routine in our guide to how many flushes a grow kit produces — the short version is that two to three flushes is normal, and quitting after the first one leaves mushrooms on the table.
2. Bury It and Let It Naturalize
The lowest-effort outdoor method: dig a shallow trench in a shady corner of the yard, break the spent block into fist-sized chunks, bury them under 5-10 cm of soil or wood chips, and water occasionally. Then forget about it.
Oysters and lion's mane planted this way will often surprise you with a fall flush after a good rain — and sometimes for a season or two afterward. Cool, damp, shaded spots work best: the north side of a fence, under a deck, beside a compost bin. In most of Canada, late spring and early fall burials give the mycelium time to establish before temperature extremes hit.
3. Start a Dedicated Outdoor Mushroom Bed
The step up from burying: use spent blocks as the starter culture for a purpose-built bed. Lay down cardboard, add 10-15 cm of fresh hardwood chips, crumble your spent blocks over the chips, cap with another chip layer, and keep the bed damp for the first month.
This is the standard technique for wine cap mushrooms, the classic Canadian garden species — but spent oyster blocks take to wood-chip beds just as readily. A bed started with two or three spent blocks in spring can produce for years, and expanding it each season costs nothing but wood chips.
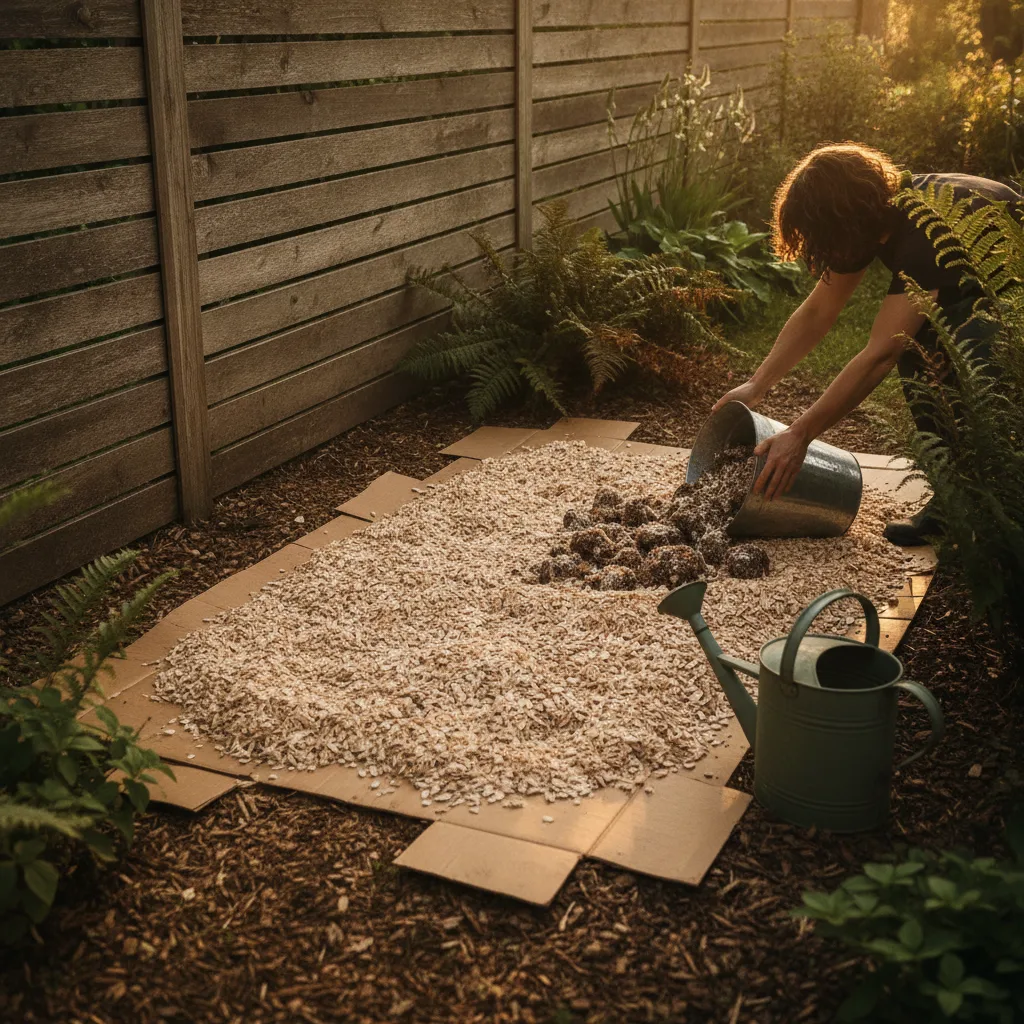
One honest note: spent substrate is weaker inoculant than fresh spawn. It works, but colonization is slower and less certain. If you're building a bed you care about, seed it with fresh sawdust or grain spawn and use spent blocks as a free supplement rather than the sole inoculant.
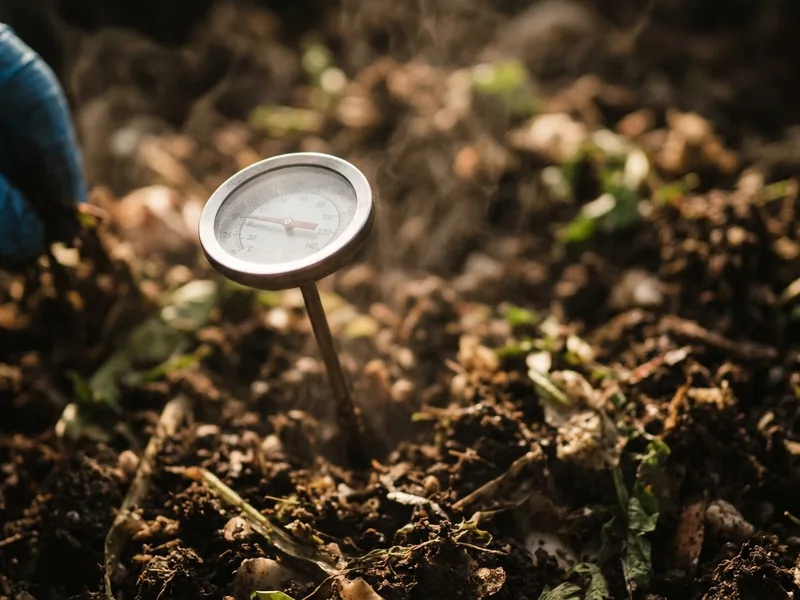
Long-Stem Compost Thermometer
A 50 cm probe reads the middle of the heap, which is the only reading that matters. Spent blocks are nitrogen-rich and heat fast; if the core sits above 65C the pile goes anaerobic and sour, and you will not know without measuring.
When you buy through our links, it supports our mycology research at no extra cost to you.
4. Hot Compost It
Spent substrate is a nearly perfect compost ingredient: pre-shredded, biologically active, and carbon-rich enough to balance kitchen scraps and grass clippings. Crumble the blocks in as a "brown" layer, alternate with greens, keep the pile damp, and turn it every week or two. The resident mycelium gives the pile a head start most compost never gets.
This is also the correct destination for any contaminated block. A properly built hot pile (55-65°C at the core) breaks down Trichoderma and friends along with everything else. Just bury contaminated material in the centre of the pile rather than leaving it on the surface.
5. Feed a Worm Bin
Red wigglers treat aged spent substrate like a buffet. The partial decomposition the mycelium already did makes the material easy for worms to process, and the castings that come out the other end are the best soil amendment money can't buy.
Two rules: age fresh blocks for a couple of weeks before feeding (fresh mycelium can heat up and briefly acidify as it dies back), and introduce it gradually — no more than a quarter of the bin's bedding at a time.
6. Use It as Mulch and Soil Conditioner
Crumbled spent substrate makes excellent mulch around shrubs, trees, and perennial beds — it holds moisture, suppresses weeds, and breaks down into humus over a season. Home-scale blocks (sawdust, coir, straw, spent grain) are mild and won't burn plants the way fresh manure can.
Around vegetables, give it a few weeks to mellow first, either in a pile or lightly dug into the bed in early spring. Gardeners who buy "mushroom compost" at the garden centre are paying for the commercial version of exactly what your grow just produced for free.
7. Layer It Into New Garden Beds
Building a raised bed, lasagna garden, or hügelkultur mound? Spent substrate slots in beautifully as one of the organic layers — between cardboard and topsoil, or alternated with leaves and grass clippings. The mycelium helps knit the layers together and speeds the whole bed's transition into living soil.
This is a great fall project in Canada: build the bed in October with spent blocks from your summer grows, let winter do the breakdown work, and plant into it in May.
8. Blend It Into Seed-Starting and Potting Mix
Fully aged spent substrate — dark, crumbly, and smelling like forest floor rather than sawdust — can replace a portion of the compost in homemade potting mix. A common blend is one part aged substrate, one part garden compost, and one part perlite or vermiculite.
The emphasis is on fully aged. Fresh spent substrate is too active and too coarse for seedlings; give it several months (or a winter) in a pile first.
9. Overwinter It for Spring
If a use doesn't present itself before the snow flies, don't throw the blocks out — stockpile them. Pile spent blocks in a corner of the yard, cover loosely with leaves or a tarp with the sides open, and let the Canadian winter work for you. Repeated freeze-thaw cycles shred cell walls and fast-track decomposition, so the pile that goes in frozen solid in December comes out in April as half-finished compost, ready for any of the uses above.
This is the most Canadian mushroom-growing move there is: letting -20°C do the pile-turning.
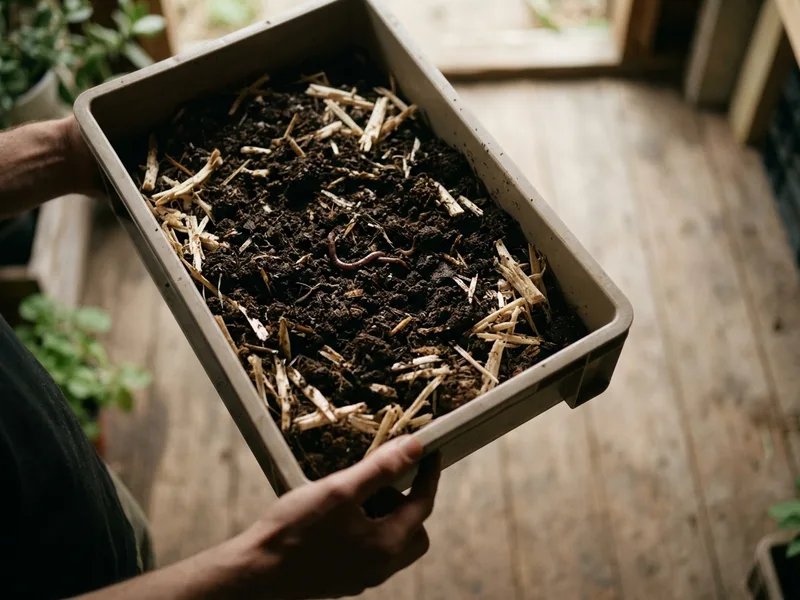
Stacking Worm Composter Bin
Spent substrate is already broken down, which is why worms take to it faster than raw kitchen scraps. A stacking tray bin lets them migrate upward as they finish a layer, so you harvest castings without sorting worms out by hand.
When you buy through our links, it supports our mycology research at no extra cost to you.
Timing It Through the Canadian Year
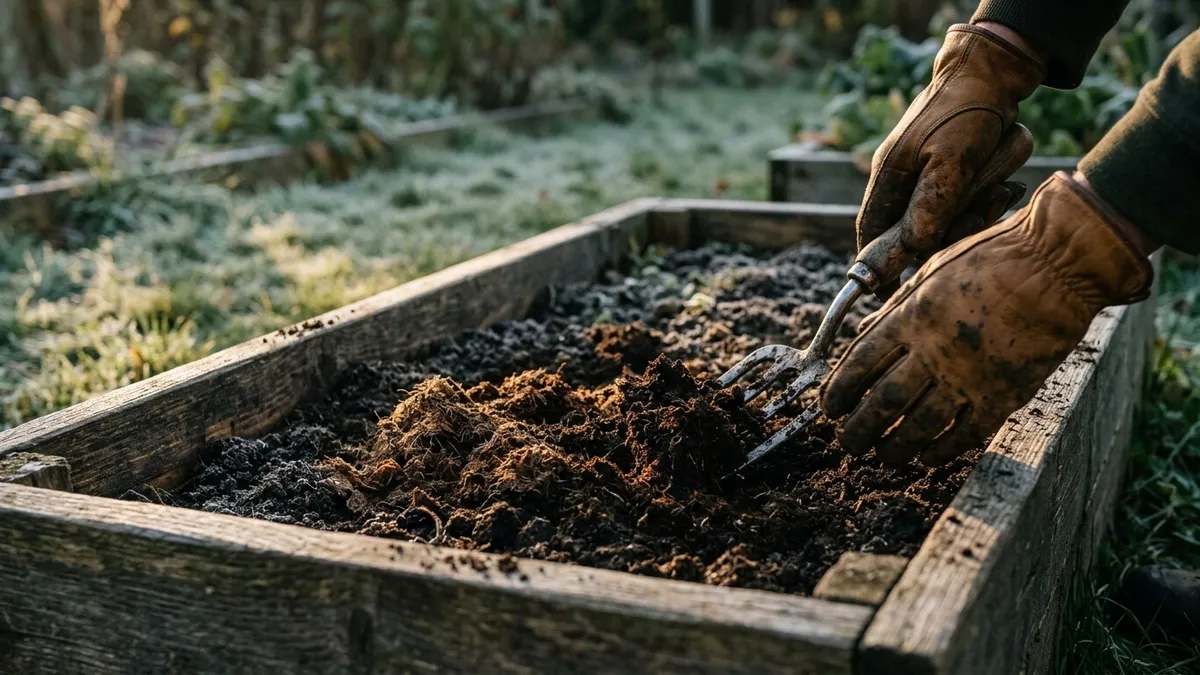
Autumn is the best window. Beds are being cleared and indoor blocks tend to finish together. Spread crumbled substrate 3 to 5 cm over a cleared bed as a sheet mulch, or trench-bury it while the ground is still soft. In zones 4 and 5, covering most of Ontario, Quebec and the Prairies, aim to have material down two to three weeks before the first hard frost: early to mid October inland, later on both coasts. Work back from your local first-frost date, not the calendar, because coastal British Columbia and southern Ontario get longer windows than the Prairies or Atlantic Canada. Freeze and thaw then does the breakdown for free.
Winter is for stockpiling, not starting. Keep blocks under a tarp or in a lidded bin rather than starting a pile you cannot turn. A frozen 200 L pile is one block of ice until April, so put it within reach of the back door.
Spring is second best. The stockpile has gone crumbly, the texture you want for layering new beds, blending potting mixes, and starting outdoor beds early enough that the mycelium establishes before summer heat. Pairing spent material with fresh? Our guide to preparing bulk substrate covers the other half.
Summer is mulch only, when moisture retention earns its keep.
Turning a Spent Block Into a Wine Cap Bed
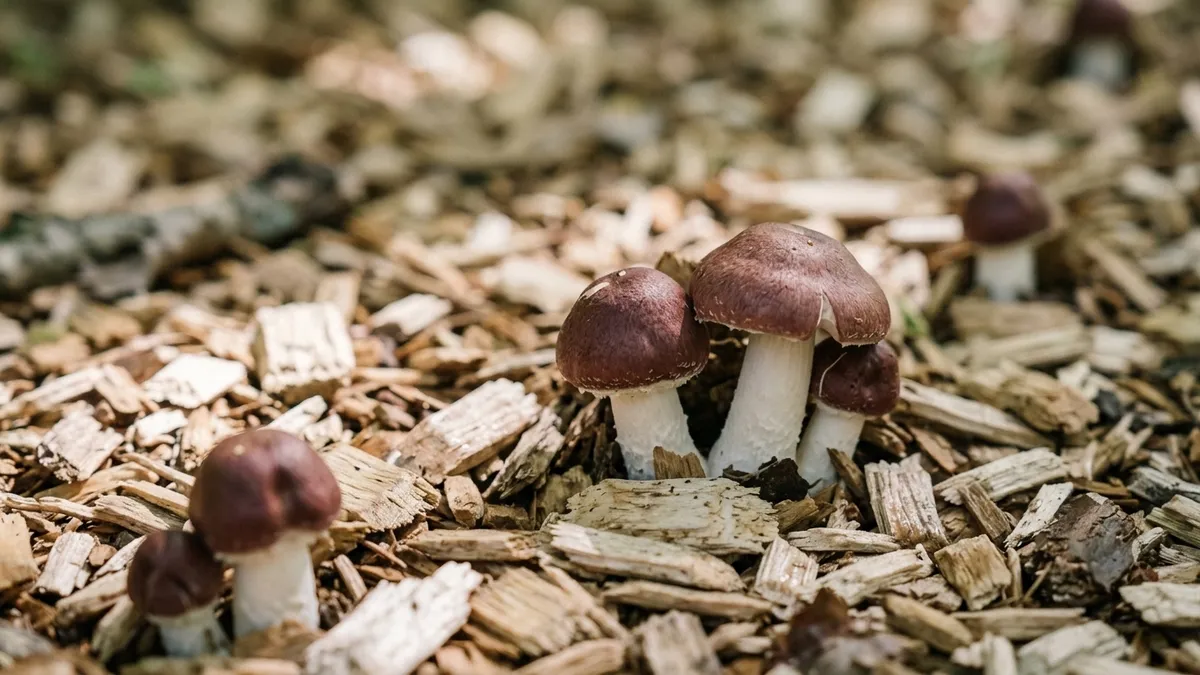
The outdoor bed in use 3 has the best odds when you build it around one species. Wine cap (Stropharia rugosoannulata) thrives on fresh hardwood chips and partly spent hardwood outdoors, exactly what a finished block plus a chip pile adds up to.
This is where most backyard beds fail: spent blocks alone are usually not enough to start a reliable wine cap bed. They are a free supplement, not the inoculant. A bed you care about needs fresh grain spawn plus a proper wood chip base. Skip either and you get a slow compost heap instead of a mushroom bed.
The build takes an afternoon. Choose dappled shade that stays damp. Lay cardboard over the grass, add 10 to 15 cm of fresh hardwood chips, and broadcast the grain spawn through the chips as you go rather than tipping it on top. Crumble the spent blocks over that, cap with another 5 cm of chips, water it in well, and keep it damp through the first month.
A 5 lb bag of grain spawn covers roughly 1.5 to 2.5 square metres at that depth. Expect first flushes the following season, though an early autumn bed sometimes surprises you the same year.
Our Vintage Wine Cap Grain Spawn 5 lb is $39, sold in 5 lb increments, produced fresh to order and ships in 3 to 4 weeks, so order before you build the bed, not after. No chip source nearby? Sterilized Magic Soil from $44.95 works as a ready-to-use bulk or casing layer, and the substrate range covers fresh material. For the full build, see how to grow wine cap mushrooms.
When to Just Compost It
Not every block earns a spot in a garden bed. Look at it and smell it first.
Green bin or hot pile only if you find green or blue-green powdery patches, which is Trichoderma and never belongs in a mushroom bed or worm bin. Same for a sour or vinegar-like smell, or wet slimy patches with yellow or amber ooze, which point to bacterial blotch or a wet rot. Same again for black, orange or pink fuzzy growth.
What is fine: yellowish droplets on healthy white mycelium, a plain earthy or woody smell, and dry crusty surfaces. Dried out is not the same as dead, or as contaminated.
The rule of thumb: if you would not want it spreading, do not spread it. A municipal green bin, or a hot pile running at 55 to 65°C at the core, handles every case above. Our guide to green mould covers identification in detail.
What Not to Do With Spent Substrate
- Don't send it to landfill. Organic matter in landfill breaks down anaerobically. If nothing else, most Canadian municipalities accept spent substrate in the green bin.
- Don't spread contaminated blocks in the garden raw. Hot compost them first, as covered above.
- Don't expect it to perform like fresh spawn. It's a bonus inoculant and a soil builder, not a substitute for vigorous fresh spawn when results matter.
- Don't seal it in plastic and store it indoors. A "spent" block is still alive and still respiring. Sealed up warm and wet, it turns into an anaerobic mess in a hurry.
Frequently Asked Questions
Can spent mushroom substrate really produce more mushrooms?
Often, yes. Indoors, a dunk and a return to fruiting conditions frequently buys you another flush — see our grow kit flushes guide for the routine. Outdoors, buried chunks or wood-chip beds regularly fruit when rain and cool weather line up. What you shouldn't expect is indoor-grade yields; outdoor flushes from spent blocks are a happy bonus, not a schedule.
Is spent mushroom substrate good for vegetable gardens?
Yes, with a short aging period. Home-scale spent blocks are mild — mostly decomposed sawdust, straw, and grain — and after a few weeks of mellowing they act like any good compost: better moisture retention, better soil structure, slow-release nutrition. Dig it in lightly in early spring or use it as a top-dress mulch during the season.
Can I compost spent blocks through a Canadian winter?
Absolutely — winter is an asset, not an obstacle. An active hot pile will keep working through surprising cold if it's big enough (about a cubic metre), and even a passive pile benefits from freeze-thaw cycles that break the material down mechanically. Pile it, cover it loosely, and turn it once things thaw.
My block turned green — can I still use it?
Green means Trichoderma contamination, and the answer is: compost only. Hot composting breaks contaminated substrate down safely along with everything else in the pile. What you shouldn't do is crumble a green block into a mushroom bed or worm bin, where you'd be seeding the exact competitor you spent your whole grow avoiding. Our contamination field guide covers how to tell moulds apart.
Can I start a wine cap bed with spent blocks alone?
Sometimes, and it usually underperforms. Spent hardwood blocks carry live mycelium and will occasionally colonise a chip bed on their own, but that spawn is tired and slow, which gives competitor moulds their opening. Pair them with fresh wine cap grain spawn, $39 for 5 lb and shipping in 3 to 4 weeks, and treat the spent material as the supplement it is.
When is the best time of year to spread spent substrate in Canada?
Autumn, two to three weeks before the first hard frost, is the best window in most of the country. Spring is a close second once the stockpile has gone crumbly. Summer is surface mulch only, winter is for stockpiling.
Spent substrate is the cheapest garden input you'll ever produce and the easiest way to stretch one grow into several seasons of value. And if your blocks are all in the garden and the itch to grow comes back, a fresh grow kit or a bag of spawn starts the cycle again.
Have a mushroom-growing question? Ask Dr. MycoTek for AI help with your grow. Sign in to use your free monthly allowance.